Preparing your app for distribution
Learn how to prepare your app for distribution in the VTEX App Store.
This guide will teach you how to prepare your app for distribution in the VTEX App Store and enable merchants to benefit from your solution.
Note that every app goes through a homologation process before being available in the VTEX App Store. During this process, our team can reject apps that do not follow the quality, viability, and usability standards presented in the App Store Guidelines. Therefore, be sure to review these guidelines as you develop and prepare your app for distribution.
Before you begin
Before proceeding, ensure you have:
-
Developed your app. Refer to the Developing an app guide for more information.
-
Registered as a VTEX App Store developer.
Instructions
Step 1 - Preparing your app billing options
After developing your app, you must establish whether it will be charged and if it will be public or private on the VTEX IO platform. To set up these options, refer to the Setting your app's billing model guide. Also, check the App Monetization guidelines for more information on this topic.
Step 2 - Setting the public folder
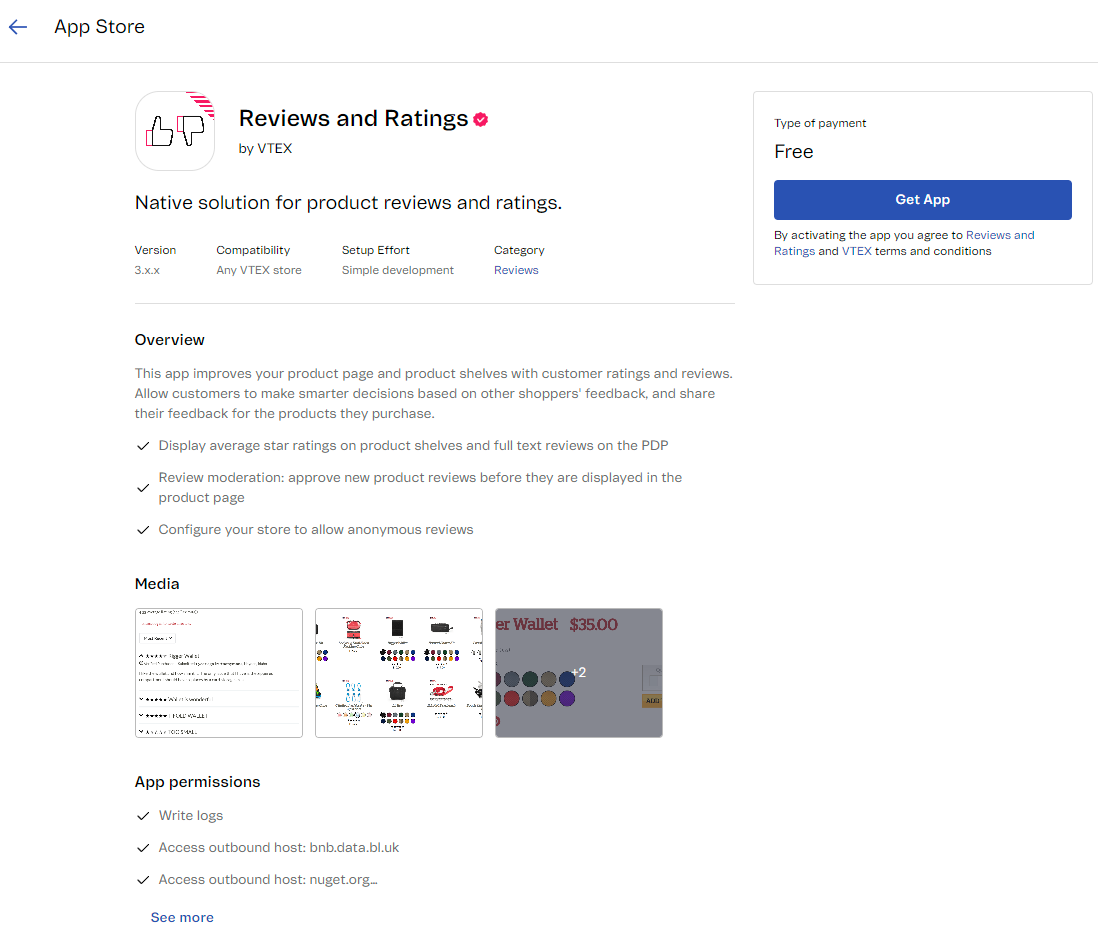
After establishing your app's billing model, you must set up the marketing assets (e.g., icons, images, and descriptions) that will compose your app's page on the VTEX App Store. During this step, refer to our Marketing guidelines.

-
Create a new folder named
publicin the root directory of your project. -
Inside the
publicfolder, create themetadatafolder. Also, create theimages,licenses, andmessagesfolders withinmetadata. -
Create the following folders and files as shown:
_15┗ 📂 public_15┣ 📂 metadata_15┣ 📂 images_15┣ 📄 icon.png_15┗ 📂 screenshots_15┣ 📂 desktop_15┗ 📂 mobile_15┣ 📂 licenses_15┣ 📄 en-US.md_15┣ 📄 es-AR.md_15┗ 📄 pt-BR.md_15┗ 📂 messages_15┣ 📄 en-US.json_15┣ 📄 es-AR.json_15┗ 📄 pt-BR.json -
Create the files and folders needed to compose your App Page as follows:
images folder
The images folder stores the images for your app's page. They may include the app's icon and screenshots showing how the application behaves in the Admin or the storefront. This folder must contain:
_10┗ 📂 images_10 ┣ 📄 icon.png_10 ┗ 📂 screenshots_10 ┣ 📂 desktop_10 ┣ 📄 {add-a-file}.png_10 ┗ 📄 {add-a-file}.png_10 ┗ 📂 mobile_10 ┣ 📄 {add-a-file}.png_10 ┗ 📄 {add-a-file}.png
icon.png- The app icon file.screenshots- A folder containing the images that will be presented in the App Page's carousel.
Note that you can use the desktop and mobile subfolders to store device-specific images. For example: public/metadata/images/screenshots/mobile and public/metadata/images/screenshots/desktop.
licenses folder
The licenses folder contains the terms and conditions of your app. Licenses establish the direct business relationship between the vendor and the retailer that installs the app.
Inside the licenses folder, create the files named using locale codes to provide your app's terms and conditions in different languages (e.g., public/metadata/licenses/en-US.md, public/metadata/licenses/es-AR.md, public/metadata/licenses/pt-BR.md).
messages folder
The messages folder contains textual information regarding your app, such as its name and list of features, in different languages.
See the base template for structuring this file below:
_23{_23 "name": "Order Tracker",_23 "headline": "Headline Order Tracker.",_23 "overview": "Tracks all orders\\nSecond line\\n\\nThird line\\n\\n\\n\\n\\nFourth line",_23 "features": [_23 "First feature",_23 "Second feature",_23 "Third feature",_23 "Fourth feature"_23 ],_23 "additionalinformation": "Additional information\\nYou can also write new lines here\\n\\n\\nIt should work just like the overview",_23 "video": "https://www.youtube.com/embed/645ASYhJS-Q",_23 "websiteURL": "https://www.website.com/en",_23 "support": {_23 "email": "a@bcd.io",_23 "url": "www....",_23 "phone": "+1...."_23 },_23 "metricDescription": {_23 "track": "English description for metric track",_23 "notify": "English description for metric notify en-US"_23 }_23}
name: App name, limited to 26 characters.headline: Short description of the main functionality of your application. The field has a 120-character limit.overview: Detailed description of your app’s main purposes and benefits. There is no character limit.features: List of your app’s main features and highlights.websiteURL: Link to the app's landing page or your corporate website.support: Link to the support channel. This can be an email address, a ticket portal, or a phone number.additionalinformation: Additional details and disclaimers related to your app.video: URL of a video featuring the app's behavior.metricDescription: Billing options' metrics (declared in the app'smanifest.jsonfile). This field is required only for apps whose pricing is based on one or more metrics. Do not fill in this field if this is not applicable.
The files in this folder must be available in English, Spanish, and Portuguese, in the following paths: public/metadata/messages/en-US.json, public/metadata/messages/es-AR.json and public/metadata/messages/pt-BR.json, respectively.
Step 3 - Publishing and deploying your app on the VTEX IO development platform
If you are satisfied with your new app and marketing content, follow the Deploying a new app version guide to deploy your changes.
After deploying your app's latest version, follow the Submitting your app to the VTEX App Store guide.