Setting up your development environment
Learn how to set up your development environment to build storefront components with React and VTEX IO.
Any development on VTEX IO begins and ends with VTEX IO CLI. VTEX IO CLI works as a communication gateway between your VTEX account and the VTEX IO development platform.
With VTEX IO CLI, you can log in to your VTEX account, manage workspaces, develop apps, and install new ones.
Before you begin
-
Make sure you are familiar with the core concepts of Store Framework, including blocks, store themes, and templates. If you need to refresh your knowledge or get acquainted with these concepts, you can refer to the getting started tutorial on building storefronts with Store Framework.
-
Check our recommended practices for tooling, features, flexibility, scalability, performance, accessibility, internationalization, and styling. For more information, please refer to Best practices for developing custom storefront components.
Instructions
Step 1 - Getting started with VTEX IO CLI
- Install VTEX IO CLI.
- Once the installation is finished, open the terminal and log in to your VTEX account by running following command:
Replace
{accountName}with the name of your VTEX account.
_10vtex login {accountName}
This will open a browser window prompting you to enter your credentials.
- Enter your credential in the browser window and return to the terminal.
- Run the
vtex whoamicommand to show whichaccountandworkspaceare being used by VTEX IO CLI.
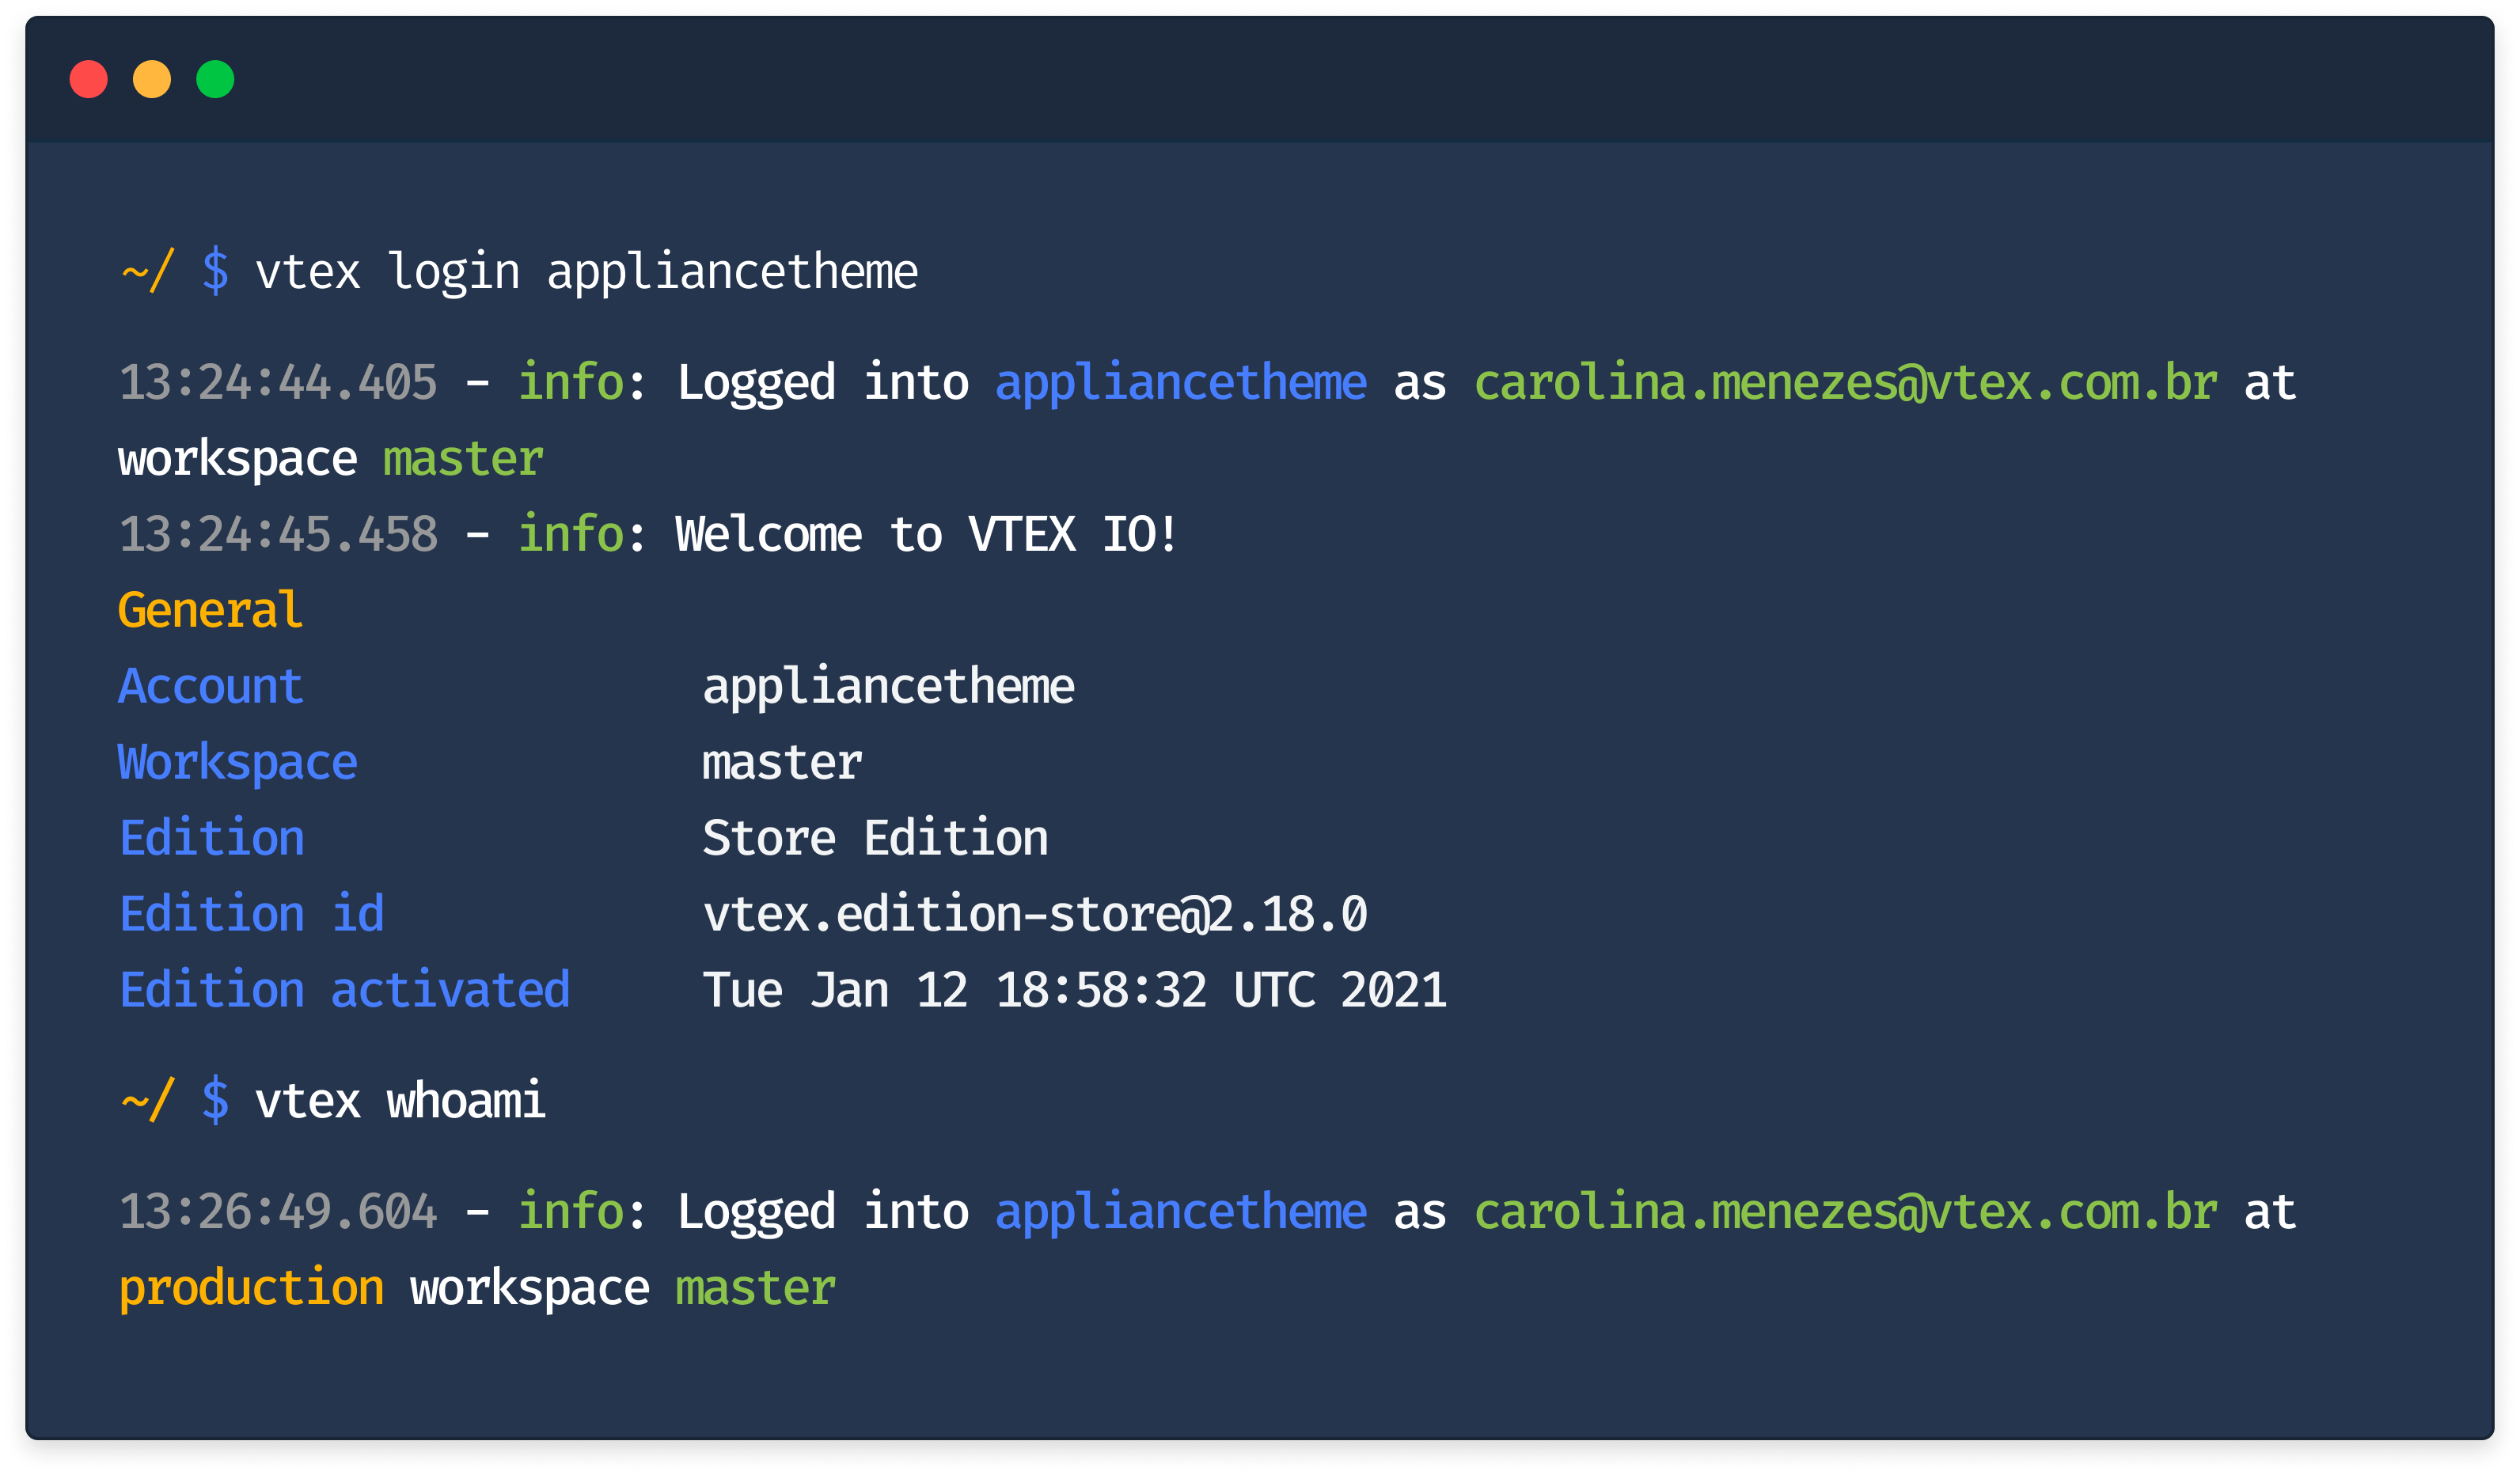
By logging in to your VTEX account with VTEX IO CLI, you will have access to various development tools and be able to manage your workspaces.
Step 2 - Creating a workspace
To get started with development in VTEX IO, it is important to understand the concept of workspaces. Workspaces are isolated environments in which development occurs, and are similar to branches in a GitHub repository. This means that workspaces allow you to develop and test your changes without the risk of impacting live apps or conflicting with the work of other developers.
By default, when you first log in to VTEX IO, you are automatically placed in the in the master workspace, which represents the current live version of your store. Making changes in this workspace can potentially affect the user experience. To avoid this, you must create a separate development workspace and switch to it before beginning any development work.
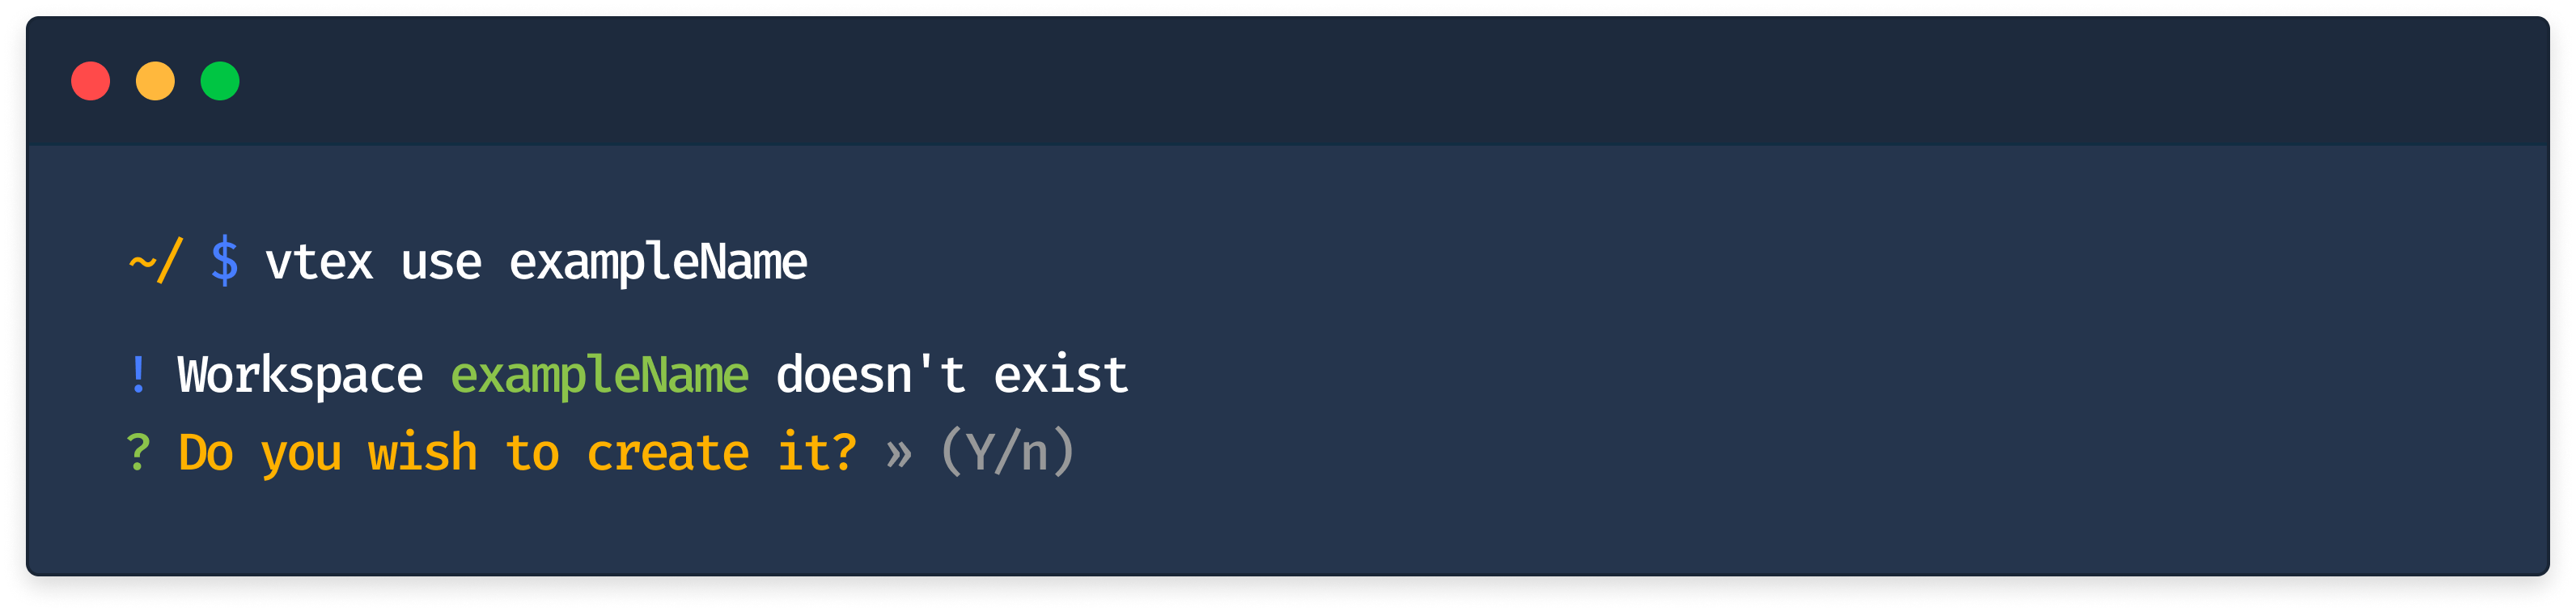
To switch to a development workspace, run the vtex use command in your terminal as shown below:
_10vtex use {workspaceName}
Replace
{workspaceName}with the name of your development workspace.
This command will create a new workspace named workspaceName if it does not already exist and switch to it. If the workspace already exists, it will simply switch to it.
Once you have logged into your account and created your own development workspace, you are ready to start developing your React app. In the next step of this tutorial, you will learn how to start your app's project.