Installing VTEX IO CLI
Instructions to install VTEX IO CLI in your computer
According to your operating system, follow the respective steps to install VTEX IO CLI on your computer.
MacOS
- Brew
For computers running on an Apple M series chip (M1, M2, etc.), before installing VTEX IO CLI, install Rosetta. This enables your computer to use the command-line interface for a Mac with an Intel processor. To install Rosetta, run the following in your terminal:
/usr/sbin/softwareupdate --install-rosetta --agree-to-license.
- Install Xcode by running the following command:
_10xcode-select --install
- Install Homebrew by following the instructions on the Homebrew website.

- Install VTEX IO CLI by running the following command:
_10brew tap vtex/vtex_10brew install vtex
Linux
-
Tarball
Before the installation, check if you have the curl command-line tool and library installed on your computer.
Open the terminal and run the following command to install VTEX IO CLI.
_10curl -L https://vtex.io/vtexcli/install | sh
Windows
-
Installer for Windows
- Download the appropriate installer for your Windows system (64-bit installer; 32-bit installer).
- Open the downloaded file and follow the instructions to complete the installation process.
- Run the Windows Terminal with admin permission by right-clicking the Windows Terminal icon and selecting
Run as administrator. - Run the following command to complete the installation:
_10vtex
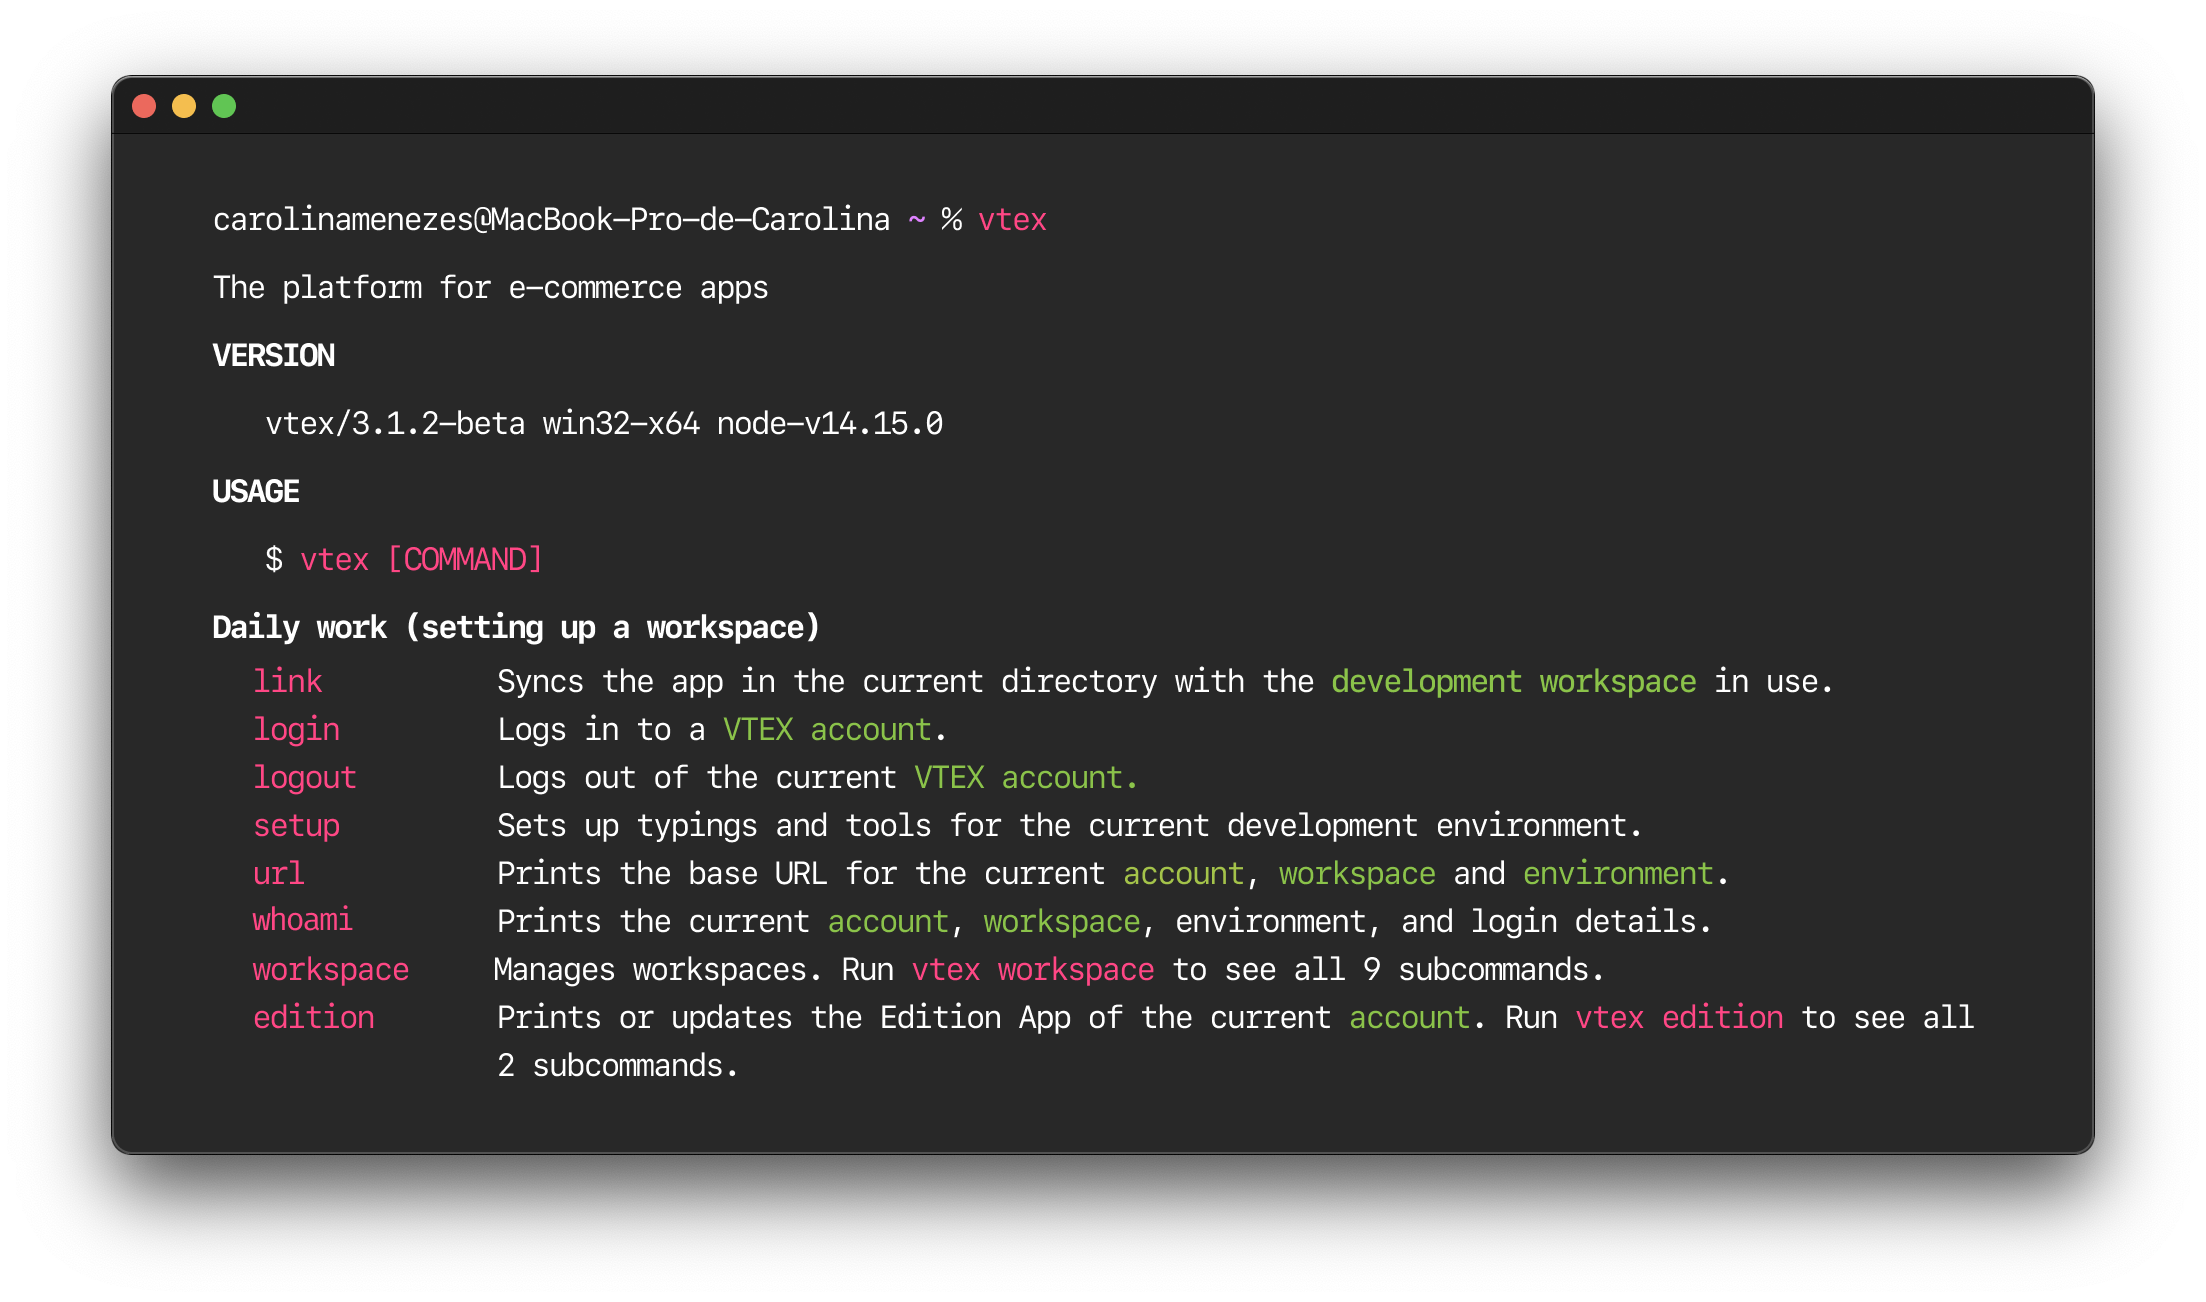
After completing these steps, you'll see the following message:

Further usage of VTEX IO CLI doesn't require admin permission.
Installing CLI via NPM
Since VTEX IO CLI is built with Node.js, you can install it manually via npm. This method is recommended only for environments where auto-updating VTEX IO CLI is not ideal.
We highly recommend using an alternative installation method. If you choose to install VTEX IO CLI via npm, remember that CLI won't update automatically, and the Node version on your computer might conflict with the one used by CLI developers. If you opt for any other installation method, VTEX IO CLI will always be up-to-date, preventing installation issues.
MacOS
- Install Homebrew by following the instructions on the Homebrew website.

- Install Node.js via Homebrew by running the following command.
_10brew install node
- Then, install Yarn.
_10brew install yarn
- Finally, install VTEX IO CLI.
_10yarn global add vtex
Linux
- Install Node.js by running the following command:
_10sudo apt install nodejs
- Install Yarn by following the Yarn installation for Linux.
- Install VTEX IO CLI by running the following command:
_10sudo yarn global add vtex
Windows
- Download and install Node.js.
- Download and install Yarn.
- Run the Windows Terminal with elevated administrator permission by right-clicking the Windows Terminal icon and selecting
Run as administrator. - Install VTEX IO CLI by running the following command.
_10yarn global add vtex
- Run the following command to finish the installation.
_10vtex
After following the steps, this message will appear.

You don't have to be in your admin role for the next step.
Verifying the installation
To confirm that the installation went as expected, run the following command to check all default commands available in VTEX IO CLI.
_10vtex
Troubleshooting
If you are having problems after installing VTEX IO, see the I can't install VTEX IO CLI troubleshooting guide.