Setting up your development environment
In this part of the tutorial, you will:
- Install all the necessary tools to develop your own Pixel app.
- Create a new development workspace.
- Access your store using a workspace.
Instructions
Step 1 - Installing the VTEX IO CLI
Any development in VTEX IO begins and ends with the VTEX IO CLI, which works as a communication gateway between your store and the VTEX IO development platform. With VTEX IO’s CLI, you can use the terminal to log in to your VTEX account, manage workspaces, develop apps, and install new ones.
- Install the VTEX IO CLI on your machine by following this guide.
- Check if the installation was successful by running
vtex.
Step 2 - Logging in to your VTEX account
After installing the VTEX IO CLI in your machine, take the following steps to log in to your VTEX account.
- Log in to your VTEX account by running the following command:
_10vtex login accountName
Replace
accountNamewith the name of your VTEX account.
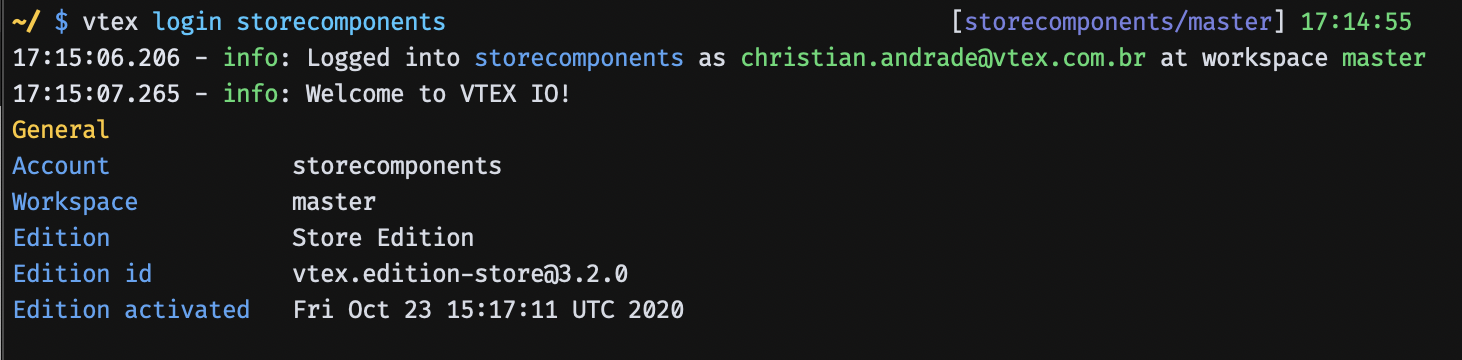
- After running the command, a browser window will open and ask for your credentials. Please enter the information required to log in to your account successfully.
Step 2 - Creating a development workspace
When developing with VTEX IO, you'll use different workspaces. Workspaces are environments isolated from one another. They can be understood as different versions of the same VTEX account. In practice, changes performed in a particular workspace do not affect your store's live version or other developers' work.
When you log in to a VTEX account using the VTEX IO CLI, you are automatically in the master workspace, which is the version of your store available to end-users. Hence, to avoid changing your store's live version, you must create a development workspace.
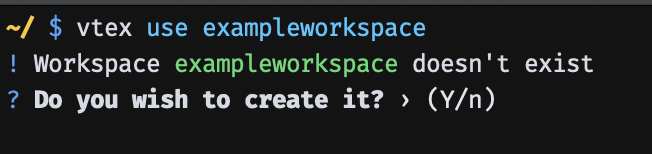
- Create a development workspace by running the following command:
_10vtex use exampleworkspace
Replace
exampleworkspacewith a name of your choosing to identify your new workspace.
- Enter
Yto create the new workspace.
After running this command, you'll be taken to the exampleworkspace workspace, and all your operations will now run in this specified workspace.
Step 3 - Accessing your store using a workspace
After creating a new development workspace, you can access this version of your store by going to: https://exampleworkspace--accountName.myvtex.com, where:
exampleworkspace- Name of the workspace that you've just created.accountName- Name of the VTEX account in which you are working.
Done! You're now ready to start developing your Pixel app!