Admin GraphQL IDE
Learn how to make GraphQL queries in the Admin and use the IDE features.
Admin GraphQL IDE is an Admin app that allows users to make GraphQL queries. It includes GraphiQL, an open-source interface for writing, validating, and testing queries.
Admin GraphQL IDE allows developers to test and validate GraphQL APIs by providing features, such as:
- Autocomplete.
- Syntax highlighting.
- Real-time error reporting.
- Documentation explorer.
Before you begin
Make sure you have the VTEX IO CLI installed. If not, follow the instructions in Installing VTEX IO CLI.
Installing Admin GraphQL IDE
Follow these steps to install and open Admin GraphQL IDE:
-
In a terminal, use the VTEX IO CLI to log in to your VTEX account.
-
Run
vtex use {workspaceName} --productionto use a production workspace or create a production workspace from scratch.Remember to replace the values between curly brackets according to your scenario. To run tests, consider using a development workspace.
-
Install the GraphQL IDE app by running
vtex install vtex.admin-graphql-ide@3.xin your terminal. -
In your browser, go to
https://{workspace}--{account}.myvtex.com/admin. -
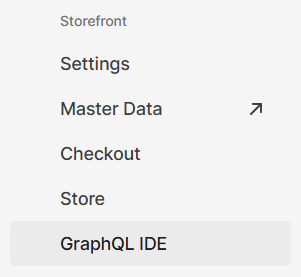
Under Store Settings > Storefront, click GraphQL IDE.
On the right side of your screen, you will now see a dropdown menu with the list of GraphQL APIs installed in the logged VTEX account.
Using Admin GraphQL IDE
The Admin GraphQL IDE interface is divided into three main sections:
- One on the top left for writing queries.
- Another is on the right to check the results.
- A third one is on the bottom left, named Query Variables, which is optional and hidden at the bottom of the screen.
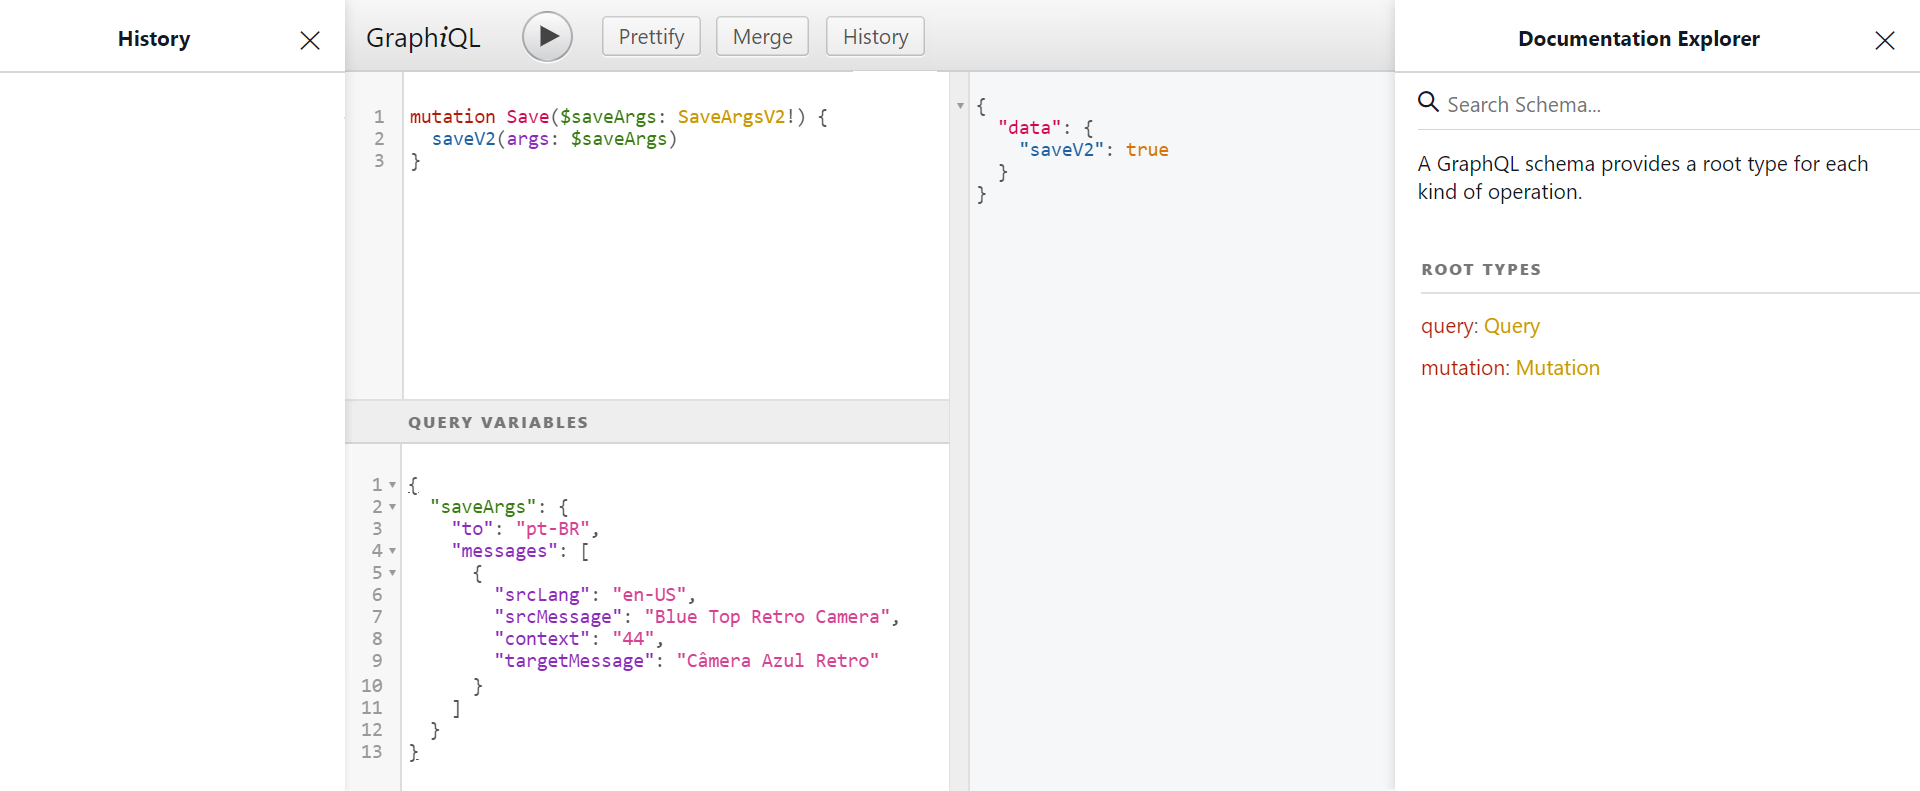
The Query Variables section is recommended when the same query will be reused many times with different arguments. To use dynamic values, you must place a dollar sign ($) before the variable name and then define the values for each field as JSON in the Query Variables section.
Follow these steps to make a GraphQL query:
- In the Choose an app dropdown menu, select the app you want to query.
- In the top-left box, write your query.
- If you need to use variables, click Query Variables in the bottom-left corner and insert your variables in the box using JSON format.
- Click Execute Query ▶️ to send your query. The result will appear on the panel to the right.
Documentation Explorer
Another section of Admin GraphQL IDE is the Documentation Explorer, which can be found in the upper right-hand corner of the IDE. The Documentation Explorer allows developers to better understand a particular query, mutation, or type structure by providing a description and information about its schema.
History
Another feature of Admin GraphQL IDE is keeping a log of all the queries and mutations that are run, which can be viewed through the History dashboard. If you click one of the queries from the History list, the query code will appear in the top-left box.
Shortcuts
When writing a query in Admin GraphQL IDE, some useful shortcuts are:
Ctrl + Space(orShift + Space) to display the autocomplete popup.Ctrl + Enterto run the GraphQL query.Ctrl + Shift + Pto fix the indentation.