Creating Sales App extensions
Learn how to create a Sales App extension and render it in a predefined extension point.
This feature is in beta, and we're working to improve it. If you have any questions, please contact Support.
After setting up a Sales App extension project in your FastStore monorepo, you're ready to create custom experiences by rendering React components in predefined extension points.
To create a Sales App extension, it's not mandatory to configure the
discoverymodule. In this setup, FastStore provides the monorepo structure, tooling, and build process, while thesales-appmodule contains the extension code.
In this guide, you'll learn how to create a basic extension and connect it to an extension point.
Before you begin
- Complete the Setting up Sales App extensions guide.
Instructions
Suppose you want to create a custom message for Sales App. Based on the sample folder generated in your monorepo when creating the project, follow the steps below.
Step 1 - Creating the component
To create a new component, add the following content to your TypeScript JSX file (for example, src/components/CustomMessage.tsx):
This component renders a simple custom message in the VTEX Sales App interface.
Step 2 - Registering the extension
Import the new component into src/index.tsx. Then, connect it to an extension point.
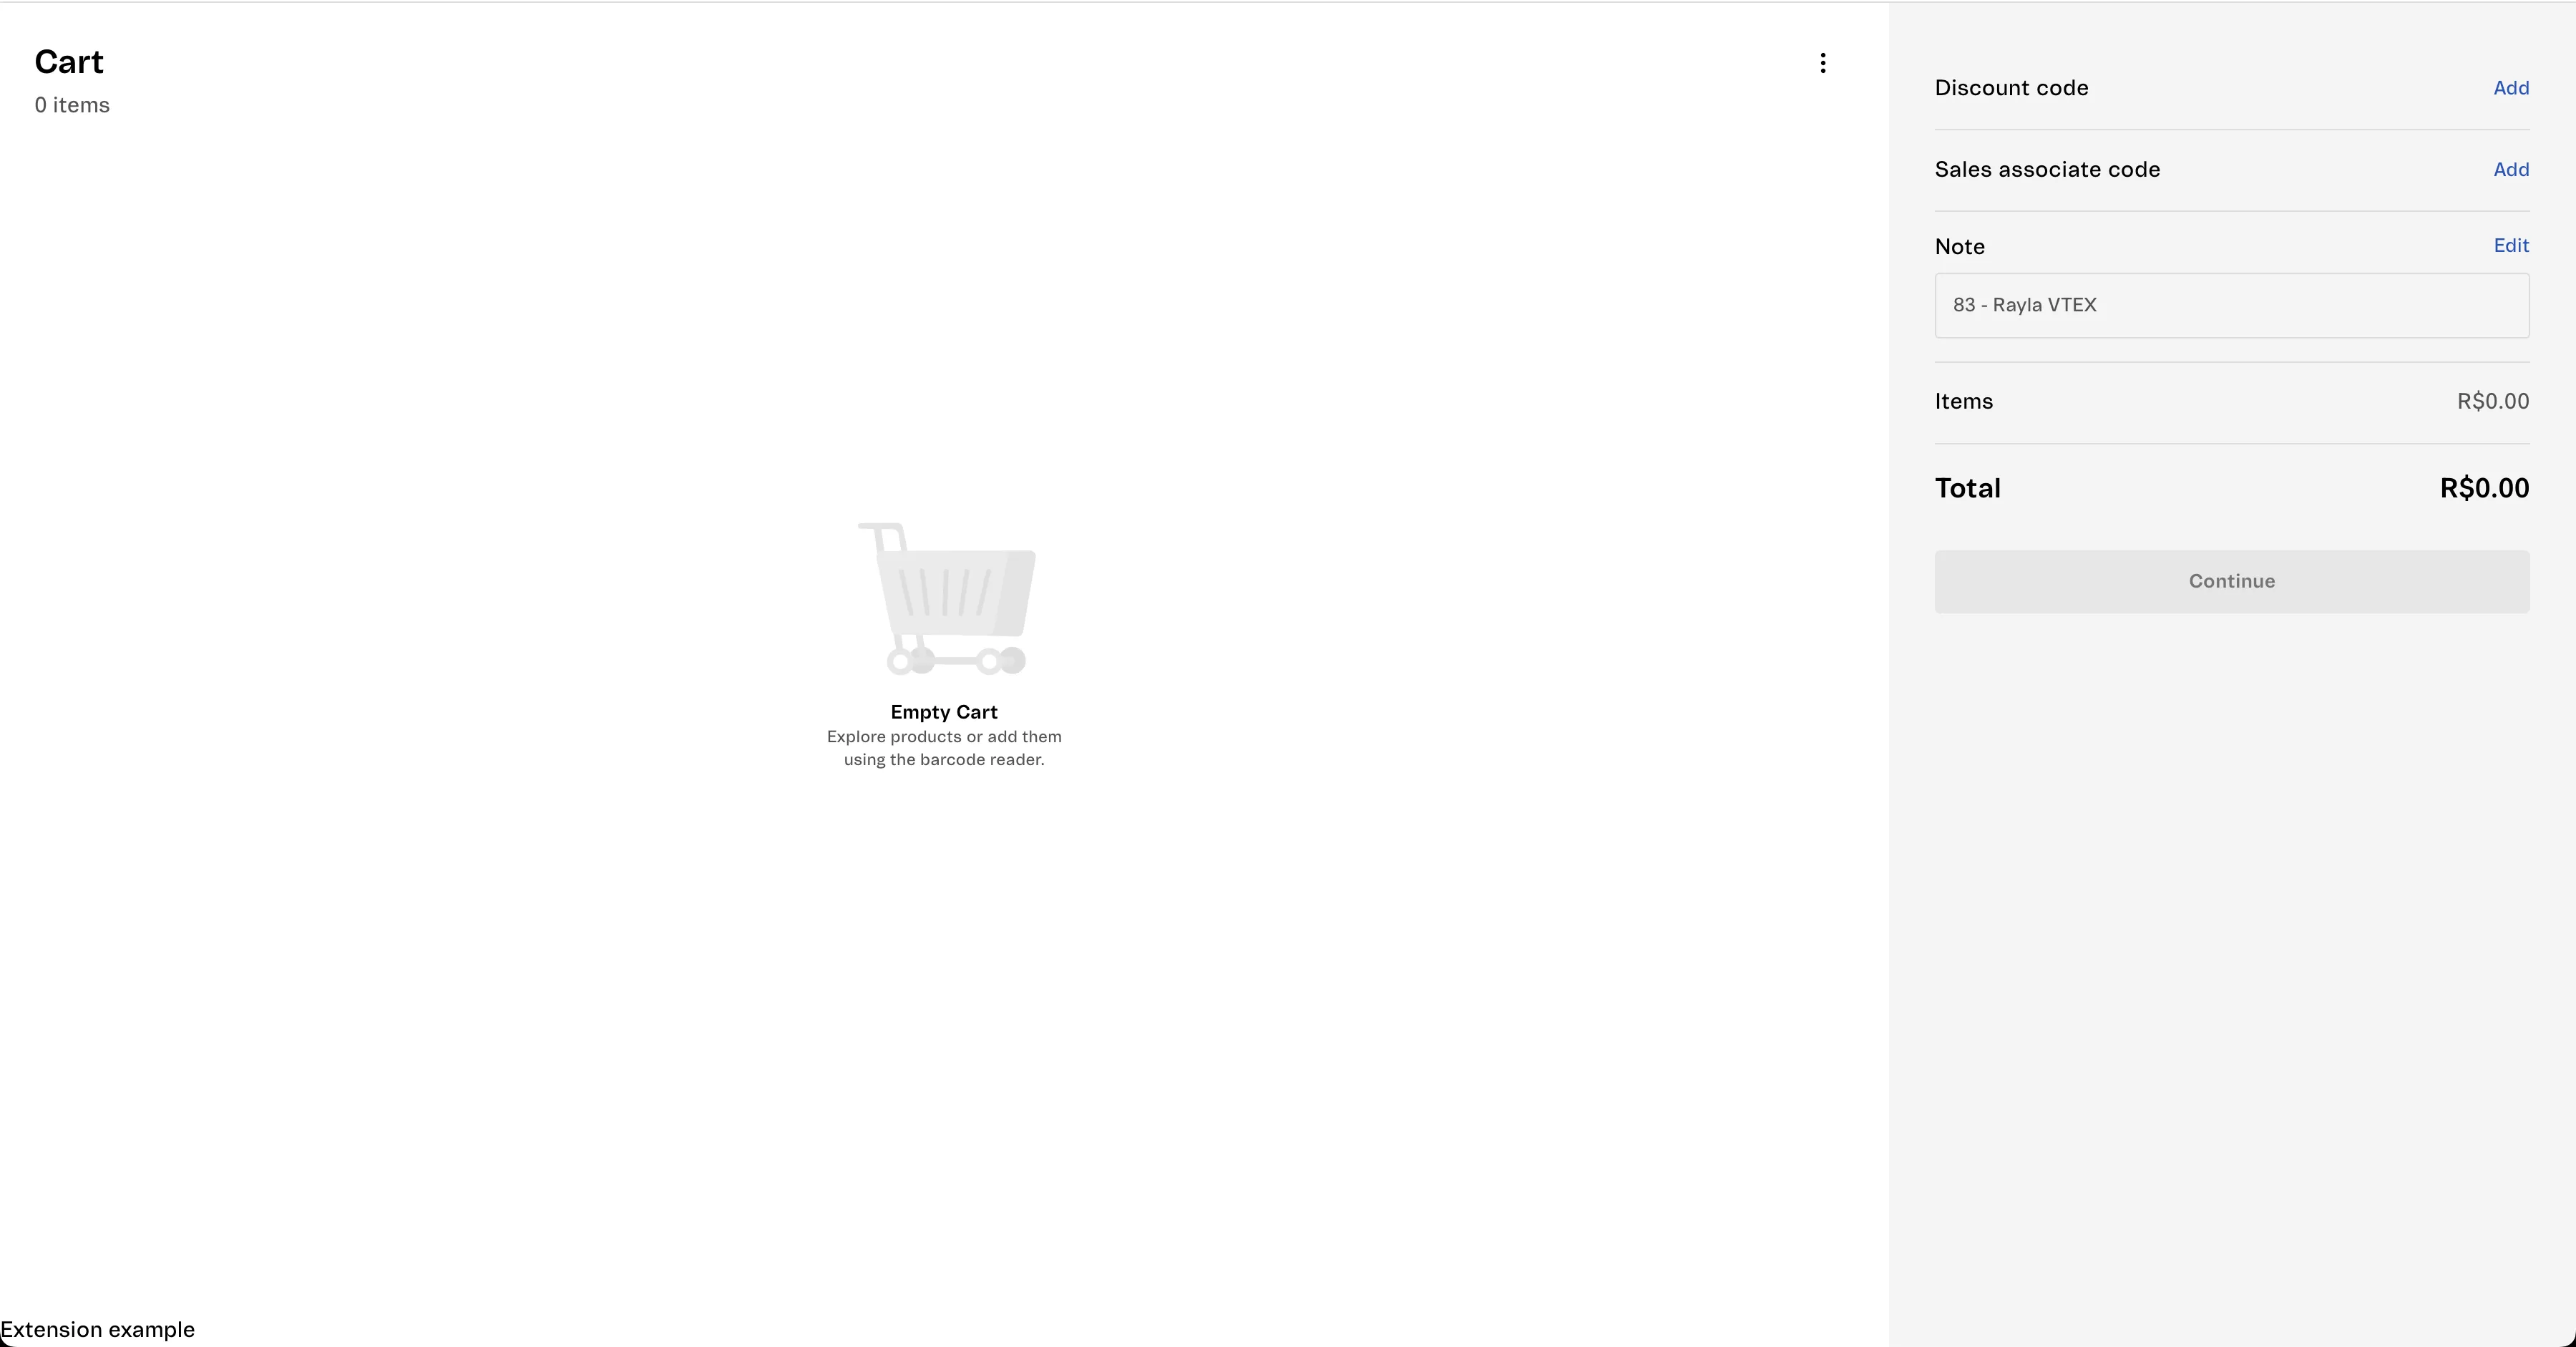
In this example, the component is rendered in the cart.cart-list.after extension point. Learn more about the available extension points in the Exploring Sales App extensions guide.
After saving the file, open the cart page again. The custom message should appear below the cart item list.
Once you've created an extension and connected it to an extension point, you can customize the styling of your component. For detailed instructions, see the guide CSS styling in VTEX Sales App Extensibility.