Organizations Challenge is an app that checks if users are allowed to view content, based on their roles and permissions within Organizations.
Prerequisites
Before using the Organizations Challenge app, please make sure you meet the following prerequisites.
Set up your development environment
Before starting with the B2B Store Theme setup itself, you must:
- Set up a workspace to develop in VTEX IO on your machine.
- Follow these instructions to make sure you meet all the prerequisites to develop using Store Framework.
- Make sure your store’s catalog is integrated with VTEX Intelligent Search, as described in this article.
Install required Organizations apps
Now you must install the required apps listed below. They are mandatory for the Organizations Challenge app to work properly.
Admin Organizations
In brief, the Admin Organizations app is responsible for managing the Roles and Permissions modules on your store’s Admin.
Run the command vtex install vtex.admin-organizations@1.x on the CLI to install it in your store.
Organizations
The Organizations app allows you to create an organization — a business store — and manage users under that organization with different roles.
Run the command vtex install vtex.organizations@1.x on the CLI to install it on your store.
Create Master Data schemas
You must have the following Master Data schemas configured:
Learn more about how to create these schemas in the Create Master Data schemas section of our guide on Installing the B2B Store Theme.
Create Master Data fields
You need to have the isOrgAdmin and organizationId fields configured in Master Data. Learn more about how to create this field in the Create fields in Master Data section of our guide on Installing the B2B Store Theme.
Installation
First, add the app as a dependency in your theme’s manifest.json file, as follows:
_10 "dependencies": {_10 "vtex.organizations-challenge": "1.x"_10 }
Then, follow the instructions below to set your theme’s blocks, manage roles and permissions and add permissions using the Site Editor.
Set theme blocks
In your theme’s files, wrap the blocks you want to be visible only to the allowed logged-in users with challenge-permission.
This component will check if the user has permission to see the allowed-content, otherwise they will see the disallowed-content.
In the example below, taken from the B2B Store Theme’s product-summary-prices.jsonc file, the product prices are only visible to logged-in users with the view_prices permission. Otherwise, the store will show the "Log in or sign up to view prices" message instead.
Example:
_23{_23 "challenge-permission#product-summary-price": {_23 "blocks": [_23 "allowed-content#product-summary-price",_23 "disallowed-content#product-summary-price"_23 ],_23 "props": {_23 "permissions": [{ "name": "view_prices" }]_23 }_23 },_23 "allowed-content#product-summary-price": {_23 "children": ["product-summary-price"]_23 },_23 "disallowed-content#product-summary-price": {_23 "children": ["rich-text#product-summary-price"]_23 },_23 "rich-text#product-summary-price": {_23 "props": {_23 "blockClass": ["product-summary-price-message"],_23 "text": "Log in or sign up to view prices"_23 }_23 }_23}
Manage roles and permissions
To manage users’ permissions to view prices, you must follow the steps below to associate them with the view_prices permission.
-
In the Account Settings module on VTEX’s Admin panel, click on Authorizations and then on All Permissions.
-
Check if the
view_pricespermission exists, as shown in the image below.
If it already exists, proceed to step 3.
If it does not exist yet, click on
Newand fill in the fields as follows:- Name: view_prices
- Label: View Prices
Click on
Save. -
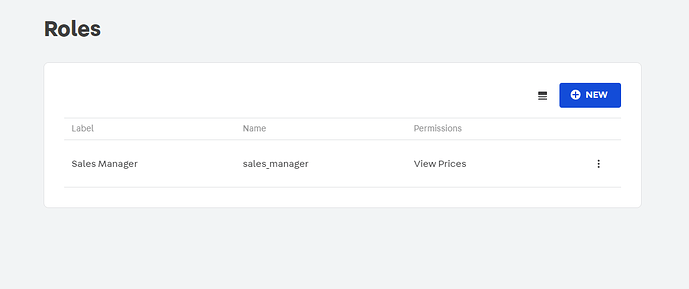
In the Account Settings module, click on Authorizations and then on All Roles.
-
Check if the sales_manager role exists and is associated with the View Prices permission, as shown below.
If it already exists, proceed to step 5.
If it does not exist yet, click on
Newand fill in the fields as follows:- Name: sales_manager
- Label: Sales Manager
- Add Permissions: click on
˅and then on View Prices.
Click on
Save. -
Go to the store’s website and log in as the desired user.
-
Click on
Hello, {name}and then onMy Account, as shown below.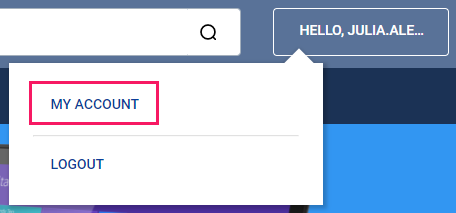
-
Click on the My Organization tab.
-
Fill the data below and click on
Save.- Name: organization name.
- Phone number: organization phone number.
- Address: address of the organization.
- Email: email address of the organization.
The user will then be saved automatically with the Sales Manager role and the View Prices permission. If you refresh this page, you will be able to add other users as members of the organization and give them roles.
Edit blocks’ permissions using Site Editor [OPTIONAL]
After the steps above, if you must edit the permissions allowed to see the defined blocks, you can do that either directly in the code – as explained in the Set theme blocks section – or using the Site Editor, on the VTEX Admin. This section will explain how to use the Site Editor with this purpose.
You should give a list of permissions to challenge-permission block from the Site Editor to allow or disallow relevant blocks.
-
In the Store Setup module on VTEX’s admin panel, click on CMS and then on Site Editor.
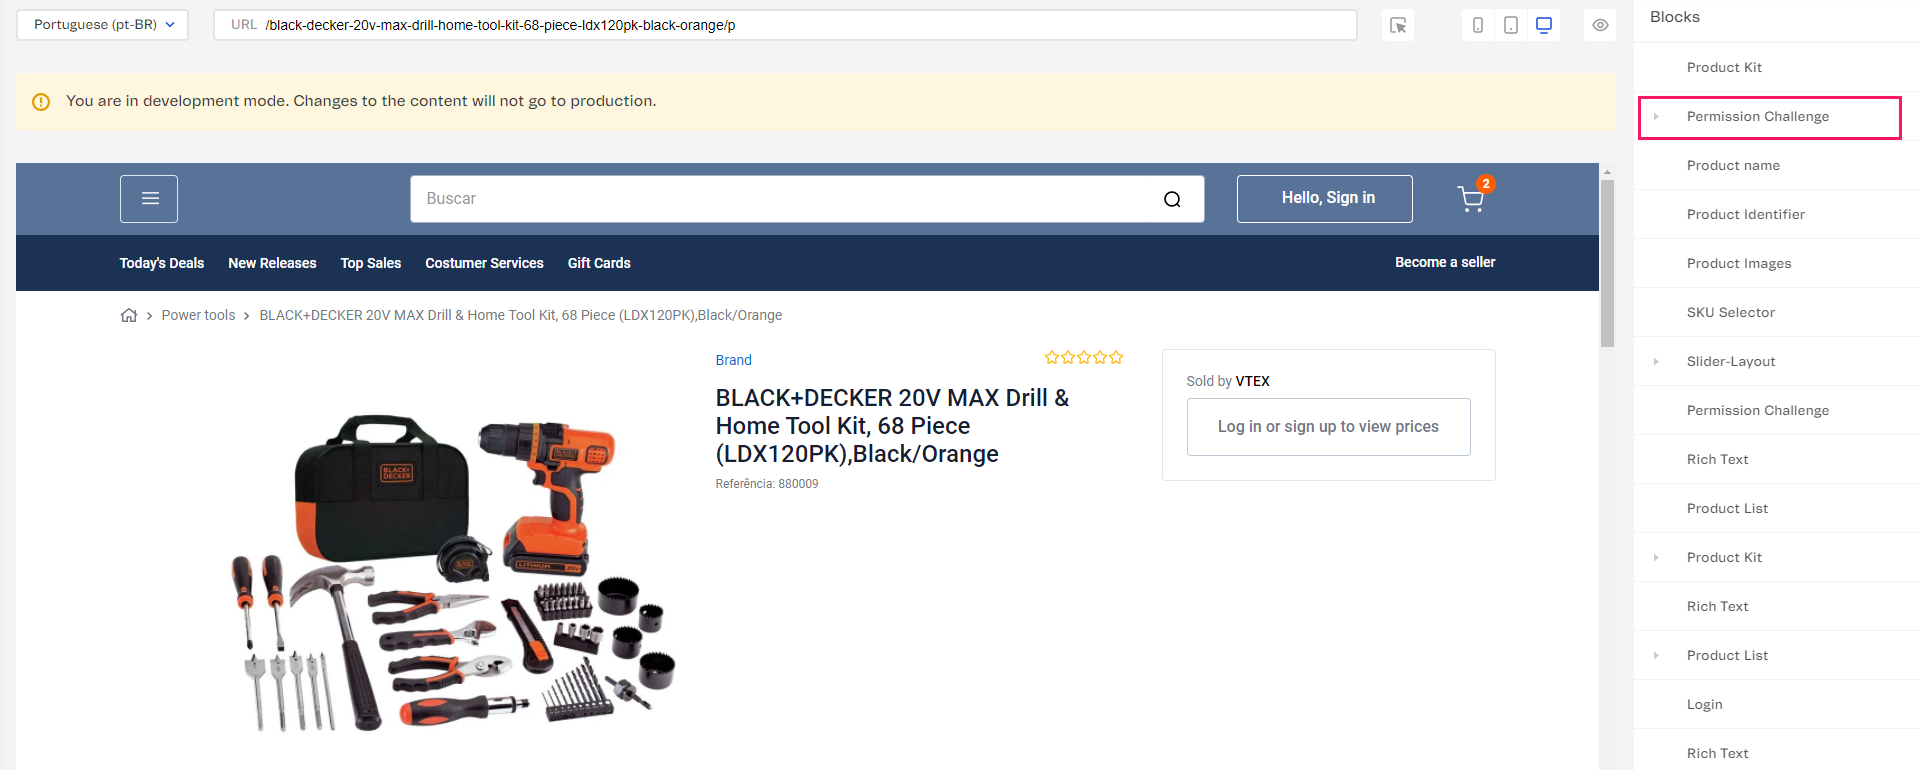
-
In the list of blocks, illustrated below, find the Permission Challenge block whose permissions you want to edit and click on it.
-
You will see the options below on the sidebar.
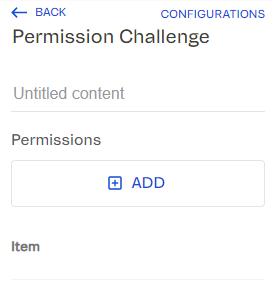
By clicking on the Untitled content field, you have the option to name this Permission Challenge block as you wish.
Under Permissions, you can click on + Add to inform the Name of a permission allowed to see this block and click on Apply to save your changes.
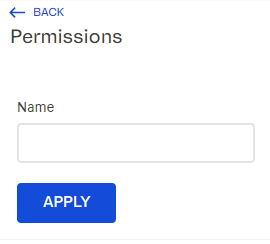
The view_prices permission is already saved as an Item – if you click it you will have the option to change it, the same way you would create a new one.
If you perform any changes, make sure you click on Apply.
The permission Name used on Site Editor must be valid on the Permissions page, as described in step 2 of the Manage roles and permissions section.
Customization
In order to apply CSS customizations in this and other blocks, follow the instructions given in the recipe on Using CSS Handles for store customization.
You can create a file called vtex.challenge-permission.css inside the styles/css folder to add your custom styles.
| CSS Handle |
|---|
challengeContentWrapper |