Setting up Merchant ID in Apple Pay
In order for your store to begin receiving payments with Apple Pay, you will need to set Merchant ID in your Apple developer account.
Creating the Merchant ID
First of all, you need to create the Merchant ID itself - your store's ID on Apple's system.
This account acts as your login to the Apple Pay setup with VTEX. More specifically, this Merchant ID will be entered in the gateway affiliation which will, in turn, process payments.
It's therefore important to choose an ID that's easy to remember. We recommend something similar to merchant.yourStoreName.vtexpayments.com.br.apple.
In addition, your Merchant ID will not be the same as that of other stores. Apple's system ensures that each ID is unique.
Let's now turn our attention to the step-by-step process below:
- Access your Apple developer account at
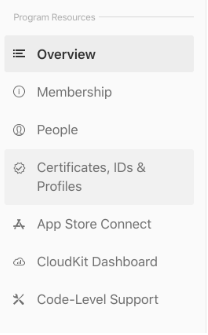
https://developer.apple.com/account/#/overview/. - Select the Certificates, IDs & Profiles option.
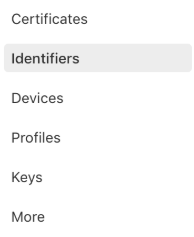
- Select Identifiers.
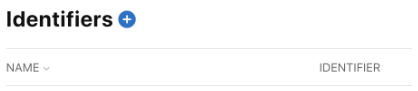
- Next to Identifiers, click on the blue + button.
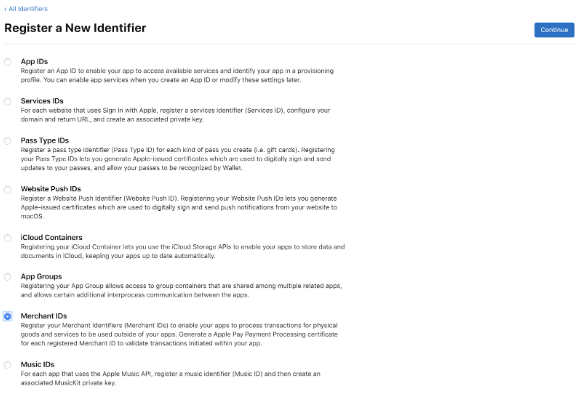
- Select the Merchant IDs option.
- Click on the blue Continue button.
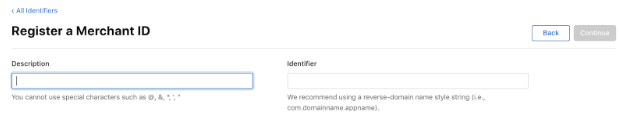
- Fill on the Description field.
- Fill in the Identifier field.
- Click on Continue.
You will have created your Merchant ID.
Creating the certificate to process payments
Now you've created your Merchant ID, you'll need a certificate to activate it.
This certificate is created by VTEX. Therefore, the retailer needs to open a ticket with support for the team responsible for integrations to send you the file.
Thereafter, the retailer can submit the file to Apple Pay's system.
Follow the instructions below to proceed to this step:
- On the left-hand side, open Certificates from the menu.

- Type in your newly created Merchant ID in the search bar.
- Select the desired Merchant ID.
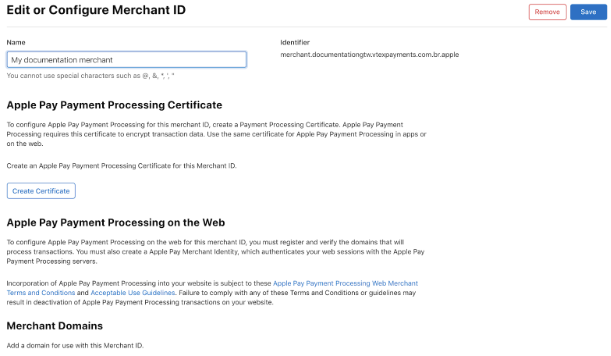
- Under Apple Pay Payment Processing Certificate, click the Create Certificate button.

- Ensure that the question "Will payments associated with this Merchant ID be processed exclusively in China?" is ticked with the default option (No).
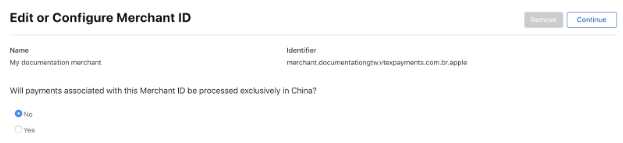
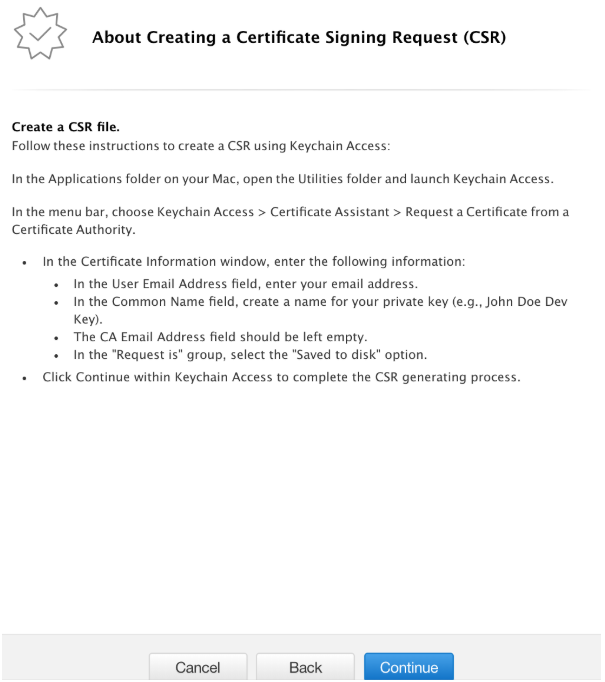
You'll then be redirected to a screen with instructions on creating the Certificate Signing Request (CSR).
This is the time to open a ticket with the certificate request. The VTEX team will send you a file entitled {{merchantID}}.csr and with it saved on your computer, you must click on Continue.
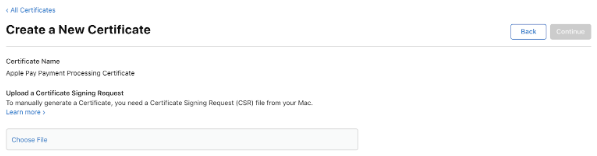
After this step, you will be redirected once again, this time to the upload screen.
With the {{merchantID}}.csr that you've received, complete the following:
- Click on Choose File.
- Select the desired CSR file.
- Click on Continue.
- Click on Download.
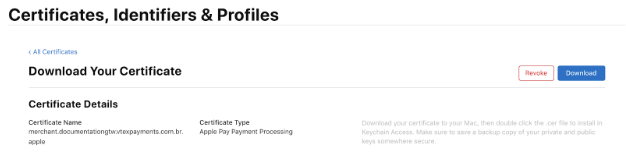
- Click on Done.
Adding domains to Merchant ID
The next step is to link the domains used by your store to the Merchant ID that you've just created.
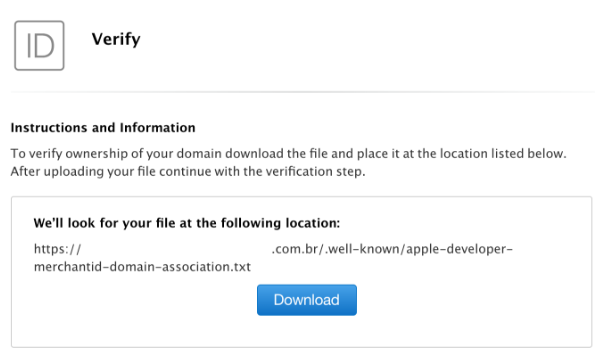
Firstly, you need to validate each of the desired URLs. Once this step is correctly completed, Apple's own system will create a .txt file and point to which domain this document should be linked to.
Lastly, you need to import this file to VTEX's system through Postman - an API management tool.
This validation can only be done one domain at a time. This means that if your store uses 10 different domains, the process will have to be repeated 10 times.
Follow these steps:
- Search for the recently created MerchantID in the search bar.

- Click on the desired MerchantID.
- In the Merchant Domain module, click on Add Domain.
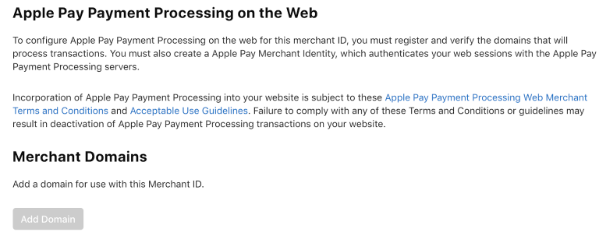
- Add the domain in the Enter the domain you wish to register field.
- Click on Save.
Thereafter, to upload the.txt file by API, follow these instructions:
- Click on Download and make no changes to the file.
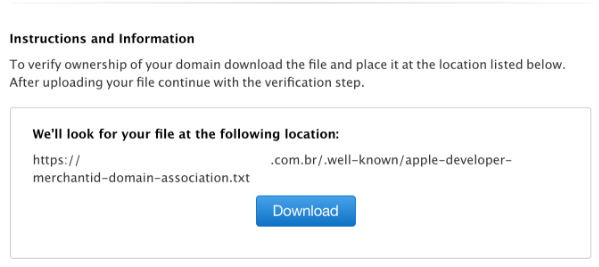
- Open the
.txtfile and copy all the content.
Then, start a Postman session. You perform a call to VTEX's CDN using the POST method:
- Configure the route POST
https://{{yourdomainhere}}/.well-known/raw/apple-developer-merchantid-domain-association.txt. - Paste the content of the .txt file in the request body. Ensure that all contents of the file are:
- Inside quotations marks.
- In JSON format, as in
"{token_content}". - Without any line breaks.
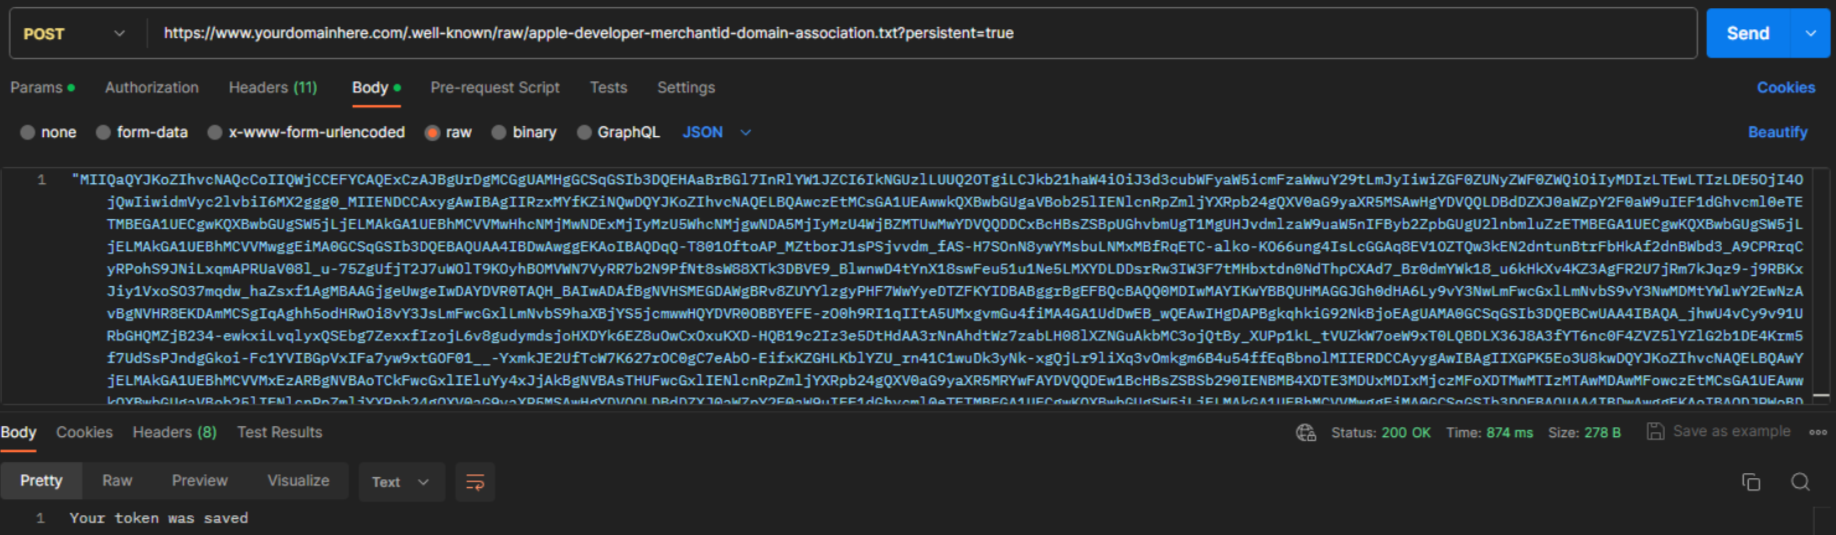
- Add the X-VTEX-API-AppKey and the X-VTEX-API-AppToken to the header.
Now, when making the POST call, the response will inform you that your certificate will be saved for 60 minutes. During this time, you should complete the domain validation.
Head back to the Apple's website. On the same screen where you downloaded the .txt file, click on Verify.
If you've followed the step-by-step correctly, your domain will be registered with the verified status. If you want, you can repeat the process to add more domains by using the Add Domain button in the Merchant Domains section.
Creating a Merchant Identity Certificate
Lastly, you must generate a Merchant ID certificate, which will be used every time Apple shows the Apple Pay screen to your customers. To complete the steps of this process, it's important that to have a Mac computer available.
To complete the action, you'll need to create a password to protect the exported data.
️ We recommend an easy to remember password, since it will be filled into the Apple Merchant Password field upon configuring the gateway affiliation on VTEX's platform.
- Access the Certificate, Identifiers & Profilers module.
- From the left side menu, choose Identifiers.
- In the upper right corner, filter by Merchant IDs.

- Select the desired Merchant Identifier.
- Click on Create Certificate.

- Follow the instructions displayed on the screen to create a certificate.
- Click on Continue.
- Click on Download.
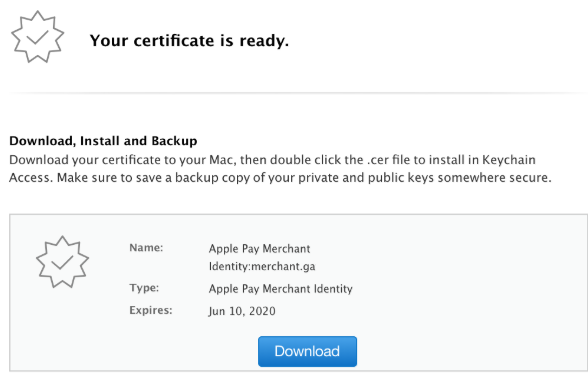
Afterwards, proceed to the following steps:
- Open Keychain Access.
- Locate the certificate created in step 4 above.
- Right click on the key icon.

- Click on Export.
- Give the certificate a name.
- Select the .p12 export format.
- Click on OK.
- Save the certificate on your computer.
After completing all the steps above, you will have a Merchant ID set up for Apple Pay, a .p12 certificate saved on your computer, and an access password. All this data will be requested during the process of setting up the payment provider that will process payments with Apple Pay in your store.