Setting up your development environment
Learn how to configure your development environment to build a Store Theme app with VTEX IO.
In this guide, you'll learn how to set up a development environment to build a Store Theme app for your store.
When working with Store Framework, you're essentially developing within VTEX IO, which means you have access to a comprehensive suite of VTEX IO apps to help you build and customize your storefront.
Instructions
Step 1 - Installing Git
Download Git on your computer directly from its website and install it by following the instructions of your operating system (Windows, Mac, or Linux). Git is a version control system that tracks file changes, facilitates collaboration, and allows developers to efficiently manage and recover project versions.
Step 2 - Installing VTEX IO CLI
Install the VTEX IO CLI (Command Line Interface), which serves as the gateway between your VTEX account and the VTEX IO development platform. The VTEX IO CLI is an essential tool for managing, developing, and deploying your Store Theme app.
For detailed instructions, follow the VTEX IO CLI installation guide.
Step 3 - Logging in to your VTEX account
With the VTEX IO CLI installed, log in to your VTEX account using the command below, and replace {accountName} with your VTEX account name:
_10vtex login {accountName}
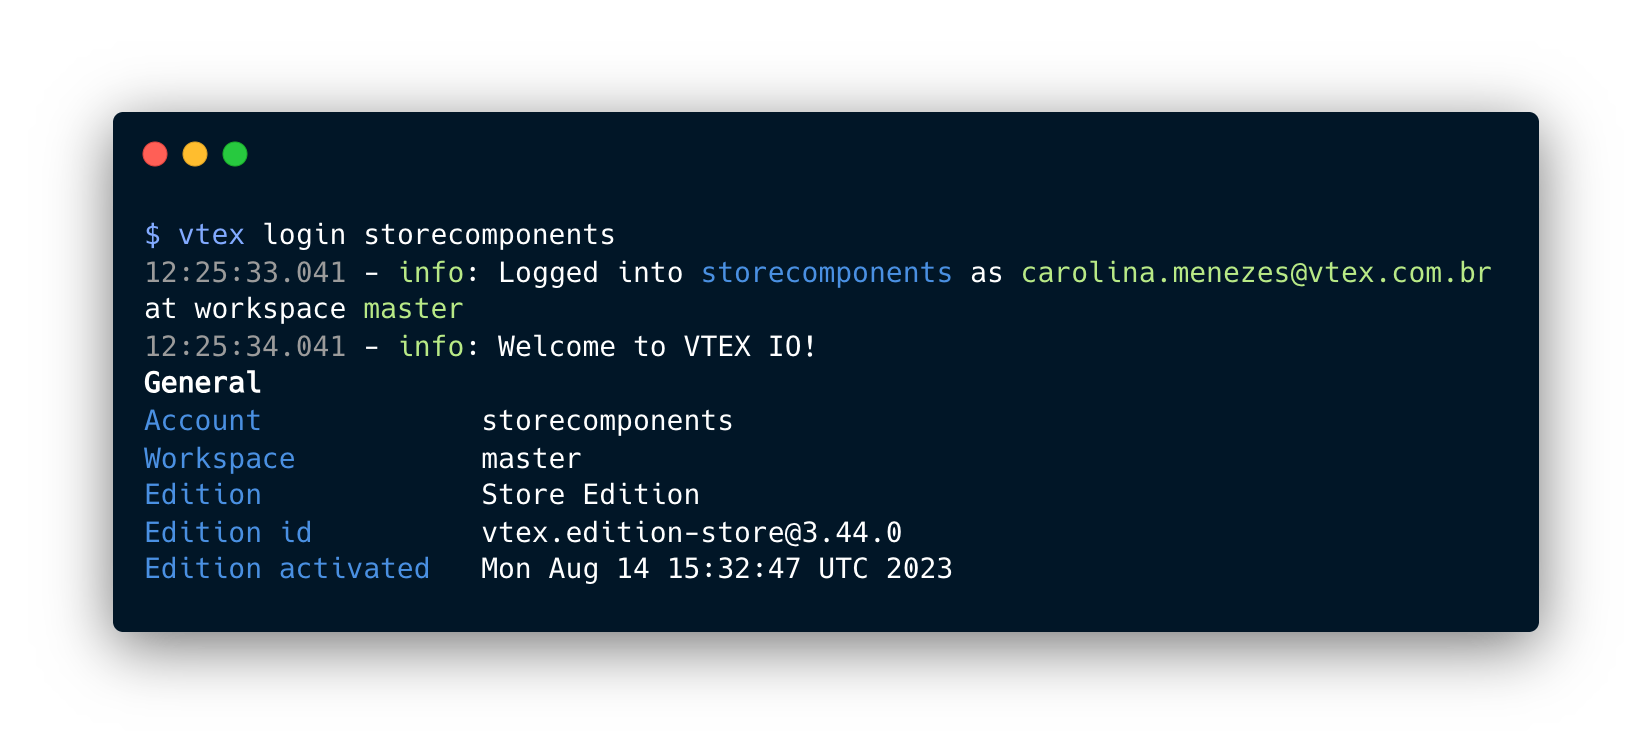
After running this command, a new browser tab will open, prompting you to log in to your VTEX account using your email credentials.
Once logged in, your web browser will display the following message: You may now close this window. At this point, you will have access to your VTEX account.
Step 4 - Creating a development workspace
On VTEX IO, all the interactions with your account occur within a specific workspace, which acts as a separate version of your account where you can run the changes without affecting the live version of your store.
By default, when you log in to a VTEX store using VTEX IO, you're in the master workspace, which reflects the version accessible to your shoppers.
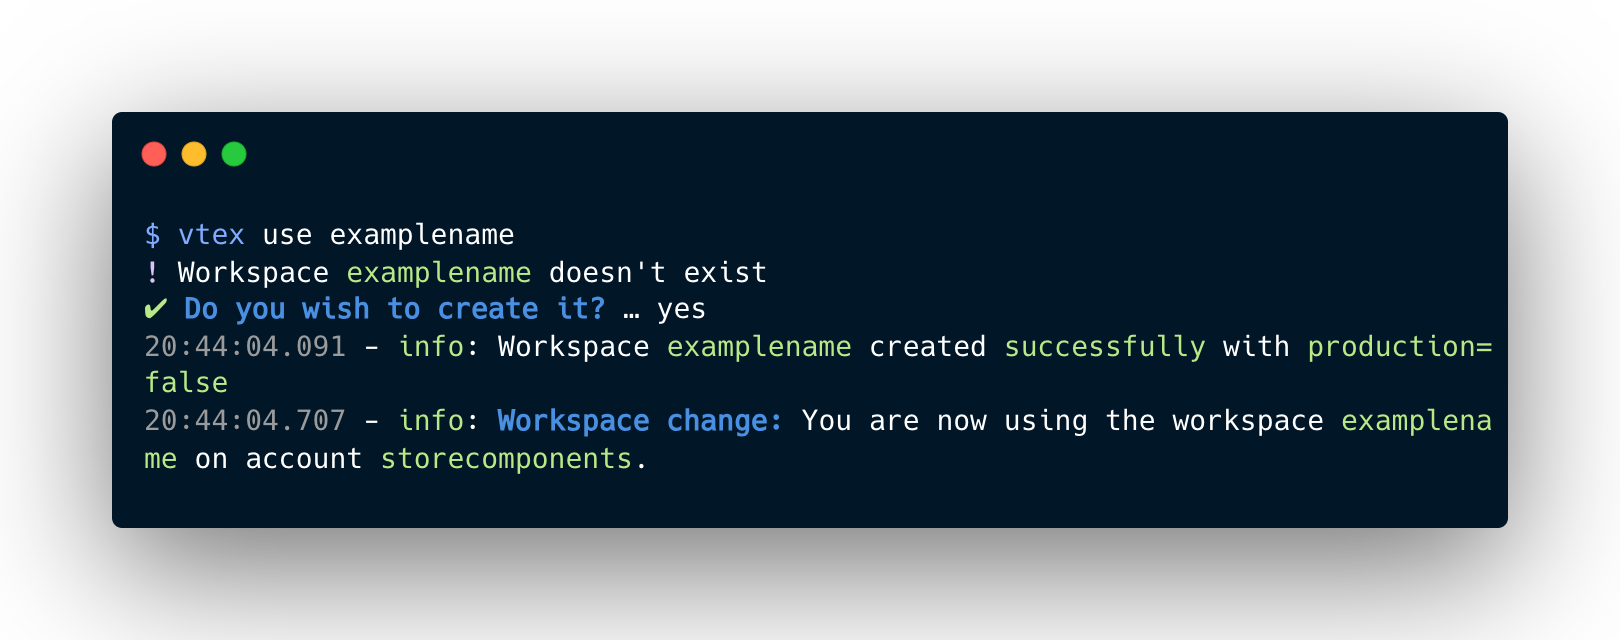
To keep your work isolated from master, create a development workspace by using the command below, and replace {exampleName} with your desired workspace name:
_10vtex use {exampleName}
If the workspace already exists, the command will switch to it. If not, VTEX IO CLI will create it for you.
The
vtex usecommand ensures that all your operations run in the specified workspace. To switch back to the main workspace (master), runvtex use masterin the VTEX IO CLI.
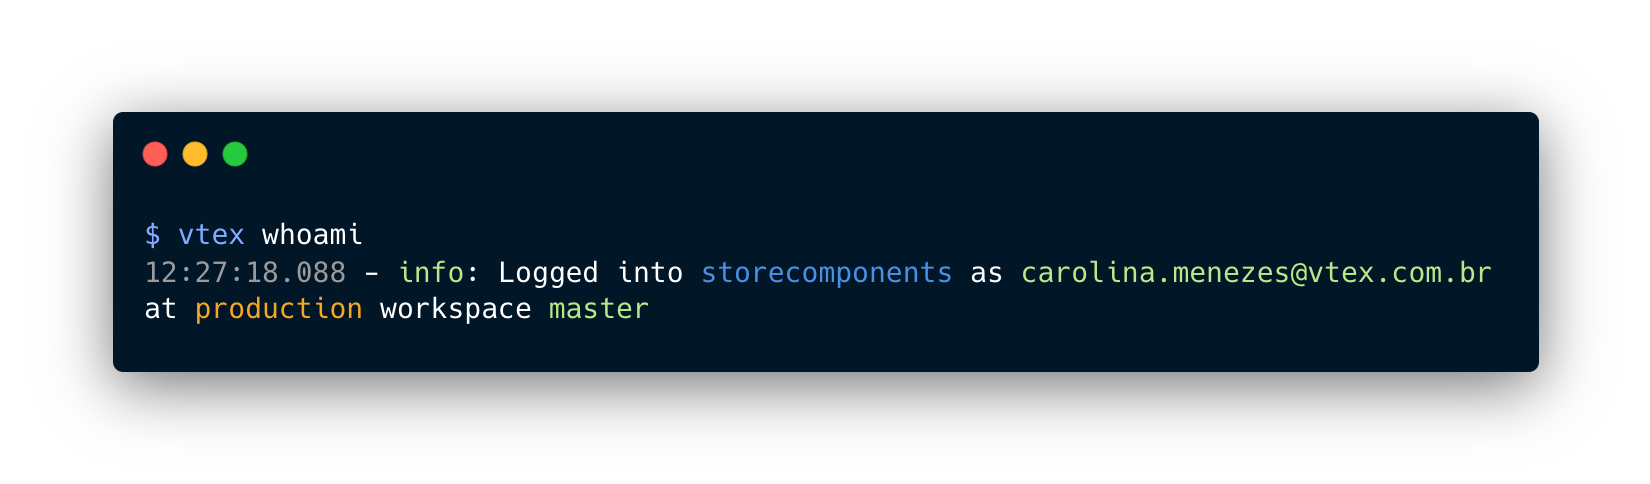
To confirm the account and workspace you're using, run the vtex whoami command in your terminal. Learn more in Command reference.
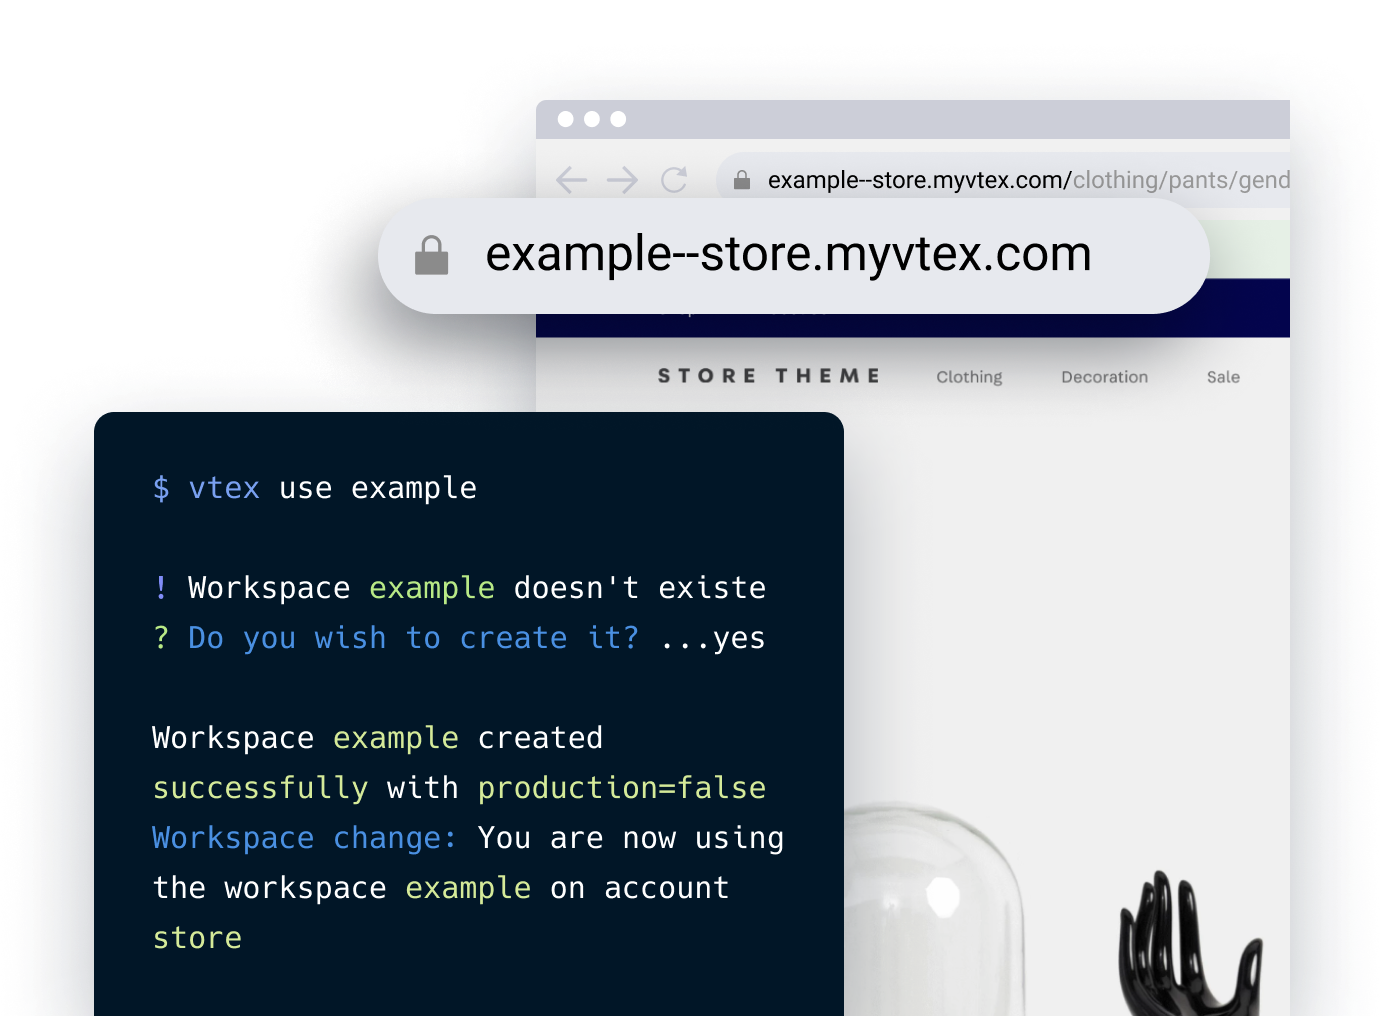
Step 5 - Accessing your store using a workspace
Once you've created your development workspace, access your store by visiting https://{workspace}--{accountName}.myvtex.com, replacing {workspace} with the name of your workspace and {accountName} with your VTEX account name. Alternatively, run the vtex browse command in your terminal to open your browser with the correct workspace and account settings.
Your account is now connected to the VTEX IO platform, and you're ready to start building a Store Theme with Store Framework.