Setting up Merchant ID in Apple Pay
Learn how to create a Merchant ID in your Apple Developer account, generate the Apple Pay certificates, and validate your store domains to process Apple Pay payments on VTEX.
To receive payments with Apple Pay, your store needs a Merchant ID, which is the identifier of your store in the Apple system. You create the Merchant ID in your Apple Developer account and then enter it in the payment provider that processes Apple Pay payments.
Setting up the Merchant ID has four stages, described in the following sections:
- Create the Merchant ID.
- Create the payment processing certificate.
- Validate the domains of your store.
- Create the merchant identity certificate.
Before you begin
Make sure you have the following:
- An Apple Developer account.
- A computer running macOS, required to create the merchant identity certificate, because you use Keychain Access to generate its certificate signing request and to export the certificate.
- An API key of your VTEX account, used to upload the domain validation file.
- A payment provider selected for your store that supports Apple Pay. You'll configure it after completing this guide.
VTEX generates the certificate signing request (CSR) used to create the payment processing certificate. Open a ticket with VTEX Support to request this file before you begin, because Apple asks for it in the middle of the certificate creation flow.
Creating the Merchant ID
The Merchant ID identifies your store in the Apple system. Apple ensures that each Merchant ID is unique, and a Merchant ID never expires. Choose an identifier that is easy to remember, such as merchant.yourStoreName.vtexpayments.com.br.apple.
To create the Merchant ID, follow these instructions:
-
Access your Apple Developer account.
-
Go to Certificates, IDs & Profiles > Identifiers.
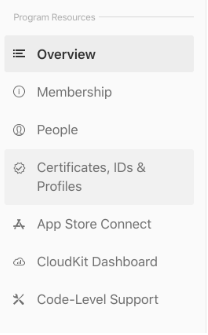
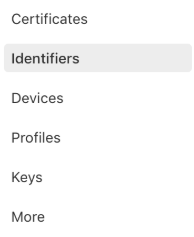
-
Click the add (
+) button next to Identifiers.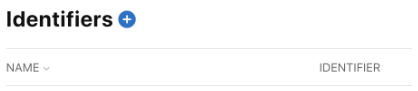
-
Select Merchant IDs.
-
Click
Continue.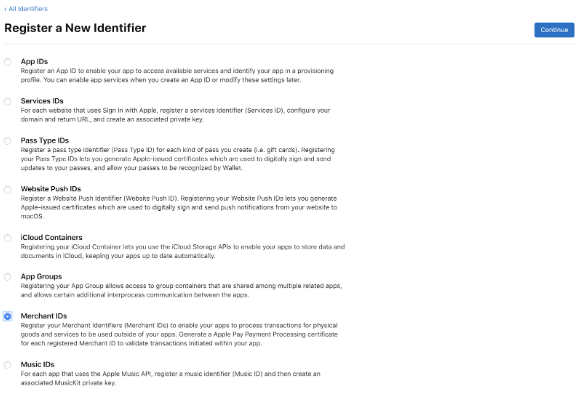
-
Complete the Description and Identifier fields.
-
Click
Continue.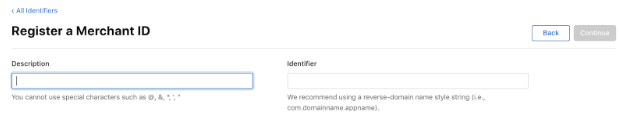
-
Review the settings.
-
Click
Register.
Creating the payment processing certificate
The payment processing certificate is associated with your Merchant ID and encrypts payment data for transactions. VTEX creates the CSR of this certificate, so keep the file sent by VTEX Support available before you begin.
The payment processing certificate expires periodically, currently every 25 months, according to the Apple documentation. Create a new certificate before the expiration date to avoid interrupting Apple Pay transactions in your store.
To create the certificate, follow these instructions:
-
Go to Certificates, IDs & Profiles > Identifiers.
-
In the filter at the top right of the page, select Merchant IDs.

-
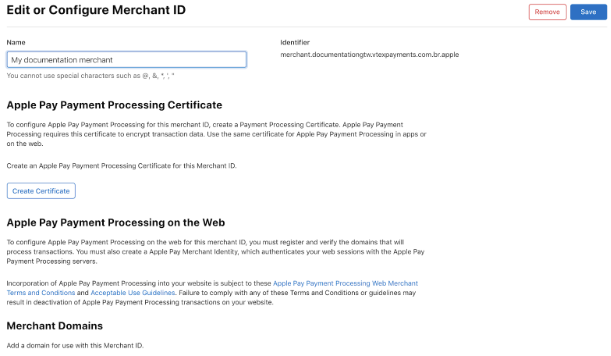
Select the Merchant ID you created.
-
Under Apple Pay Payment Processing Certificate, click
Create Certificate.
-
Keep the default option
Nofor the question about processing payments exclusively in mainland China.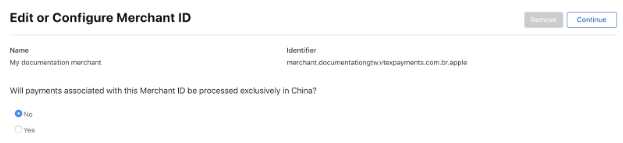
Use the CSR sent by VTEX Support instead of generating your own. The payment processing certificate requires a CSR created with the key pair that VTEX controls.
-
On the screen with the instructions to create the CSR, click
Continue. -
Click
Choose File. -
Select the
{merchantID}.csrfile sent by VTEX Support. -
Click
Continue.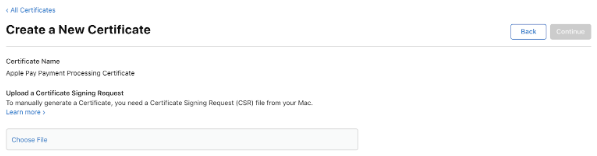
-
Click
Download.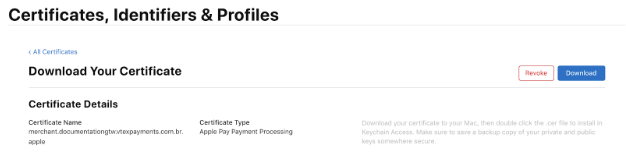
-
Click
Done.
Validating the domains of your store
Apple requires you to register and validate every top-level domain and subdomain that displays the Apple Pay button. In this stage, Apple generates a validation file, and you publish it in your store domain through the VTEX API.
Plan to complete this stage without interruptions, because VTEX stores the domain validation file for only 60 minutes after the upload.
Validate one domain at a time. If your store uses 10 domains, repeat this procedure 10 times. According to the Apple Pay Merchant Integration Guide, domains can't be behind a proxy or a redirect, and they must be reachable by the Apple servers.
To validate a domain, follow these instructions:
-
Go to Certificates, IDs & Profiles > Identifiers.
-
In the filter at the top right of the page, select Merchant IDs.

-
Select the Merchant ID you created.
-
Under Merchant Domains, click
Add Domain.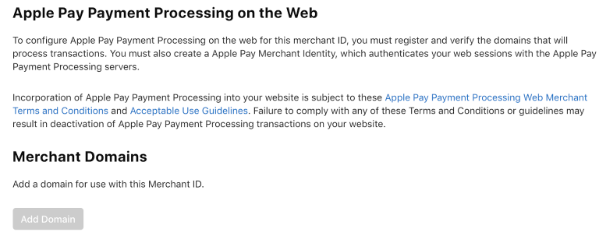
-
In the Enter the domain you wish to register field, enter the fully qualified domain name.
-
Click
Save. -
Click
Downloadto get the.txtvalidation file.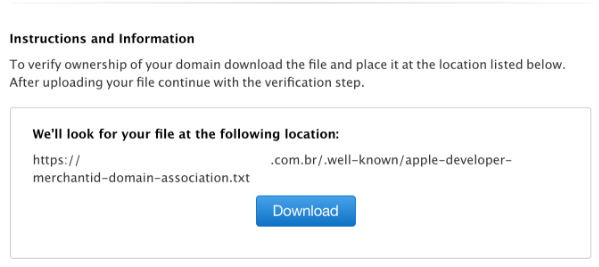
-
Open the
.txtvalidation file.
Don't change the content of the validation file.
-
Copy the entire content of the file, respecting the following format:
- Inside quotation marks
- In JSON format, as in
"{tokenContent}" - Without line breaks
-
Publish the content in your store domain with the following request, using an API client such as cURL or Postman:
_10curl --request POST \_10--url https://{storeDomain}/.well-known/raw/apple-developer-merchantid-domain-association.txt \_10--header 'Content-Type: application/json' \_10--header 'X-VTEX-API-AppKey: {appKey}' \_10--header 'X-VTEX-API-AppToken: {appToken}' \_10--data '"{tokenContent}"'Replace
storeDomainwith the domain you're validating,appKeyandappTokenwith your API key credentials, andtokenContentwith the content of the validation file.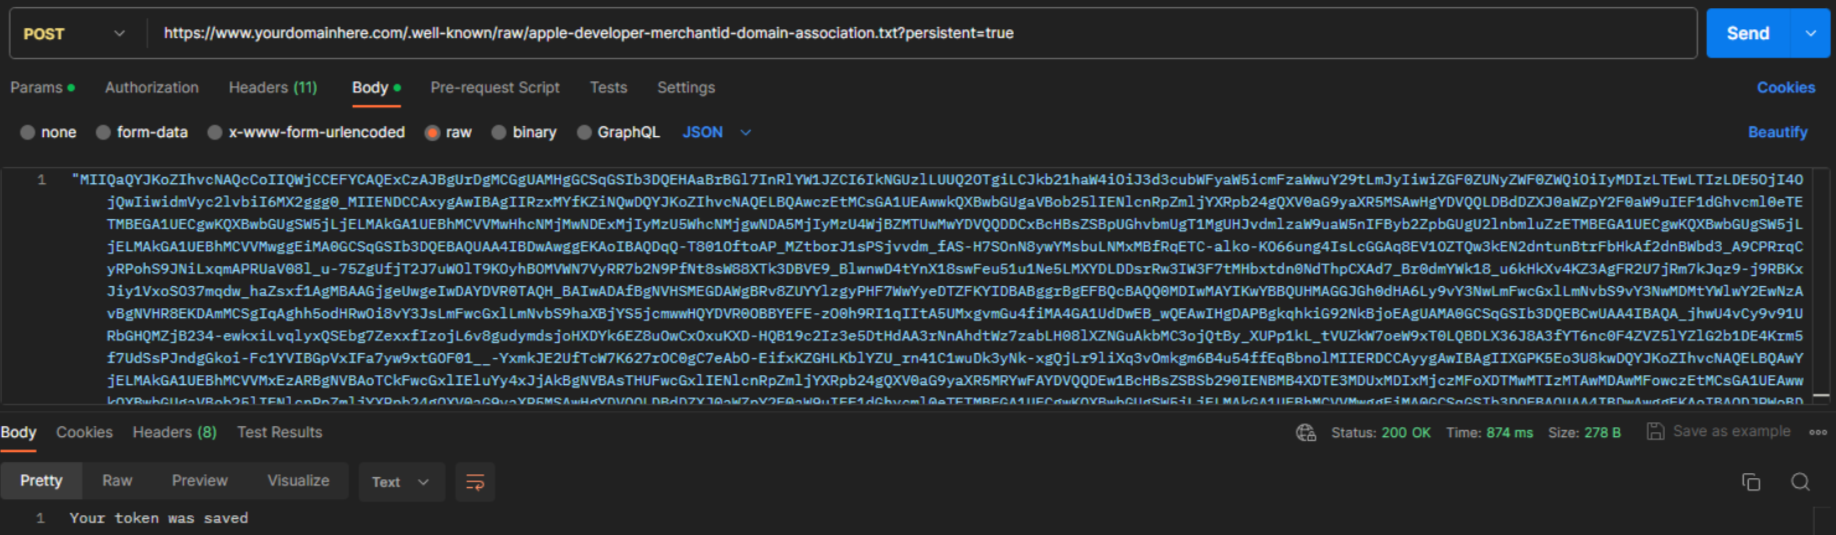
The response confirms that VTEX stores the file for 60 minutes. Complete the following steps within this period, or send the request again.
-
In the Apple Developer account, return to the screen where you downloaded the validation file.
-
Click
Verify.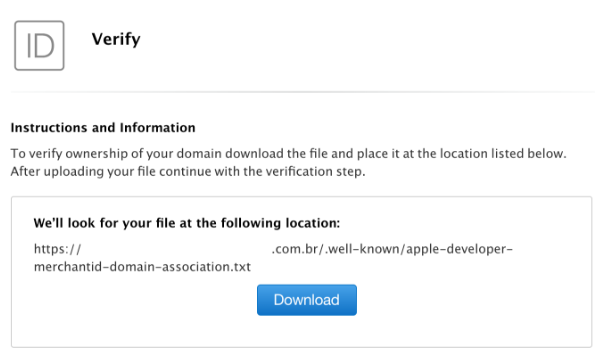
When the validation succeeds, the domain appears with the Verified status. To add more domains, repeat this procedure using the Add Domain button in the Merchant Domains section.
Creating the merchant identity certificate
The merchant identity certificate authenticates the sessions between your store and the Apple Pay servers, and Apple uses it every time the Apple Pay screen is displayed to a customer.
This stage requires a computer running macOS, because you use Keychain Access to generate the certificate signing request and to export the certificate. During the export, you define a password that protects the exported data. Keep this password because you'll need it to enter it in the Apple Merchant Password field when configuring the payment provider on VTEX.
To create the certificate, follow these instructions:
-
Go to Certificates, IDs & Profiles > Identifiers.
-
In the filter at the top right of the page, select Merchant IDs.

-
Select the Merchant ID you created.
-
Under Apple Pay Merchant Identity Certificate, click
Create Certificate.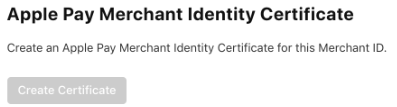
The merchant identity certificate requires a CSR generated with an RSA 2048-bit key pair, as described in the Apple Pay Merchant Integration Guide. This CSR is different from the one VTEX sends for the payment processing certificate.
-
Follow the instructions displayed on the screen to create the CSR.
-
Click
Continue.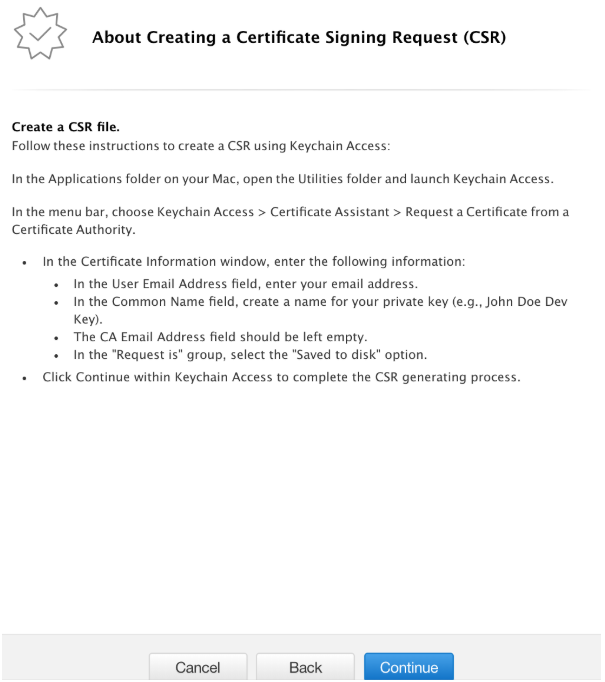
-
Click
Download.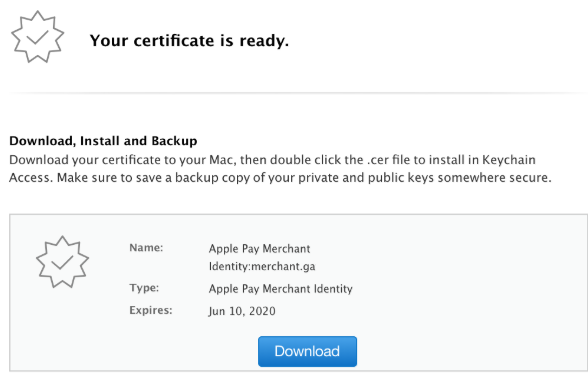
-
Double-click the downloaded file to install it in Keychain Access.
-
Open Keychain Access.
-
Locate the certificate you installed.
-
Right-click the key icon of the certificate.

-
Select
Export. -
Name the certificate.
-
Select the
.p12export format. -
Click
OK. -
Define the password that protects the exported data.
-
Save the certificate on your computer.
Next steps
After completing the previous stages, you have a Merchant ID, validated domains, a .p12 certificate saved on your computer, and the export password. Use this data to configure the payment provider that processes Apple Pay payments in your store, as described in Register payment and anti-fraud providers and Setting up payments with Apple Pay.