Managing variables and secrets
In this guide, you'll learn how to manage variables and secrets in your FastStore project using WebOps.
Variables and secrets are sensitive information, such as API keys, passwords, and tokens, that must be securely managed during the FastStore project deployment.
WebOps centralizes and standardizes variable and secret management, providing a consistent and secure process across all deployment providers. This ensures that sensitive information is kept outside the project codebase and is retrieved securely by WebOps.
Variables and secrets of stores that don't use WebOps are handled through the VTEX IO CLI secrets plugin. To enable secret management, you need to have an emptyvtex.envfile in the project root. The key-value pairs are stored in thesecrets.revealed.jsonfile, which is then encrypted intosecrets.hidden.jsonbefore being committed to the main branch. For stores using WebOps, this workflow has been deprecated, and variables and secrets are managed directly through the WebOps interface.
Local development
For local development, you must use the
vtex.env file to define the variables and secrets needed to run your FastStore project locally.The
vtex.env file is only used in local environments and should always be added to .gitignore to avoid leaking variables and secrets through version control. By adding it to .gitignore, variables and secrets defined in the vtex.env file won't be available in deployed environments via WebOps.Before you begin
VTEX has a permissions system, and only users assigned to a role with the required License Manager resources can manage variables and secrets.
The permissions system is in open beta. To enable it, open a ticket with VTEX Support.
After enabling the feature, make sure you have a user associated with a role that contains the following License Manager resources:
- Product: FastStore
- Category: Secrets
- Resources: View Secrets and Edit Secrets

Instructions
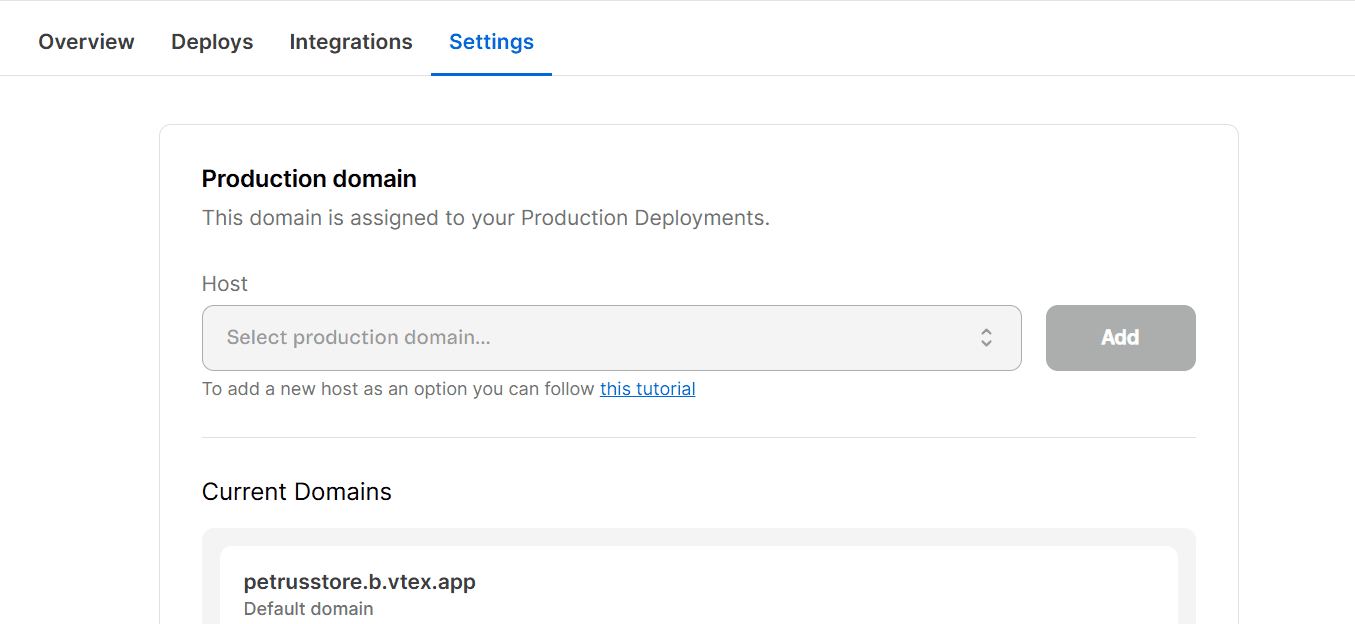
To manage variables and secrets, go to your FastStore WebOps dashboard and navigate to the Settings tab.
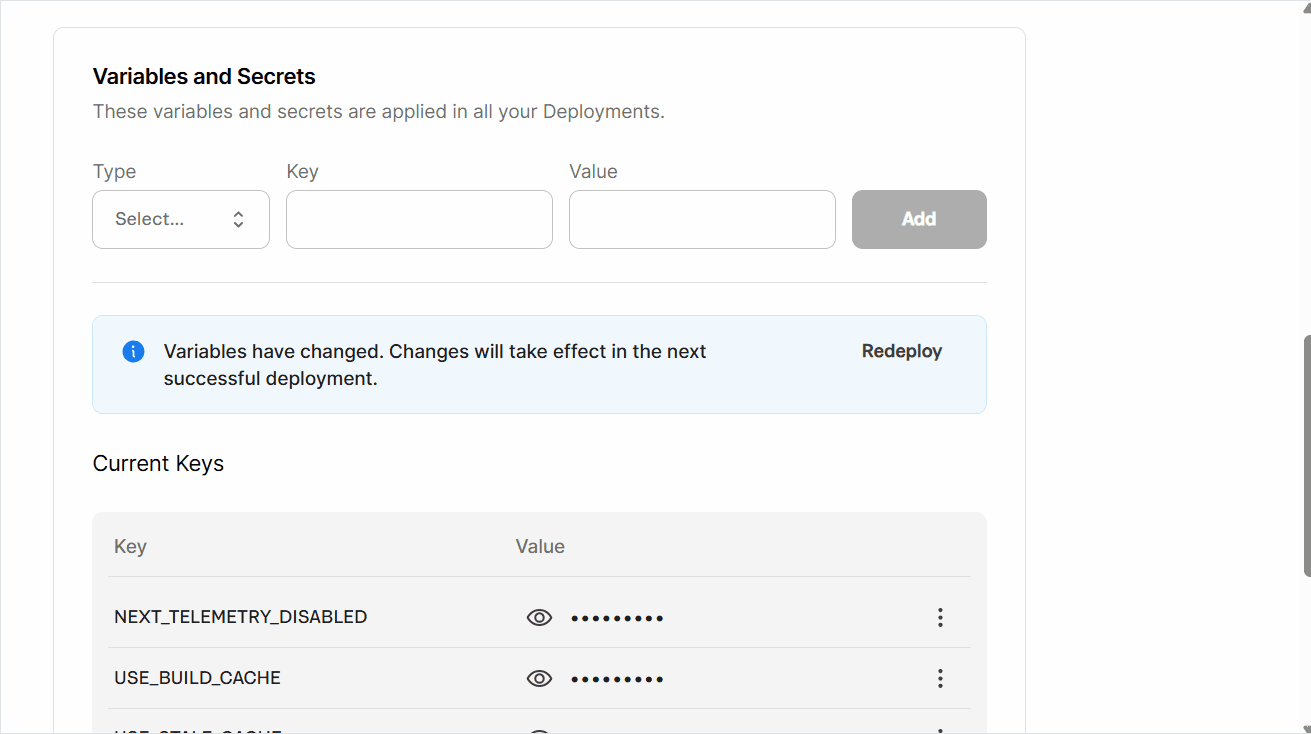
In the Variables and Secrets section, you can create, update, or delete variables and secrets following the steps below.
After you create, update, or delete a variable or secret, it may take a few minutes for the change to propagate. Wait 5 minutes before triggering a new deployment.If you deployed your storefront immediately after creating, updating, or deleting a variable or secret and the change isn't reflected in your store, wait a few minutes and run another deployment before opening a support ticket.
Creating variables and secrets
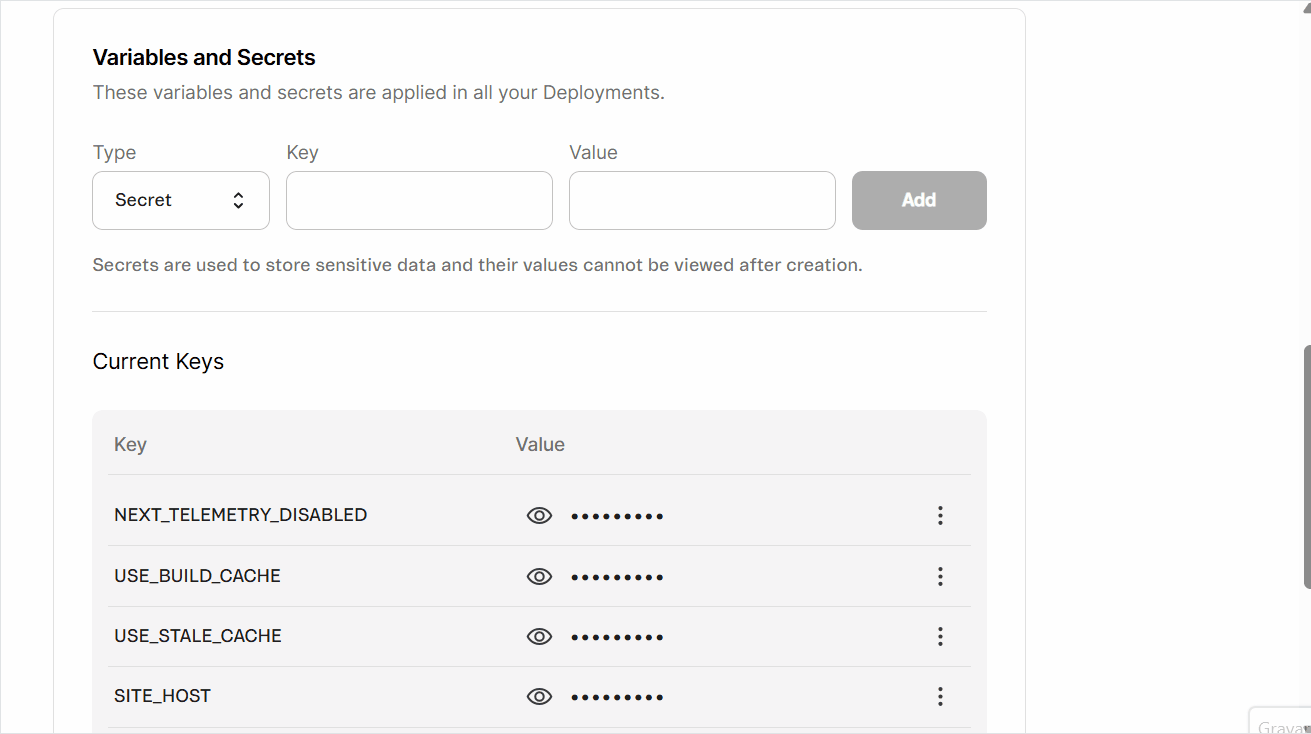
- In the
Typefield, clickSelect...to open the dropdown menu, then choosetextfor non-sensitive values that can be viewed later (for example, public URLs), orsecretfor sensitive values that must be hidden after saving (for example, API tokens and passwords). - In the
Keyfield, enter the name of the variable or secret, which serves as its unique identifier (for example, VTEX_API_TOKEN, NEXT_SECRET_KEY).
Variables accessible in the browser (client-side) must start with the prefixNEXT_PUBLIC_. Use names without this prefix for all other variables and secrets.
- In the
Valuefield, enter the corresponding information you want to store (for example, the actual token, key, or password). - Click
Add. A pop-up withNew secret added successfullywill open, and you'll see the messageVariables have changed. Changes will take effect in the next successful deployment.alongside aRedeploybutton.
When creating multiple variables and secrets, make sure you include all of them before proceeding to the next step. This prevents sync errors.
- Wait 5 minutes, then click
Redeployto redeploy your website with the updated variable and secret configuration. You'll see the messageRedeploying with secret changes, and a pop-up withDeployment created successfullywill open. - Track the deployment status in the Deploys tab of the WebOps dashboard.
During the build process, any variables and secrets added through WebOps will be transformed into environment variables within the code, which are automatically loaded into the
process.env object. You can access these values in your code using process.env.VARIABLE_NAME. Remember to replace VARIABLE_NAME with the name you assigned to your variable or secret in the Key field.The created variable or secret will be available in the Current Keys section.
Updating variables and secrets
- Go to the
Current Keyssection. - Next to the variable or secret you need to update, click
⋮and then clickEdit. - Click
Update. A pop-up withSecret updated successfullywill open, and you'll see the messageVariables have changed. Changes will take effect in the next successful deployment.alongside aRedeploybutton. - Wait 5 minutes, then click
Redeployto redeploy your website with the updated variable and secret configuration. You'll see the messageRedeploying with secret changes, and a pop-up withDeployment created successfullywill open. - Track the deployment status in the Deploys tab of the WebOps dashboard.
Deleting variables and secrets
- Go to the
Current Keyssection. - Next to the variable or secret you need to delete, click
⋮and then clickDelete. - Confirm the variable or secret you want to delete.
This action can't be undone.
- Click
Delete secret. A pop-up withSecret deleted successfullywill open, and you'll see the messageVariables have changed. Changes will take effect in the next successful deployment.alongside aRedeploybutton. - Wait 5 minutes, then click
Redeployto redeploy your website with the updated variable and secret configuration. You'll see the messageRedeploying with secret changes, and a pop-up withDeployment created successfullywill open. - Track the deployment status in the Deploys tab of the WebOps dashboard.
If you tried to create, update, or delete a variable or secret and got the errorFailed to create/update/delete secret. Please, try again., repeat the process. If the problem persists, open a ticket with VTEX support.