Widgets for Headless CMS
Widgets are interface elements in the Headless CMS that merchants can use to enhance store sections. These can include date pickers, dropdown menus, image uploaders, and more, helping editors create and edit content.
In this guide, you will find:
- Widgets available: An overview of each widget and its function.
- Instructions on how to add a widget to a section: A guide with instructions on incorporating a widget into a new store section.
Widgets available
Below is a brief description of the widgets that can be implemented and used in the Headless CMS interface in the VTEX Admin. For detailed information about each widget, click the respective widget name.
| Widget name | Description |
|---|---|
checkboxes | Displays checkboxes for selecting options in forms. |
image-uploader | Uploads images from your local machine. |
date-time | Provides a calendar popup for selecting a date and time. |
draftjs-rich-text | Rich text editor for formatting and styling store text. |
media-gallery | Uploads or selects existing images or videos from the Media. |
checkboxes
Displays a checkbox commonly used in forms to select an option. The following image shows how the
checkboxes are displayed within the headless CMS interface:
image-uploader
Displays a card to upload an image from your local machine. The following image shows how the
image-uploader is displayed within the headless CMS interface: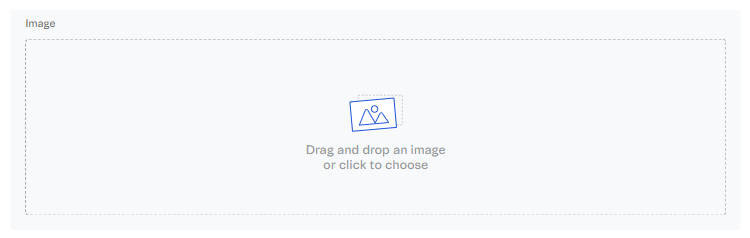
Theimage-uploaderis one of the available widgets. Still, we recommend using themedia gallerywidget, which allows you to select and upload not only images but also videos from the Media module.
date-time
Provides a calendar popup for selecting a date and time. It is ideal for displaying deadlines, event times, or any scenario where you need to specify a specific date and time within your headless CMS content. For example, you can showcase a product's expiration date or display a time-limited coupon badge. The following image shows how the
date-time is displayed within the headless CMS interface:
draftjs-rich-text
Displays an editor that allows formatting and styling the store text. The following image shows how the
draftjs-rich-text is displayed within the headless CMS interface: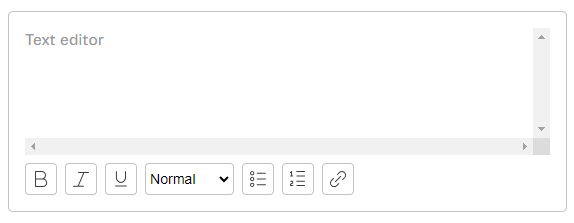
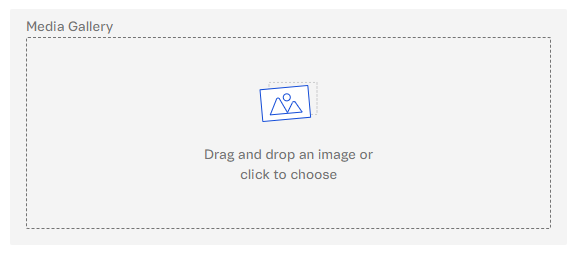
media-gallery
Displays a card to upload or select an existing image from the Media module. The following image shows how the
media-gallery is displayed within the headless CMS interface:The difference between theimage-uploaderand themedia-galleryis that when you click themedia-galleryproperty, you can select or upload an image or a video from the Media module. Theimage-uploaderon the other hand, only allows you to upload images from your machine.
Adding a widget to a store section
Widgets are useful when you've created a new store section and want to add a new property to it. To illustrate how a widget can be used in a store section, here's an example using the
media-gallery widget in the new Custom Newsletter section, based on the Newsletter native section.To create a new section, such as theCustom Newsletter, follow the instructions in the guide Creating a new store section.
- Open your store project code in a code editor and navigate to the
cms/faststorefolder. - Open the
sections.jsonfile. - In the
sections.jsonfile, find the section where you want to add the widget. In the followingsections.jsonfile example, the new section,Custom Newsletter, receives themedia-gallerywidget.
-
Open the terminal and run
yarn cms-syncto sync the new section with the Headless CMS. Once the changes are synced, you will see the following message:info: CMS synced successfully.... -
Go to the VTEX Admin and access Storefront > Headless CMS.
-
Open the page where you want to add the new section. In this example, we will add the
Custom NewslettertoHome. -
Add the section to the page, and you will notice the widget you added, the
media-gallery.
-
Click
Previewto view the new component with the new image.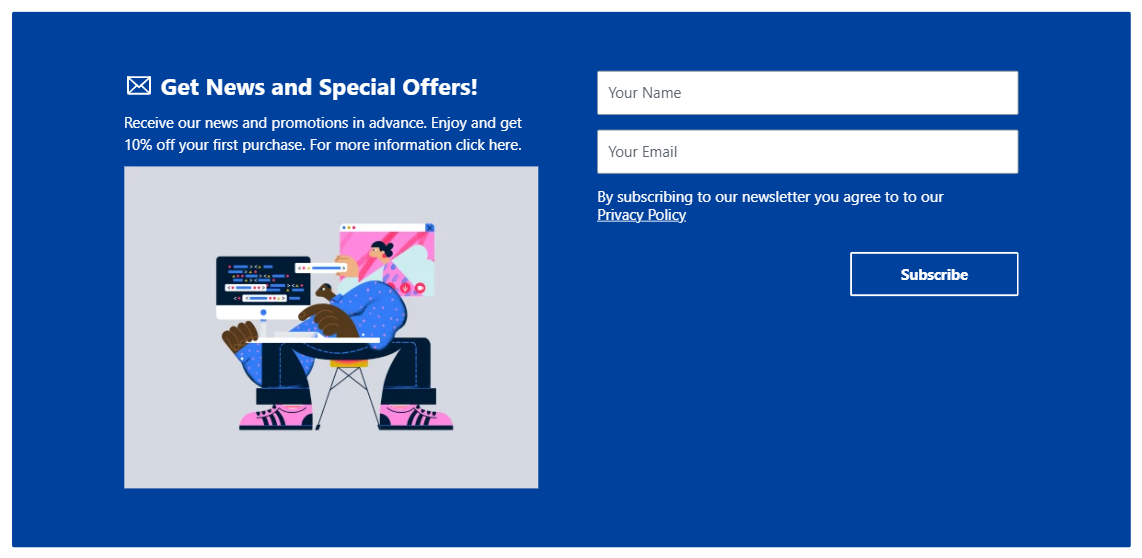
checkboxes
Displays a checkbox commonly used in forms to select an option. The following image shows how the
checkboxes are displayed within the headless CMS interface:image-uploader
Displays a card to upload an image from your local machine. The following image shows how the
image-uploader is displayed within the headless CMS interface:Theimage-uploaderis one of the available widgets. Still, we recommend using themedia gallerywidget, which allows you to select and upload not only images but also videos from the Media module.
date-time
Provides a calendar popup for selecting a date and time. It is ideal for displaying deadlines, event times, or any scenario where you need to specify a specific date and time within your headless CMS content. For example, you can showcase a product's expiration date or display a time-limited coupon badge. The following image shows how the
date-time is displayed within the headless CMS interface:draftjs-rich-text
Displays an editor that allows formatting and styling the store text. The following image shows how the
draftjs-rich-text is displayed within the headless CMS interface:media-gallery
Displays a card to upload or select an existing image from the Media module. The following image shows how the
media-gallery is displayed within the headless CMS interface:The difference between theimage-uploaderand themedia-galleryis that when you click themedia-galleryproperty, you can select or upload an image or a video from the Media module. Theimage-uploaderon the other hand, only allows you to upload images from your machine.
Adding a widget to a store section
Widgets are useful when you've created a new store section and want to add a new property to it. To illustrate how a widget can be used in a store section, here's an example using the
media-gallery widget in the new Custom Newsletter section, based on the Newsletter native section.To create a new section, such as theCustom Newsletter, follow the instructions in the guide Creating a new store section.
- Open your store project code in a code editor and navigate to the
cms/faststorefolder. - Open the
sections.jsonfile. - In the
sections.jsonfile, find the section where you want to add the widget. In the followingsections.jsonfile example, the new section,Custom Newsletter, receives themedia-gallerywidget.
-
Open the terminal and run
yarn cms-syncto sync the new section with the Headless CMS. Once the changes are synced, you will see the following message:info: CMS synced successfully.... -
Go to the VTEX Admin and access Storefront > Headless CMS.
-
Open the page where you want to add the new section. In this example, we will add the
Custom NewslettertoHome. -
Add the section to the page, and you will notice the widget you added, the
media-gallery. -
Click
Previewto view the new component with the new image.