My Authentication
This guide shows the steps to change the appearance of the Authentication tab in My Account using CSS.
This guide is for stores that do not use VTEX IO, making the customization through CMS. If your store is a VTEX IO store, check the My Authentication Customization Guide using IO article.
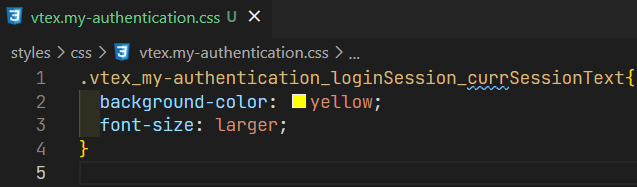
To customize the appearance of My Authentication components, first you have to create your own CSS file with the desired customization settings. Below you can find the list of CSS handles and a CSS file example.
| CSS Handles |
|---|
vtex_my-authentication_box_container |
vtex_my-authentication_box_header |
vtex_my-authentication_box_headerSeparator |
vtex_my-authentication_box_content |
vtex_my-authentication_box_footer |
vtex_my-authentication_errorAlert_container |
vtex_my-authentication_warnAlert_container |
vtex_my-authentication_authenticationScreen_container |
vtex_my-authentication_authenticationScreen_passBox |
vtex_my-authentication_newPassInput_container |
vtex_my-authentication_passValidation_container |
vtex_my-authentication_passValidation_title |
vtex_my-authentication_passValidation_content |
vtex_my-authentication_passValidation_minLengthNumber |
vtex_my-authentication_passValidation_minLength |
vtex_my-authentication_passValidation_number |
vtex_my-authentication_passValidation_lowerUpper |
vtex_my-authentication_passValidation_lower |
vtex_my-authentication_passValidation_upper |
vtex_my-authentication_passValidation_iconSuccess |
vtex_my-authentication_passValidation_iconFailure |
vtex_my-authentication_savePassButton_container |
vtex_my-authentication_skeletonEditPassword_content |
vtex_my-authentication_skeletonEditPassword_button |
vtex_my-authentication_currPassInput_container |
vtex_my-authentication_createPassword_text |
vtex_my-authentication_codeInput_container |
vtex_my-authentication_resendCodeButton_container |
vtex_my-authentication_maskedPassword_title |
vtex_my-authentication_maskedPassword_content |
vtex_my-authentication_loginSessionsBox_title |
vtex_my-authentication_loginSessionsBox_content |
vtex_my-authentication_skeletonLoginSessions_content |
vtex_my-authentication_skeletonLoginSessions_button |
vtex_my-authentication_loginSessionsScreen_container |
vtex_my-authentication_loginSessions_skeleton |
vtex_my-authentication_loginSessions_error |
vtex_my-authentication_loginSessions_list |
vtex_my-authentication_loginSessions_box |
vtex_my-authentication_skeletonLoginSessionsScreen_title |
vtex_my-authentication_skeletonLoginSessionsScreen_text1 |
vtex_my-authentication_skeletonLoginSessionsScreen_text2 |
vtex_my-authentication_loginSession_currSession |
vtex_my-authentication_loginSession_currSessionIcon |
vtex_my-authentication_loginSession_currSessionText |
vtex_my-authentication_loginSession_device |
vtex_my-authentication_loginSession_lastAccess |
vtex_my-authentication_loginSession_originDetails |
vtex_my-authentication_loginSession_fullAddress |
vtex_my-authentication_loginSession_firstAccess |
Then go to the Admin of your store and do the following steps:
- Open the Admin and go to the Storefront section.
- Click Layout.
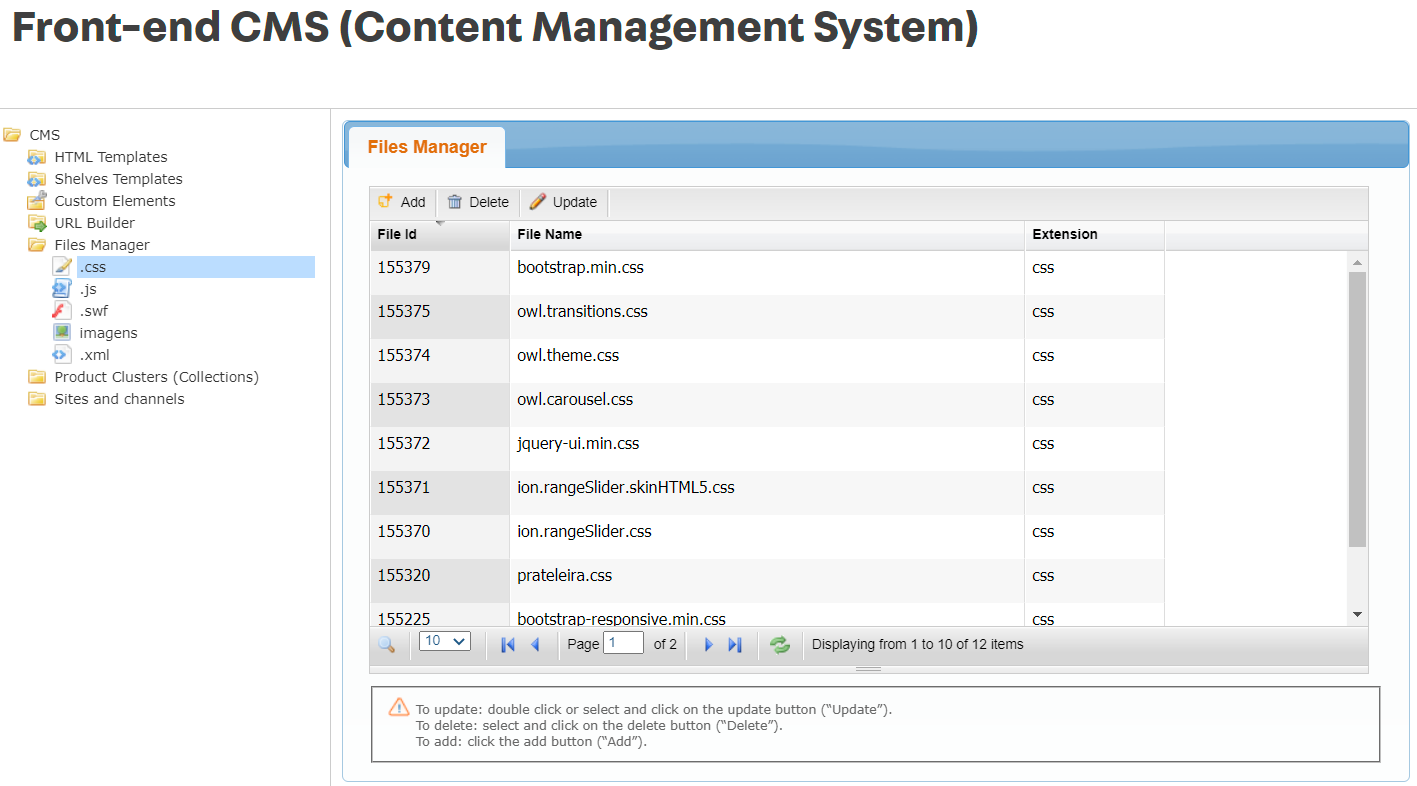
- In the Frontend CMS left panel, navigate to CMS > Files Manager > .css.
- In the Files Manager tab, click on the Add button.
- In the Files Maintenance tab, click on the
Localizarbutton. - A window with a file explorer will open. Choose the CSS file you created.
- Click on the
Salvar arquivobutton. This will upload your CSS file to the CMS of the store.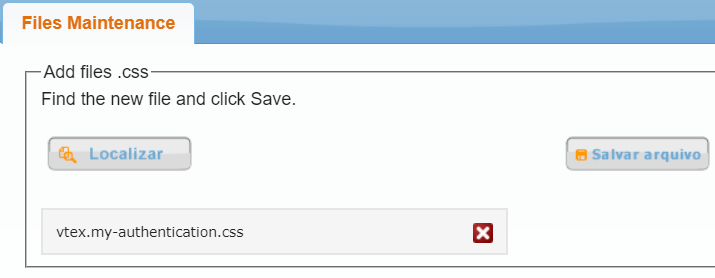
- In the Frontend CMS left panel, navigate to CMS > HTML Templates > Account.
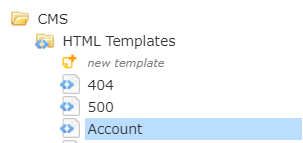
- In the right panel will appear the My Account HTML template. Inside the
<head>section, insert the tag<link href="https://{accountName}.vteximg.com.br/arquivos/{cssFile}" rel="stylesheet"></link>, replacing{accountName}for the account name of your store and{cssFile}for the name of the CSS file you uploaded.
- A popup window will show up. In the last field type yes.
- Click on the
Update Itembutton.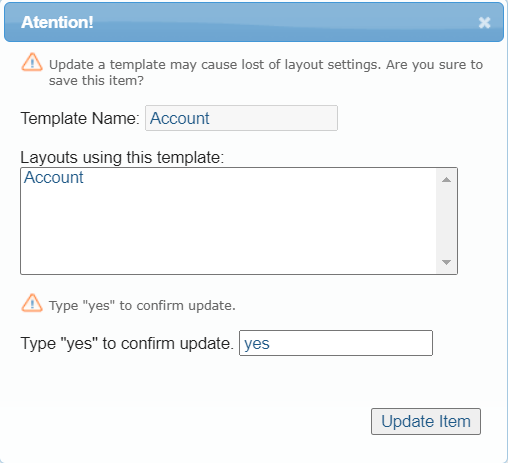
- A new popup window will appear. If there are no errors, the HTML template will be saved. Then click on Ok.
After updating the HTML template, you should see the changes in the Authentication tab of your store.