Overriding native app blocks
Discover how to override the blocks of your custom VTEX IO app.
In this guide, you'll learn how to override the blocks provided by a native VTEX IO app with a custom app by configuring the store/plugins.json file. This approach allows custom apps to modify existing Store Framework blocks without changing the original app's code.
This is especially useful when you need to customize a page or component while maintaining compatibility with future updates of the original app. Follow the steps below to ensure your custom app works properly with existing dependencies and block schemas.
Before you begin
Develop your VTEX IO custom app
Start the development of a new VTEX IO app by running the vtex init command and choosing the appropriate template. Learn more in the tutorial Storefront apps.
Use a development workspace to develop you custom app.
Check the builders
Configure the following builders in the app's manifest.json file:
store builder: Enables the development of Store Framework storefronts.react builder: Used to develop apps with React when your project requires customized frontend solutions.
Instructions
Step 1 - Managing dependencies
Add the corresponding native VTEX IO app as a dependency in the custom app's manifest.json file.
Step 2 - Defining the app's schema
- In your app's root directory, create the
storefolder. - In the
storefolder, create theinterfaces.jsonfile and define the app's schema by following the original native app. For example, if the native app block hasexample-childasrequired, the new block must also declare it:
_10"new-block": {_10 "component": "NewBlock"_10 "required": ['example-child']_10}
Step 3 - Configuring plugins
In the store folder, create the plugins.json file within the key-value pairs of the blocks you want to override.
Step 4 - Customizing your app code
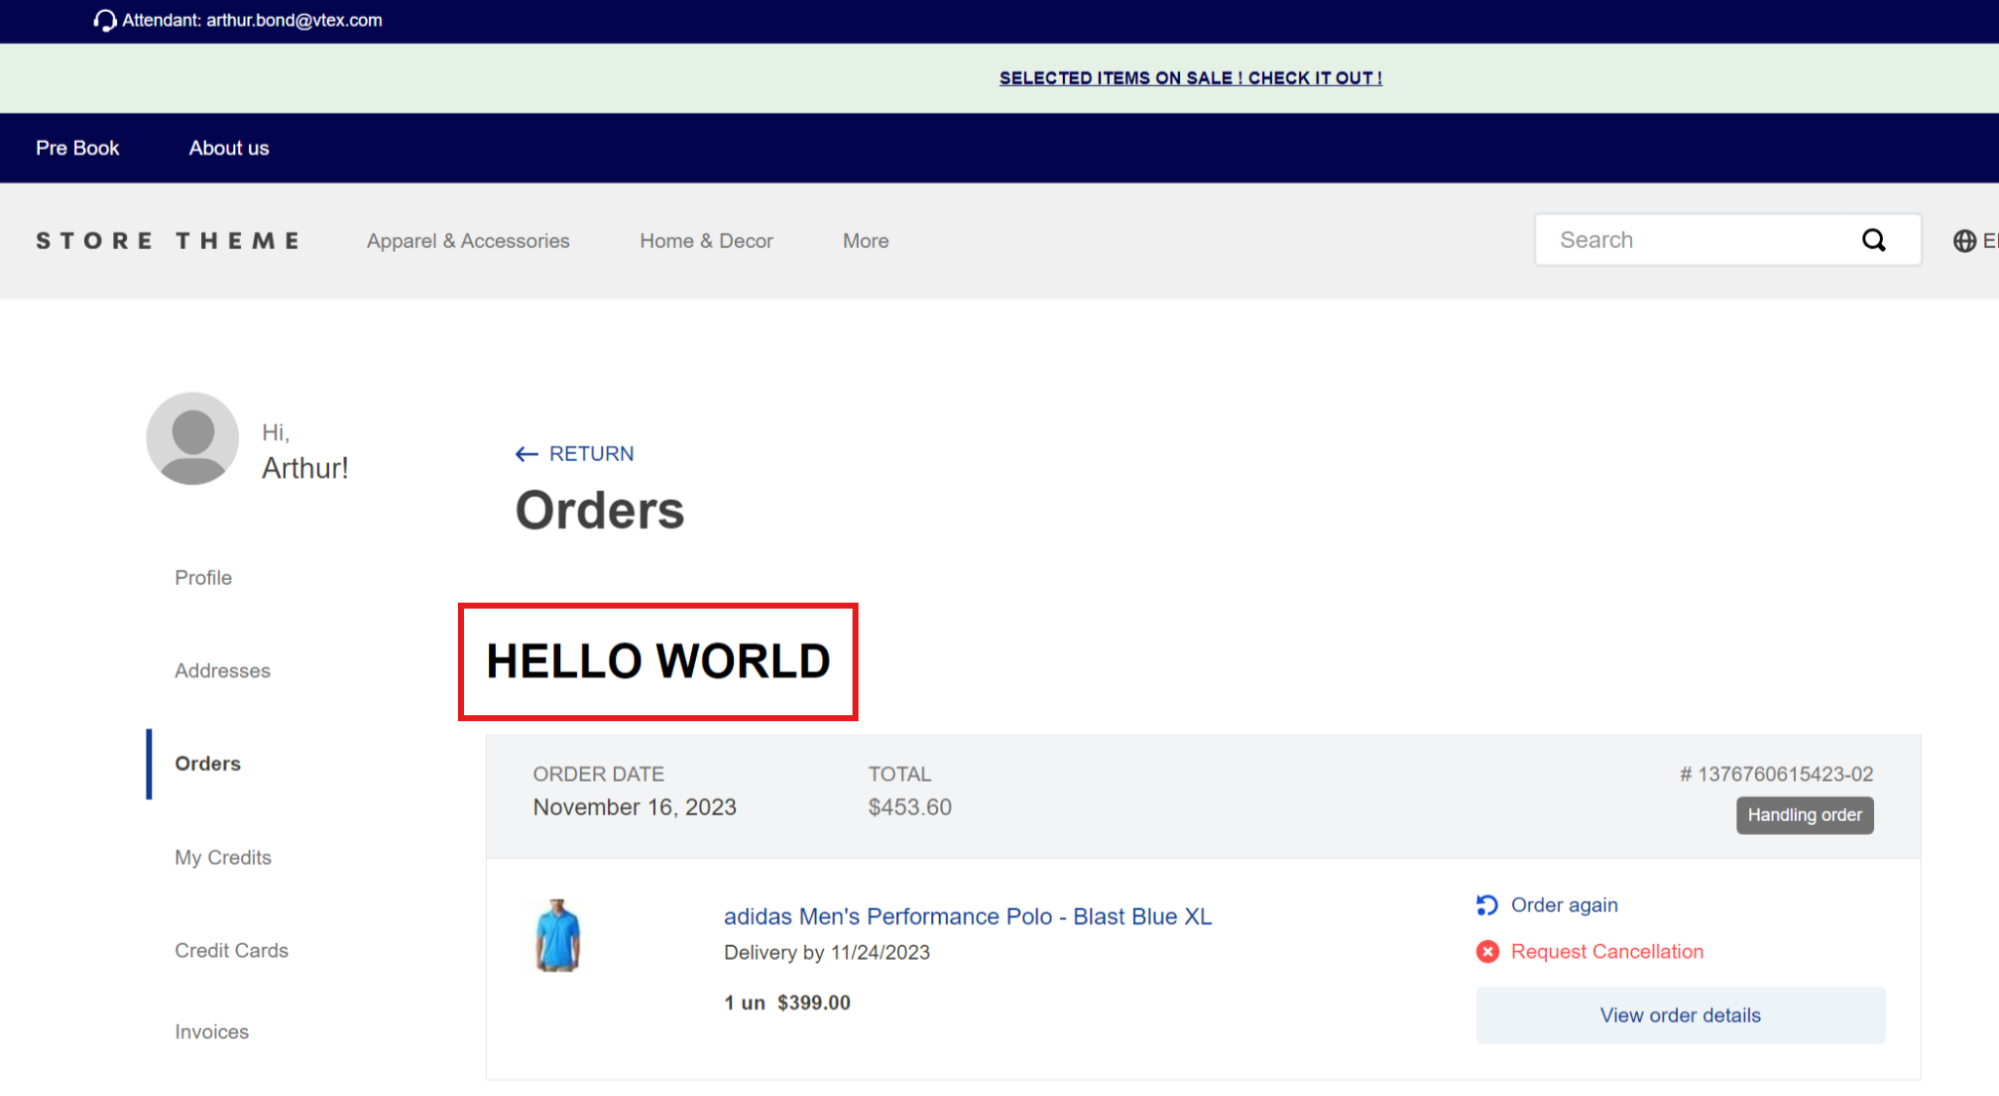
Declare the React component for your new block. In the example below, we added the greeting HELLO WORLD.
Step 5 - Testing your custom app
Link the app in the development workspace you're working in to see the changes.
Based on the given example, you'll see the following page when placing an order:
Step 6 - Making your app publicly available
Once you finish developing and testing your custom app, deploy it to make it available in the live store. Learn how in the guide Deploying a new app version.