Installing Google Tag Manager
Discover the steps to install the Google Tag Manager app in your Store Framework store.
This guide provides instructions for managing Analytics on Store Framework stores by installing and configuring Google Tag Manager (GTM). It also outlines restrictions to avoid performance issues and unpredictable behavior, such as blocklists for custom HTML tags and variables.
Before you begin
This app is only available for stores built with Store Framework. For stores built with Legacy CMS Portal, see Configuring Google Tag Manager.
If you have already installed the Google Tag Manager app, go to the Create a Google Analytics 4 property step to create the property and continue.
Get a Google account
You need a Google account to use Google Tag Manager (GTM). If you already use Google products like Gmail, you can use the same account.
If you don't have an account, create one by following Google's guide on Creating your Google account.
Get a GTM container
To use a GTM ID in your store, you need a GTM container. If you don't have one, follow the Create a new account and container tutorial.
After creating a container, find its GTM ID in the Container ID column. Be sure to save this ID, as it will be required later in the installation process.
Create a Google Analytics 4 property
Create a Google Analytics 4 (GA4) property using the GA4 Setup Assistant. This property collects data alongside your existing Universal Analytics (UA) property. To create the GA4 property, follow Google’s official guide.
Take note of GTM settings
Take note of the Measurement ID, also known as G-ID, as it will be used later to configure the GA4 tag on GTM.
Instructions
-
In the VTEX Admin, go to Apps > Extensions Hub > App Store.
-
Search for the Google Tag Manager app and click
Get App.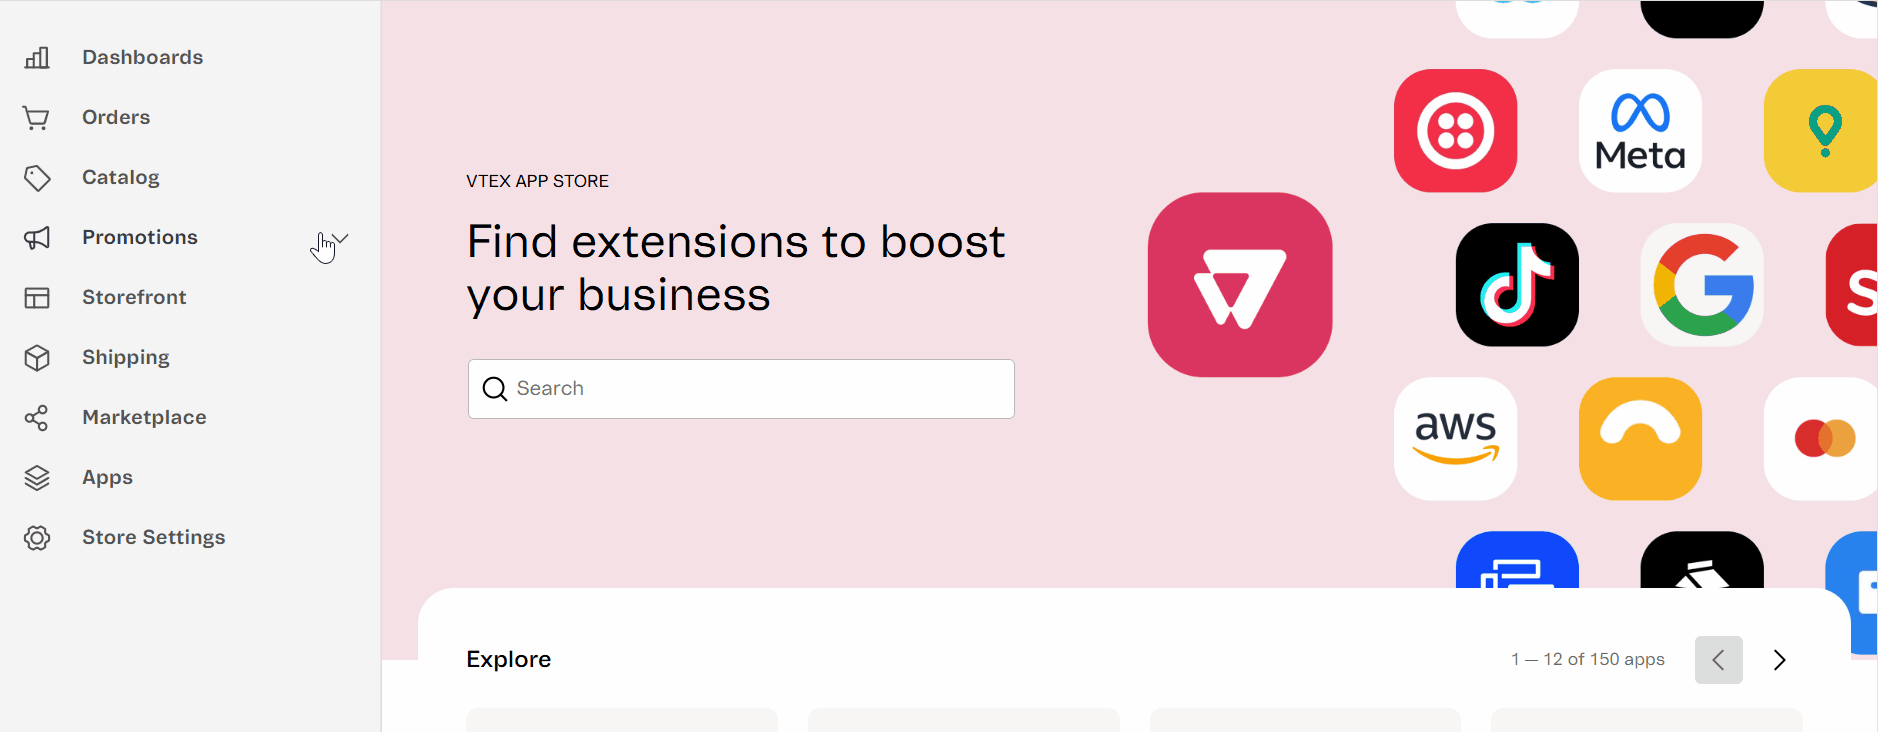
-
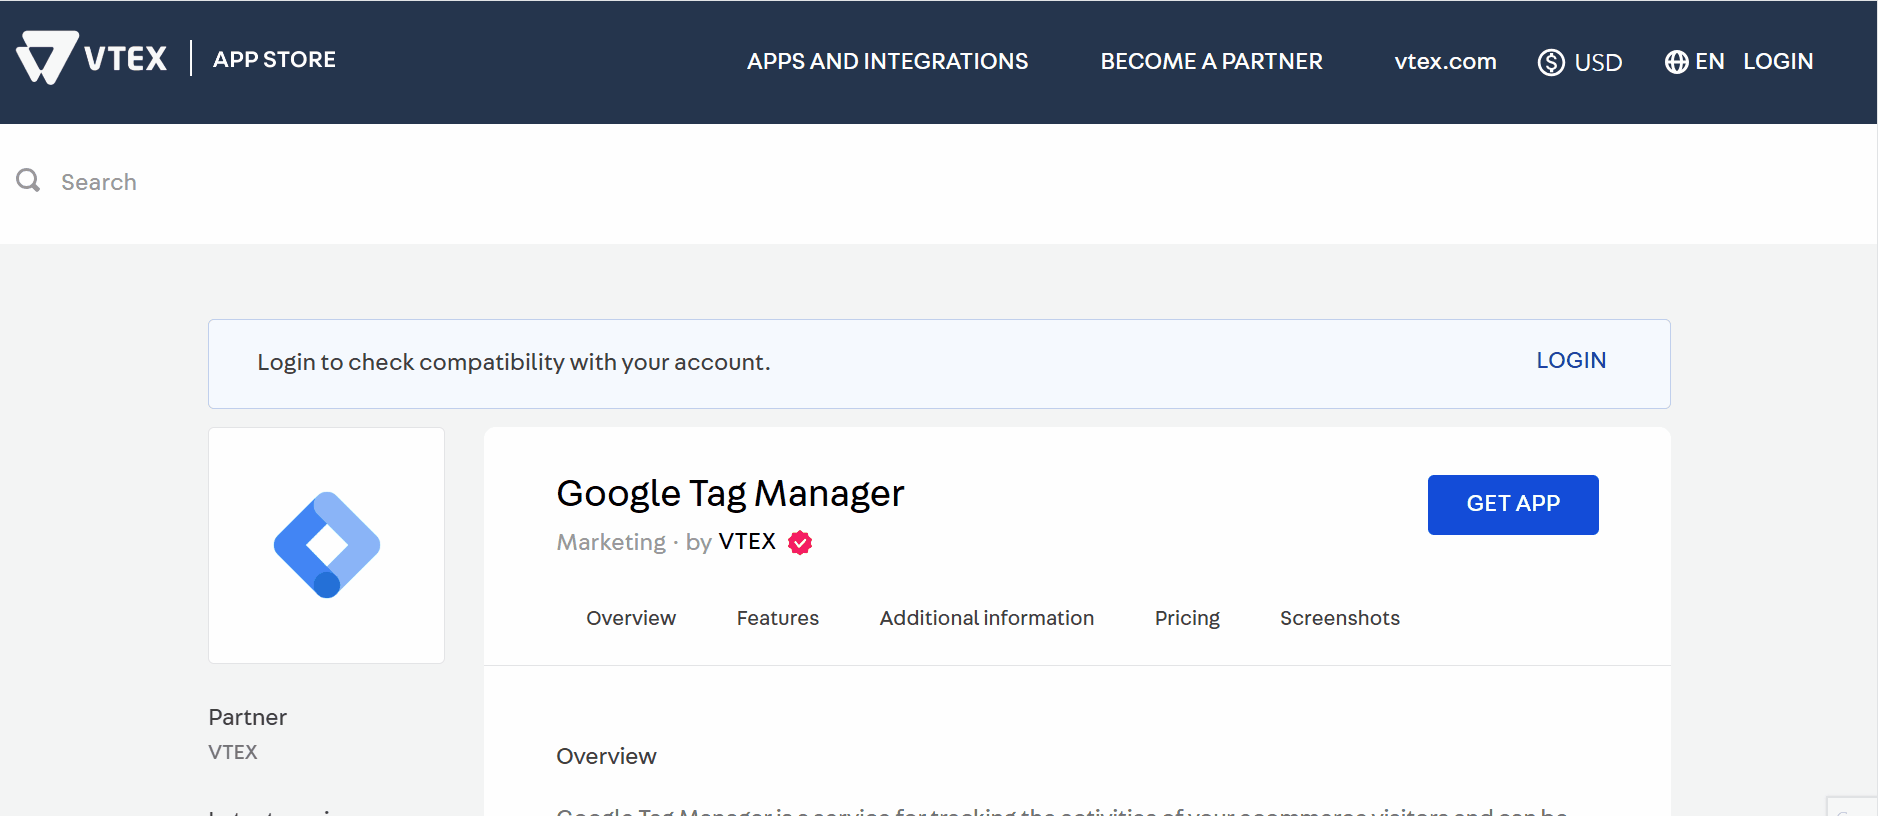
You will be redirected to the App Store page. If you are not currently logged in, log in to your account.
-
After logging in, you will be redirected to the App Store landing page. In the search field, type
Google Tag Manager, click the app, and then clickGet App. -
On the checkout page, click
Place Order.
GTM is a free app.
-
You will see a success message about the purchase. Click
Go to Install Pageto be redirected to the GTM setup page in the VTEX admin. -
On the GTM setup page in VTEX admin, click
Install.
-
The GTM app settings page will open for you to complete the required fields. In the Google Tag Manager field, add your GTM ID. Check the box for Send Google Analytics 4 Events.
To find your store's GTM ID, you first need to create a container in your Google Tag Manager account. If you don't have one yet, follow the Create an account and container tutorial. Once created, you can find the GTM ID in the
Container IDcolumn of the container.
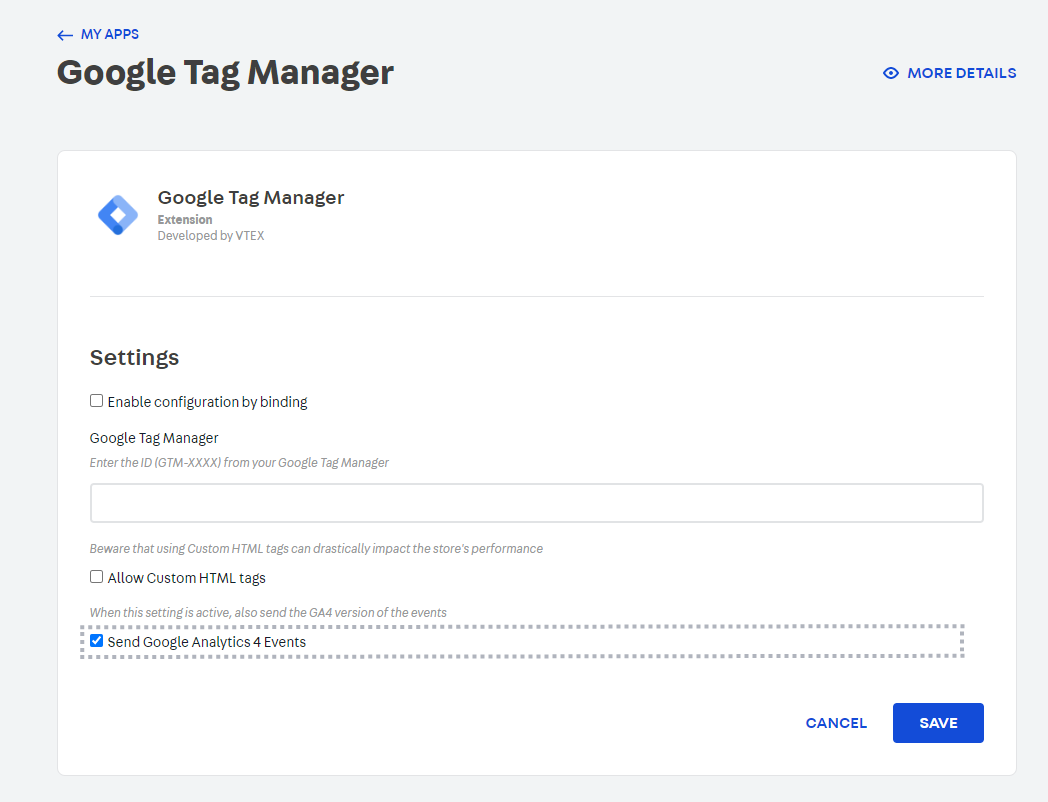
- Click
Save.
Once you have installed the app and checked the box Send Google Analytics 4 Events, see Configuring Google Analytics 4 configuration tag in Google Tag Manager to learn how to set up the variables, triggers, and tags for the app to work.
Restrictions
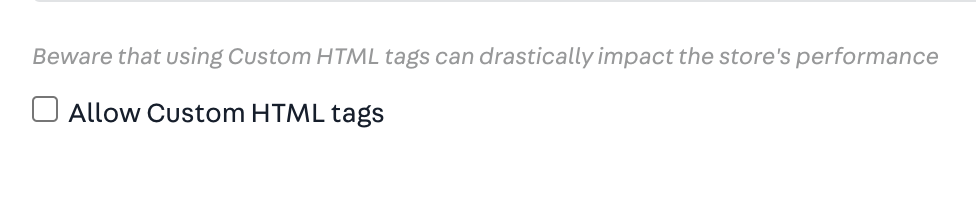
To prevent performance issues and unpredictable behavior, the VTEX IO Google Tag Manager solution uses the native GTM blacklist feature. Learn more in the Google Developer Guide. By default, the HTML ID is blocked, which automatically blocks all tags, variables, and triggers of the customScripts type.
As a result, custom HTML tags will not be triggered. The HTML blacklist is the default setting in the VTEX Google Tag Manager app. To disable this restriction, go to https://{accountName}.myvtex.com/admin/apps/vtex.google-tag-manager@3.x/setup and check the setting below.
Replace
{accountName}with your store account name.
The most commonly used custom HTML tags are for integrations with third-party services, such as Customer Chat, Analytics, Remarketing, and Pixel tags. If your store requires custom HTML for any of these cases, you can integrate it by transforming the tags into a VTEX IO Pixel app or by removing this restriction.
Below is the complete list of tags and variables blocked by default in the VTEX IO Google Tag Manager solution:
Blocked tags
- Custom HTML Tag - html
- Eulerian Analytics Tag - ela
- SaleCycle JavaScript Tag - scjs
- Upsellit Global Footer Tag - uslt
- Upsellit Confirmation Tag - uspt
Blocked variables
- Custom JavaScript Variable - jsm
View the complete list of available GTM tags in the Google Developer Guide.