Displaying content for authenticated users
Authenticated content is a feature that restricts access to specific store content based on whether a user is logged in. This ensures that only registered and logged-in users can view exclusive content, like prices, detailed product descriptions, and special offers. Non-logged-in users will see generic content instead.
| Before log in | After log in |
|---|---|
 |  |
Authenticated content fosters a more controlled and secure shopping environment for stores and customers, enhancing the shopping experience. For example, in B2B settings, this allows for customized access to product catalogs, ensuring that businesses only see relevant products and pricing. For segmented promotions, authenticated content enables merchants to tailor special offers and discounts to specific customer segments, increasing engagement and conversion rates.
In this guide, learn how to create an authenticated component using the Hero component as an example.
Before you begin
Update the @faststore/core package
Ensure your store is using
@faststore/core@v3.0.39 or later. To benefit from this feature, follow the steps below:-
Update your store’s
@faststore/corepackage to thev3.0.39by running the following command:_10yarn add @faststore/core@3.0.39 -
Run
yarn devto apply the changes to your project.
Understand Section Override
Make sure you understand the concepts of Section Override to follow along.
Instructions
Step 1 - Override a component
Choose the component you want to restrict access to. To check the available components, refer to the UI components guide.
Once you have chosen the component, you will need to override the component using the feature Section Override. In this guide we will use the Hero component as an example.
-
In
src/components/overridescreate theHero.tsxfile. -
Add the following to the
Hero.tsxfile:_17import { SectionOverride } from "@faststore/core";_17import { HeroHeader, HeroImage } from "@faststore/ui";_17_17const SECTION = "Hero" as const;_17_17const override: SectionOverride = {_17section: SECTION,_17components: {_17HeroImage: {_17Component: (props) => (_17<HeroImage {...props} />_17),_17},_17},_17};_17_17export { override };The code above overrides theHeroImagecomponent to not show any images. -
Open the terminal and run
yarn dev. -
Access your store's local development URL (localhost). So far, you will have the following
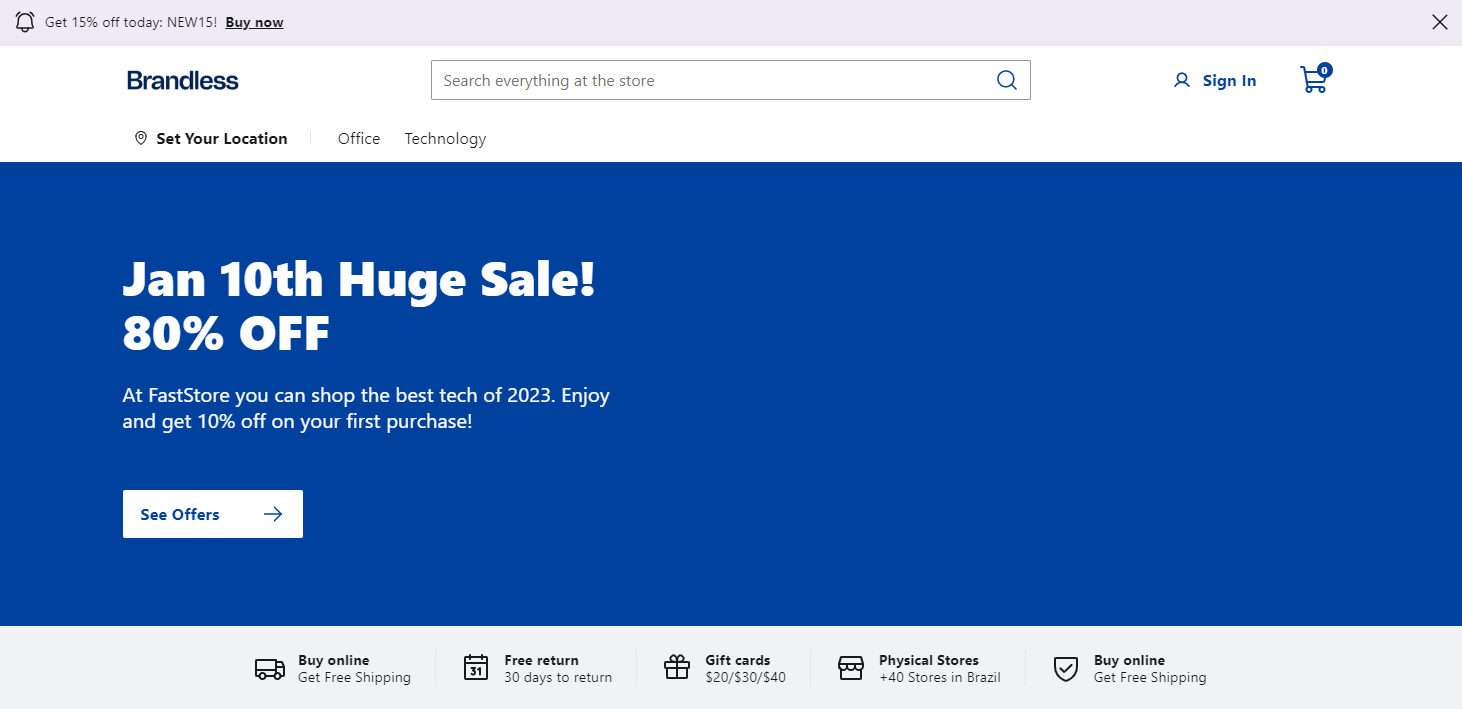
Hero:
At this point, the Hero component will not display an image, and logging in won't change that.
Step 2 - Wrap the component with ProfileChallenge
The
ProfileChallenge component checks if a user is logged in and has sales channel access. If both conditions are met, it displays your customized version (the overridden component). Otherwise, it displays the default Hero component or your fallback component.-
In the
Hero.tsxfile, add the following code:_21import { SectionOverride } from "@faststore/core";_21import { ProfileChallenge_unstable as ProfileChallenge } from "@faststore/core/experimental";_21_21import { HeroHeader, HeroImage } from "@faststore/ui";_21_21const SECTION = "Hero" as const;_21_21const override: SectionOverride = {_21section: SECTION,_21components: {_21HeroImage: {_21Component: (props) => (_21<ProfileChallenge>_21<HeroImage {...props} />_21</ProfileChallenge>_21),_21},_21},_21};_21_21export { override };- The code above imports the
ProfileChallengecomponent. - The
overrideobject defines the section (Hero) and the components to be overridden. - Inside
components, theHeroImagecomponent is being overridden. - The overridden
HeroImageis wrapped withProfileChallenge. - When
ProfileChallengerenders theHeroImage, it checks for user login status and sales channel access.
- The code above imports the
-
Run
yarn devto sync the changes locally. -
To test the changes, access your store's local development URL (localhost).
-
On the store home page, click on Sign in to enter your account.
-
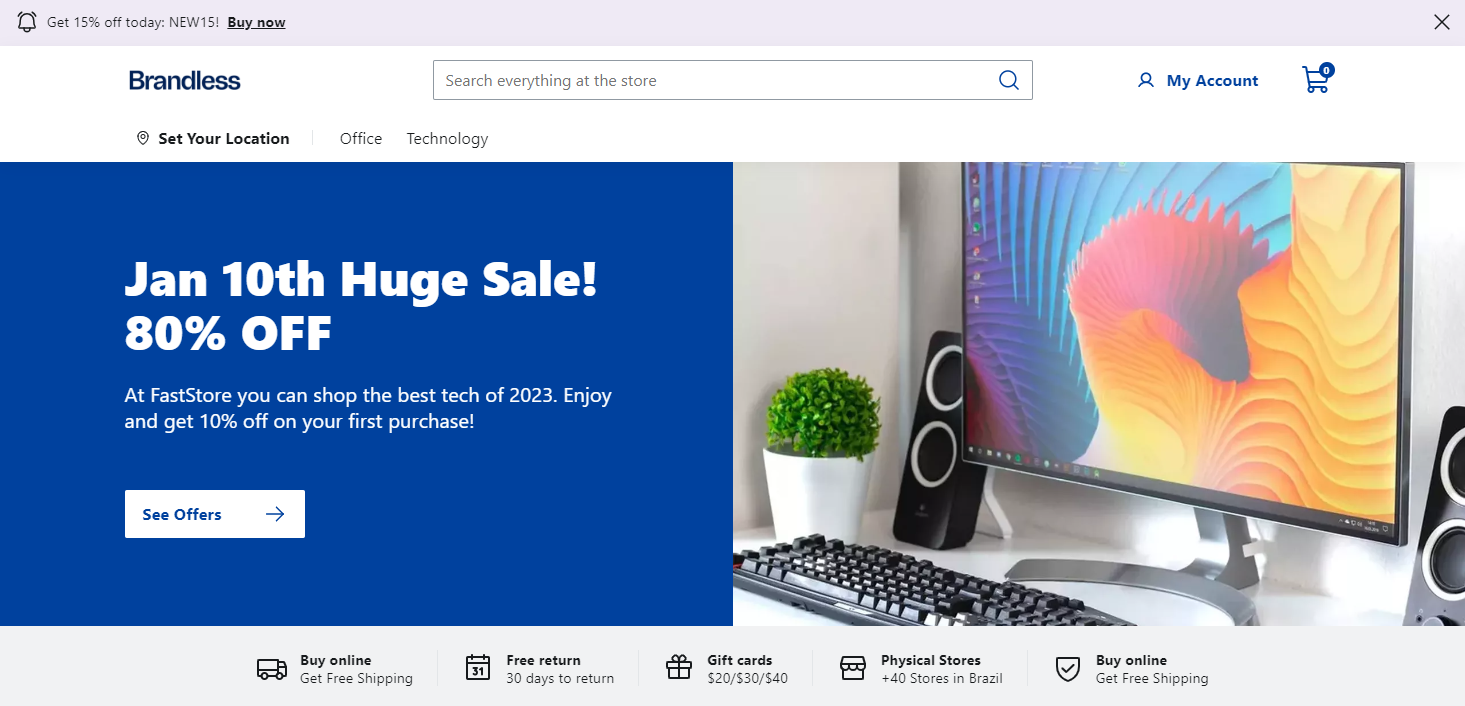
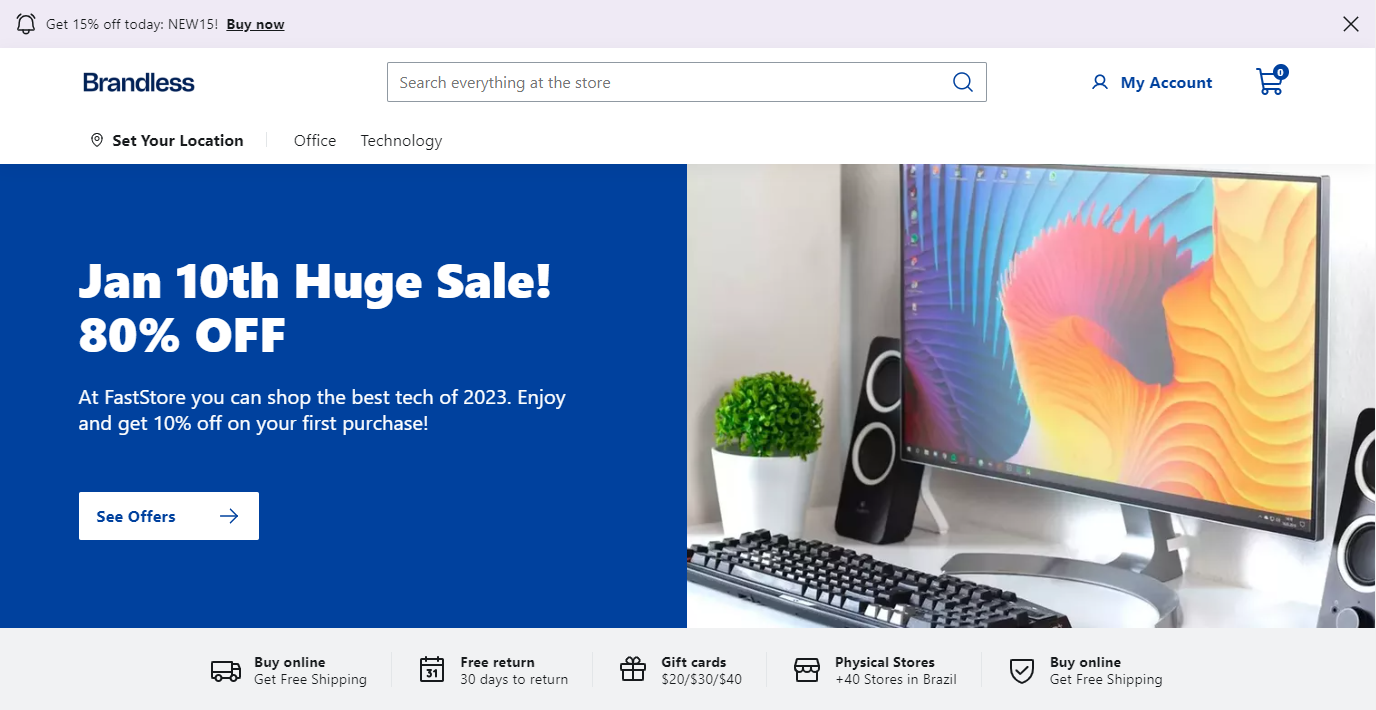
Once you are logged in, you will be able to see the customized Hero section:

Step 3 - Create a component fallback
The
ProfileChallenge has a property called fallback. This property allows you to display a custom component when a user is not logged in. If not provided, the default component with the original content will be displayed.- To create a fallback component, open the override component file, in this case,
Hero.tsx, and add the following:
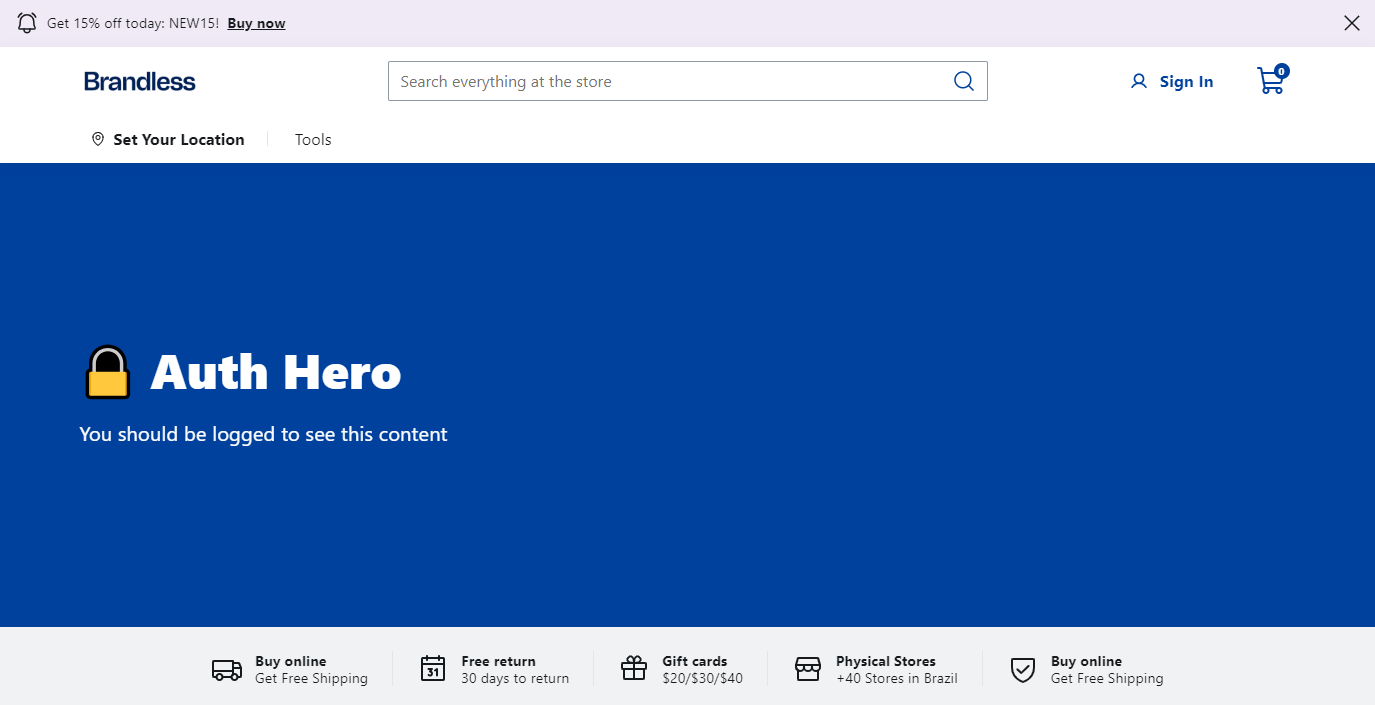
_37import { SectionOverride } from "@faststore/core";_37import { ProfileChallenge_unstable as ProfileChallenge } from "@faststore/core/experimental";_37_37import { HeroHeader, HeroImage } from "@faststore/ui";_37_37const SECTION = "Hero" as const;_37_37const override: SectionOverride = {_37 section: SECTION,_37 components: {_37 HeroImage: {_37 Component: (props) => (_37 <ProfileChallenge>_37 <HeroImage {...props} />_37 </ProfileChallenge>_37 ),_37 },_37 HeroHeader: {_37 Component: (props) => {_37 return (_37 <ProfileChallenge_37 fallback={_37 <HeroHeader_37 title="🔒 Auth Hero"_37 subtitle="You should be logged in to see this content"_37 />_37 }_37 >_37 <HeroHeader {...props} />_37 </ProfileChallenge>_37 );_37 },_37 },_37 },_37};_37_37export { override };
- Inside the
componentssection, specific components (HeroImageandHeroHeader) are targeted for customization. - HeroImage Override:
- A new component function is defined that wraps the original
HeroImagecomponent withProfileChallenge. This ensuresProfileChallengelogic is applied toHeroImage.
- A new component function is defined that wraps the original
- HeroHeader Override:
- A new component function is defined for
HeroHeader. - It uses
ProfileChallengewith afallbackproperty. - The
fallbackproperty defines what to display if the user isn't logged in. - Inside the
fallback, a customHeroHeadercomponent is created with two editable properties, title (Auth Hero), and subtitle (You should be logged in to see this content). - If the user is logged in, the original
HeroHeadercontent is displayed.
- A new component function is defined for
-
Run
yarn devto sync the changes locally. -
Access the localhost available in the terminal, and without signing in to your account, you will see the following:

Step 3 - Promoting your changes
After testing locally, you can promote your changes to production by doing the following:
- In your local store code, create a new branch with the changes you made.
- Push the changes to the new branch and publish it.
- Open a pull request in the store repository.
- If the checks and reviews are all good, merge the branch with the main one.