Adding a contact form to a landing page
This guide describes how to handle data from a Contact Us form and send it to a third-party API. To illustrate this, we will create a Contact Us page with a Contact form.
For detailed instructions on API extensions, see the API extensions guide.
Context
- You want to create a Contact Us page so shoppers can contact your store.
- You want to add a form so shoppers can send their requests or feedback.
- To handle the data submitted through this contact form, you need to extend the FastStore API with third-party API schemas to handle the data that comes from the form.
Implementation
Creating GraphQL files
First, you need to set up the necessary GraphQL files to handle data submissions.
-
In your store repository, go to the
srcfolder. If you don’t have it, create a newgraphqlfolder. -
Inside
graphql, create thethirdPartyfolder. -
In the
thirdPartyfolder, create two subfolders:resolverstypeDefs
-
Create an
index.tsfile inside theresolversfolder to set up the base structure for your resolver functions.
For more details about code implementation, see thethirdPartyfolder available in the playground.store repository.
_10src_10┗ 📂 graphql_10 ┗ 📂thirdParty_10 ┣ 📂 resolvers_10 ┗ 📄index.ts_10 ┗ 📂 typeDefs
Defining the types
Next, define the GraphQL types for your contact form in a file called
contactForm.graphql inside the thirdParty folder. This file will contain type definitions for your GraphQL schema.- In the
graphql/thirdParty/resolversfolder, create acontactForm.tsfile to handle the resolver logic for your contact form. - In the
graphql/thirdParty/typeDefsfolder, create acontactForm.graphqlfile and add the following schema definitions.
ContactFormResponse: Defines the structure of the response from the API, with a mandatory message field.ContactFormInput: Specifies the input fields required for the contact form.Mutation: Declares a mutation for submitting the contact form data.
Creating the resolvers
Now, let's create the resolver function to process the form submission.
In the
contactForm.ts file, add the following code. This file imports the contactFormResolver and combines it with other potential resolvers into a single object.Consolidating the resolvers
In the
graphql/thirdParty/resolvers folder, create an index.ts file to consolidate the resolvers:Creating a new section
Create a new section to receive the Contact Form data.
-
In the
src/componentsfolder, create theContactFormfolder. -
In the
ContactFormfolder, create the following files:ContactForm.tsx: The main component file.contant-form.module.scss: The stylesheet for the component.
-
Add the following code to the
ContactForm.tsx.
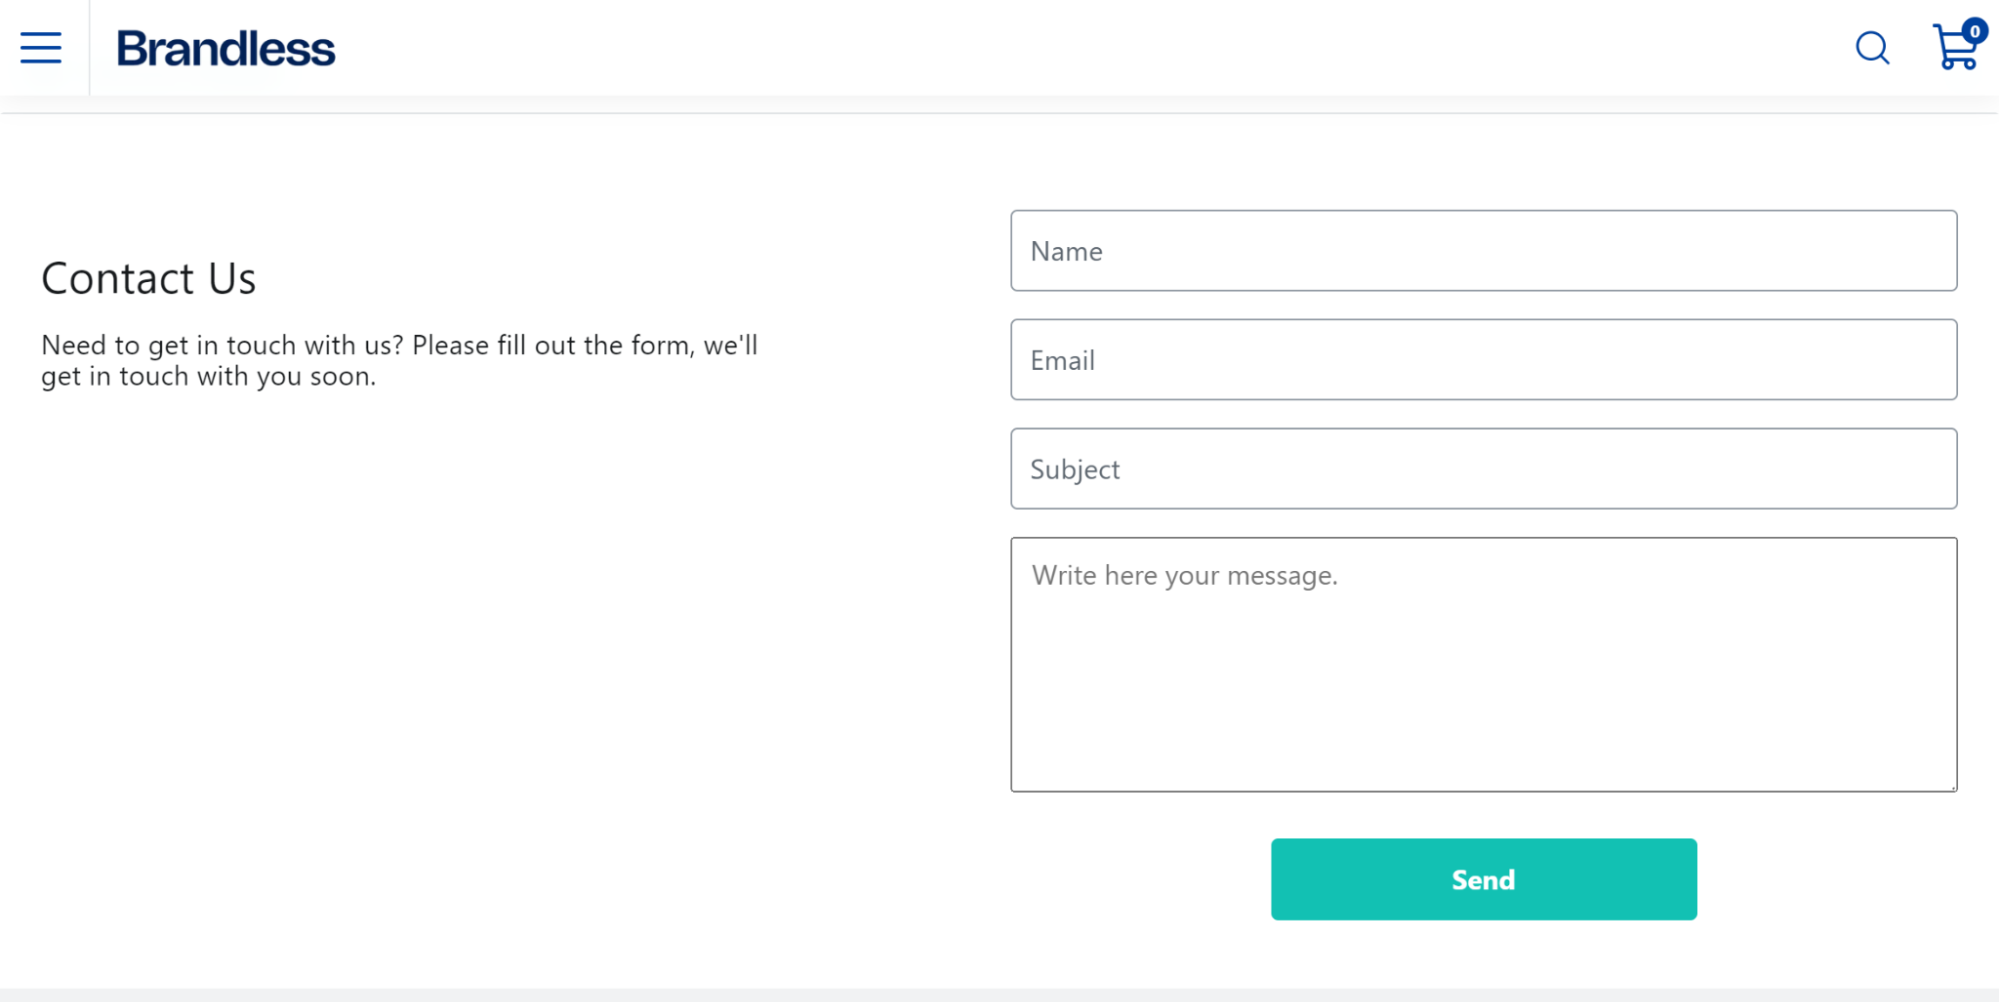
- This component renders a contact form with name, email, subject, and message fields.
- The
onSubmitfunction handles form submission, sends the data to the server, and clears the form fields upon success.
Creating a stylesheet for the section
In the
contact-form.module.scss file, add the following code. The stylesheet applies specific styles to the Contact Form component, including layout and spacing adjustments.For more information about code implementation, see the ContactForm folder available in the playground.store repository.
Synchronizing the changes with the Headless CMS
Add the section to Headless CMS by following the instructions available in Syncing components with Headless CMS.
The following schema was used as an example.
For more information about code implementation, see thesections.jsonfile available in the playground.store repository.
Creating GraphQL files
First, you need to set up the necessary GraphQL files to handle data submissions.
-
In your store repository, go to the
srcfolder. If you don’t have it, create a newgraphqlfolder. -
Inside
graphql, create thethirdPartyfolder. -
In the
thirdPartyfolder, create two subfolders:resolverstypeDefs
-
Create an
index.tsfile inside theresolversfolder to set up the base structure for your resolver functions.
For more details about code implementation, see thethirdPartyfolder available in the playground.store repository.
Defining the types
Next, define the GraphQL types for your contact form in a file called
contactForm.graphql inside the thirdParty folder. This file will contain type definitions for your GraphQL schema.- In the
graphql/thirdParty/resolversfolder, create acontactForm.tsfile to handle the resolver logic for your contact form. - In the
graphql/thirdParty/typeDefsfolder, create acontactForm.graphqlfile and add the following schema definitions.
ContactFormResponse: Defines the structure of the response from the API, with a mandatory message field.ContactFormInput: Specifies the input fields required for the contact form.Mutation: Declares a mutation for submitting the contact form data.
Creating the resolvers
Now, let's create the resolver function to process the form submission.
In the
contactForm.ts file, add the following code. This file imports the contactFormResolver and combines it with other potential resolvers into a single object.Consolidating the resolvers
In the
graphql/thirdParty/resolvers folder, create an index.ts file to consolidate the resolvers:Creating a new section
Create a new section to receive the Contact Form data.
-
In the
src/componentsfolder, create theContactFormfolder. -
In the
ContactFormfolder, create the following files:ContactForm.tsx: The main component file.contant-form.module.scss: The stylesheet for the component.
-
Add the following code to the
ContactForm.tsx.
- This component renders a contact form with name, email, subject, and message fields.
- The
onSubmitfunction handles form submission, sends the data to the server, and clears the form fields upon success.
Creating a stylesheet for the section
In the
contact-form.module.scss file, add the following code. The stylesheet applies specific styles to the Contact Form component, including layout and spacing adjustments.For more information about code implementation, see the ContactForm folder available in the playground.store repository.
Synchronizing the changes with the Headless CMS
Add the section to Headless CMS by following the instructions available in Syncing components with Headless CMS.
The following schema was used as an example.
For more information about code implementation, see thesections.jsonfile available in the playground.store repository.
_10src_10┗ 📂 graphql_10 ┗ 📂thirdParty_10 ┣ 📂 resolvers_10 ┗ 📄index.ts_10 ┗ 📂 typeDefs
Creating a new landing page
Let’s create a new landing page for the Contact Us page to add the new Contact Form section. For this part, we will follow the Creating a new page tutorial.
- Go to the VTEX Admin and access Storefront > Headless CMS.
- Click
Create documentand selectLanding Page. - In the
Sectionstab, click add (+) and choose theContactFormsection. - Go to the
Settingstab and add the following path in the Path field:/contact-us. - Click
Save.
Results
Once you have set your development mode to see the changes locally, access the
https://localhost:3000/contact-us and you will see the new landing page with the Contact Us form. Check the storefront example below: