Use case: Implementing custom newsletter analytics events
This guide walks you through the process of implementing custom analytics events in FastStore projects. The example in this guide explains how to track user subscriptions by implementing two custom analytics events for a custom newsletter section:
Submit newsletter: Triggered when a user clicksSubscribe.Submit newsletter success: Triggered upon successful subscription.
For a complete implementation example, check the playground.store repository, which provides more in-depth details.
Before you begin
To follow this guide, you should be familiar with the following topics:
Instructions
Creating a custom newsletter section
Create a new section to receive the two new custom events:
- Open your store repository. If you don't have it, create a folder named
componentsin thesrcdirectory. - In
components, create thesectionsfolder. - In the
sectionsfolder, create theCustomNewsletter.tsxfile and add the following code. Below is an explanation of the code.
NewsletterProps
Defines the customizable properties of the newsletter.
title: Heading of the newsletter.description: Subtitle or description text.emailInputLabel: Label for the email input field.subscribeButtonLabel: Text for the submit button.toastSubscribe: Success pop-up settings.toastSubscribeError: Error pop-up settings.privacyPolicy: Legal disclaimer text.card: Defines whether the newsletter should display in a card-style container.colorVariant: Styling theme (example: "primary", "secondary").
onSubmit function
Handles the newsletter subscription process.
event.preventDefault(): Prevents default form submission.sendAnalyticsEvent: Tracks the submission attempt.- The
onSubmitfunction calls thesubscribeUser()with email and name.- If successful:
- Shows a success toast (
pushToast). - Resets the form (
formRef.current?.reset()).
- Shows a success toast (
- If the call fails, it shows an error toast.
- If successful:
- The
pushToast: Displays temporary success/error messages.sendAnalyticsEvent: Tracks user interactions.Submit Newsletterevent: Tracks the form submission attempt when the user clicks theSubscribebutton.Submit newsletter successevent: Tracks if the subscription was successful.
useAnalyticsEventhook: Tracks and handles custom analytics events.
Creating the section index file
To make the Newsletter section available in the project, create a file named
index.tsx in the components folder and add the following:Styling the new section
To add styles to this new section, create a
section.module.scss file and add the following:Updating the CMS folder
- In the root directory of your storefront project, create a folder named
cmsif it doesn't exist. - In
cms, create thefaststorefolder. - In the
cms/faststorefolder, create thesections.jsonfile. - In the
sections.jsonfile, add the new section you want to display in Headless CMS. The schema below defines how Headless CMS renders a section:
Syncing the new section with Headless CMS
-
In the terminal, log in to your VTEX account by running
vtex login {accountName}.Replace{accountName}with the name of your account. For example,vtex login store. -
Run
yarn cms-syncto sync the new section you created with CMS. -
Go to the VTEX Admin and navigate to Storefront > Headless CMS.
-
Click the Home Content Type.
-
In the Sections tab, click
+, search for the new Custom Newsletter section, and add it to your page.
-
Delete the Newsletter default section.
-
Click
Save. -
Click
Previewto preview the new section before publishing it to the live store.
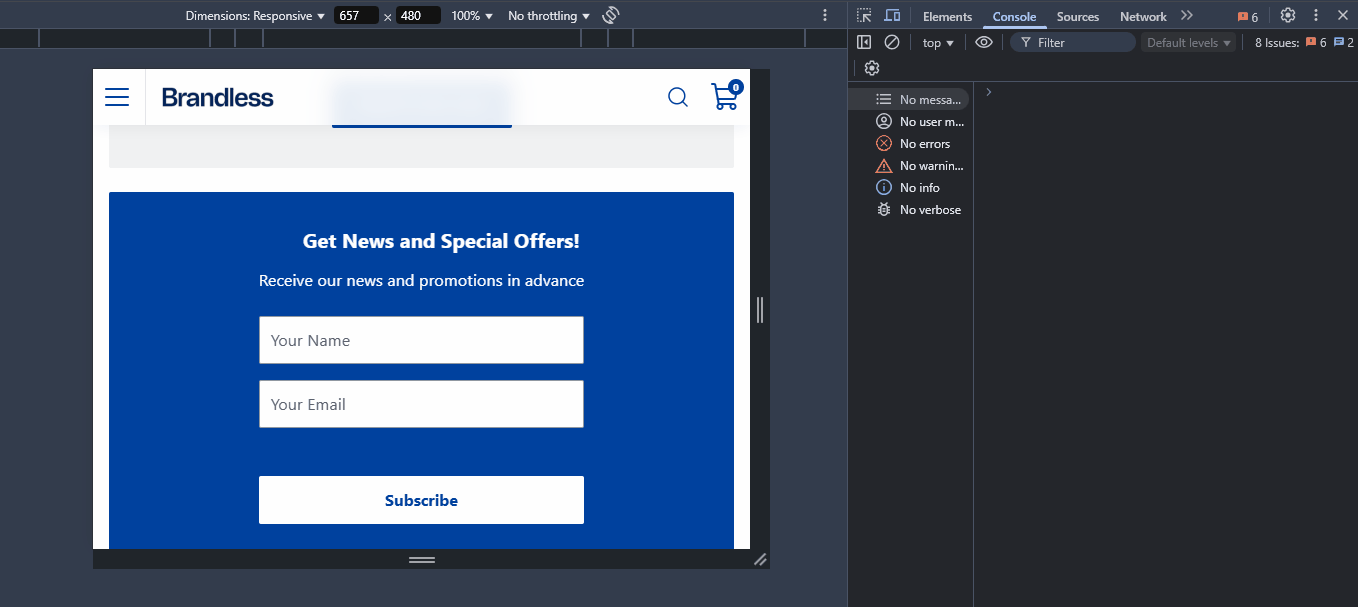
Results
-
After opening the preview browser tab, open the browser's Developer Tools and go to the Console tab.
-
Go to the newsletter section on the store page and complete Your Name and Your Email fields.
-
Click
Subscribe. You will notice in the Console tab that the two custom events were successfully triggered.