This app allows you create an environment which contains gift lists.
In this environment your clients can create gift lists, send them to guest and manage credit with their own wallet and also see their bank statements.
This app makes available an admin interface where the shopkeeper can manage the progress of the lists, with informations like the number of lists created,
track information from multiple customers, how much money was generated from the gift lists
among other important measures.
Getting started
The gift list app must run in an environment separate from the main store.So first you need to create a subaccount inside the main account
After creating the subaccount, it is necessary to open a ticket to the VTEX support team requesting the installation of vtex.edition-store@5.x at the new subaccount
Setup
In order to setup Gift List in your store, follow these steps:
-
Install the app. You can do this by going to the List app page and acquiring the app in the subaccount already created in last step.
-
After the installation is finished, we must proceed to the application setup. You will need to access your subaccount admin and access the Gift List App Settings menu. Because, as you may know, the conversion of the values received from the gifts will be sent to a Gift Voucher that can be used in your official store. But for that we have to configure it. When accessing the previously specified menu, the following screen will be displayed:
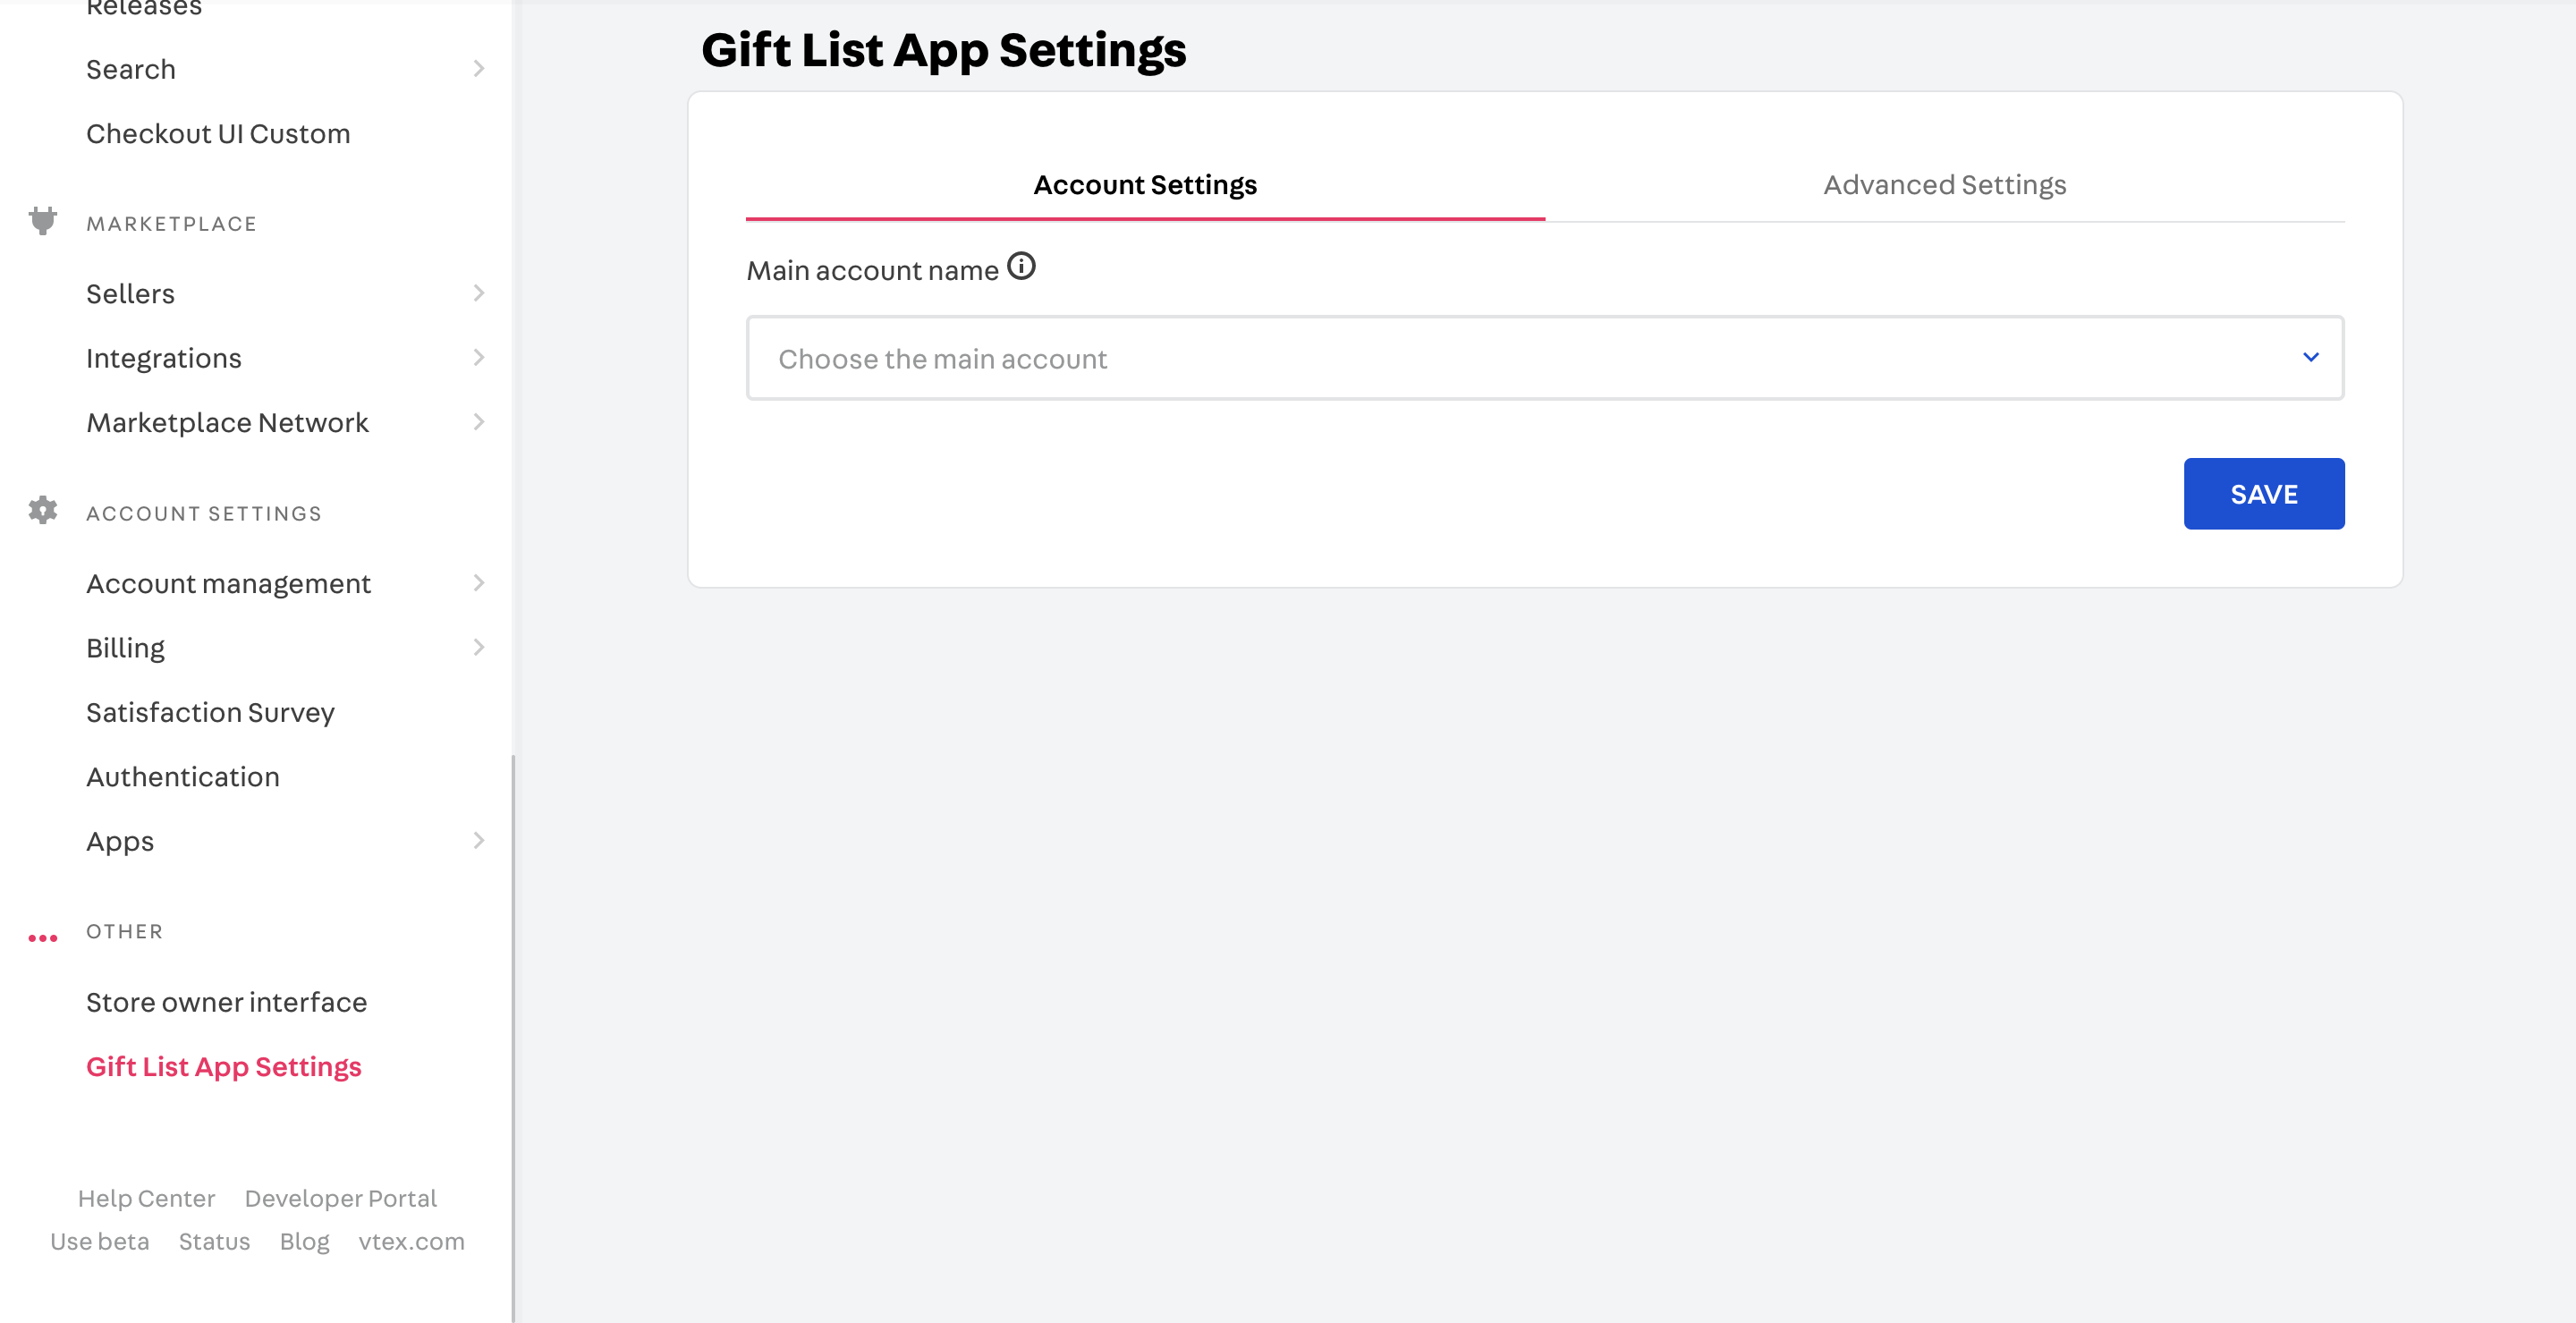
-
In the first settings tab, we will carry out the setup, and for that you must choose which account is the official store that is the store where the generated gift cards will be used. (the options will appear when you click on the field) after selecting click on save.
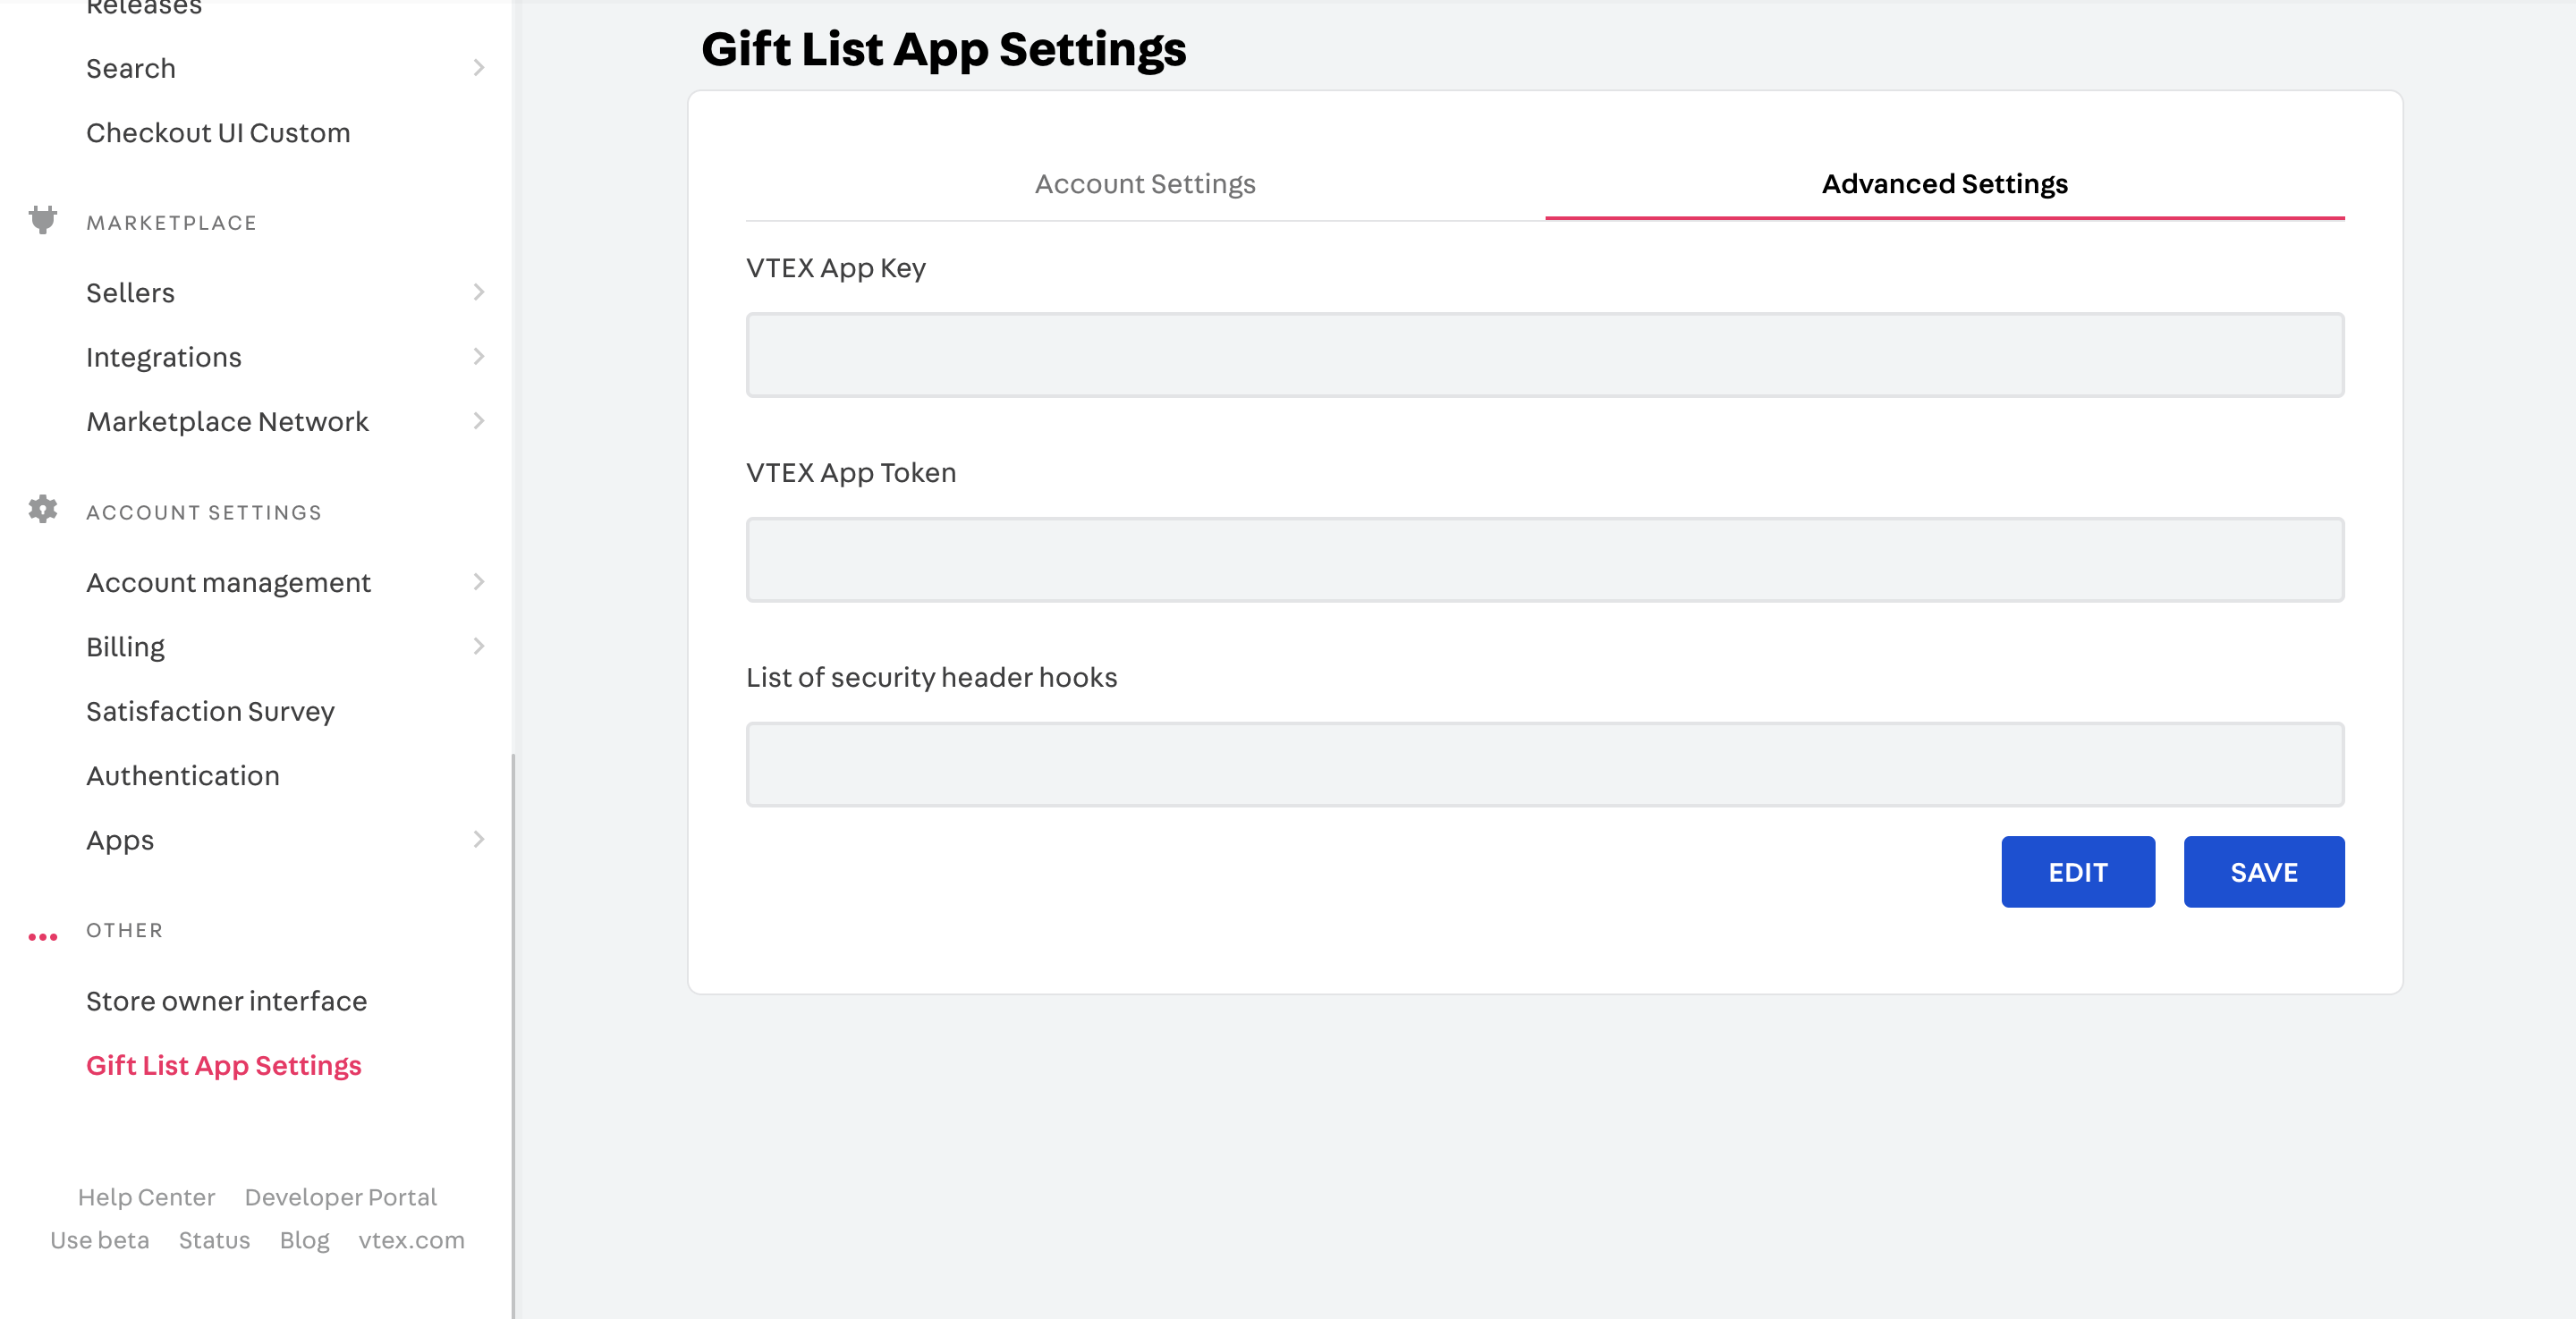
-
In the second tab we will have a second configuration, to create the hook responsible for coordinating the application's data. To configure it, just access the Advanced Settings tab and add an application key (this application key must have no hook registered to it) and a security key for your hook. Finally, after the data is entered, it must be saved.
- The next setup is to configure intelligent search, so that your entire store catalog is indexed in the subaccount. We will remain in the admin, and we will only switch to the menu: Search -> Integration Configuration
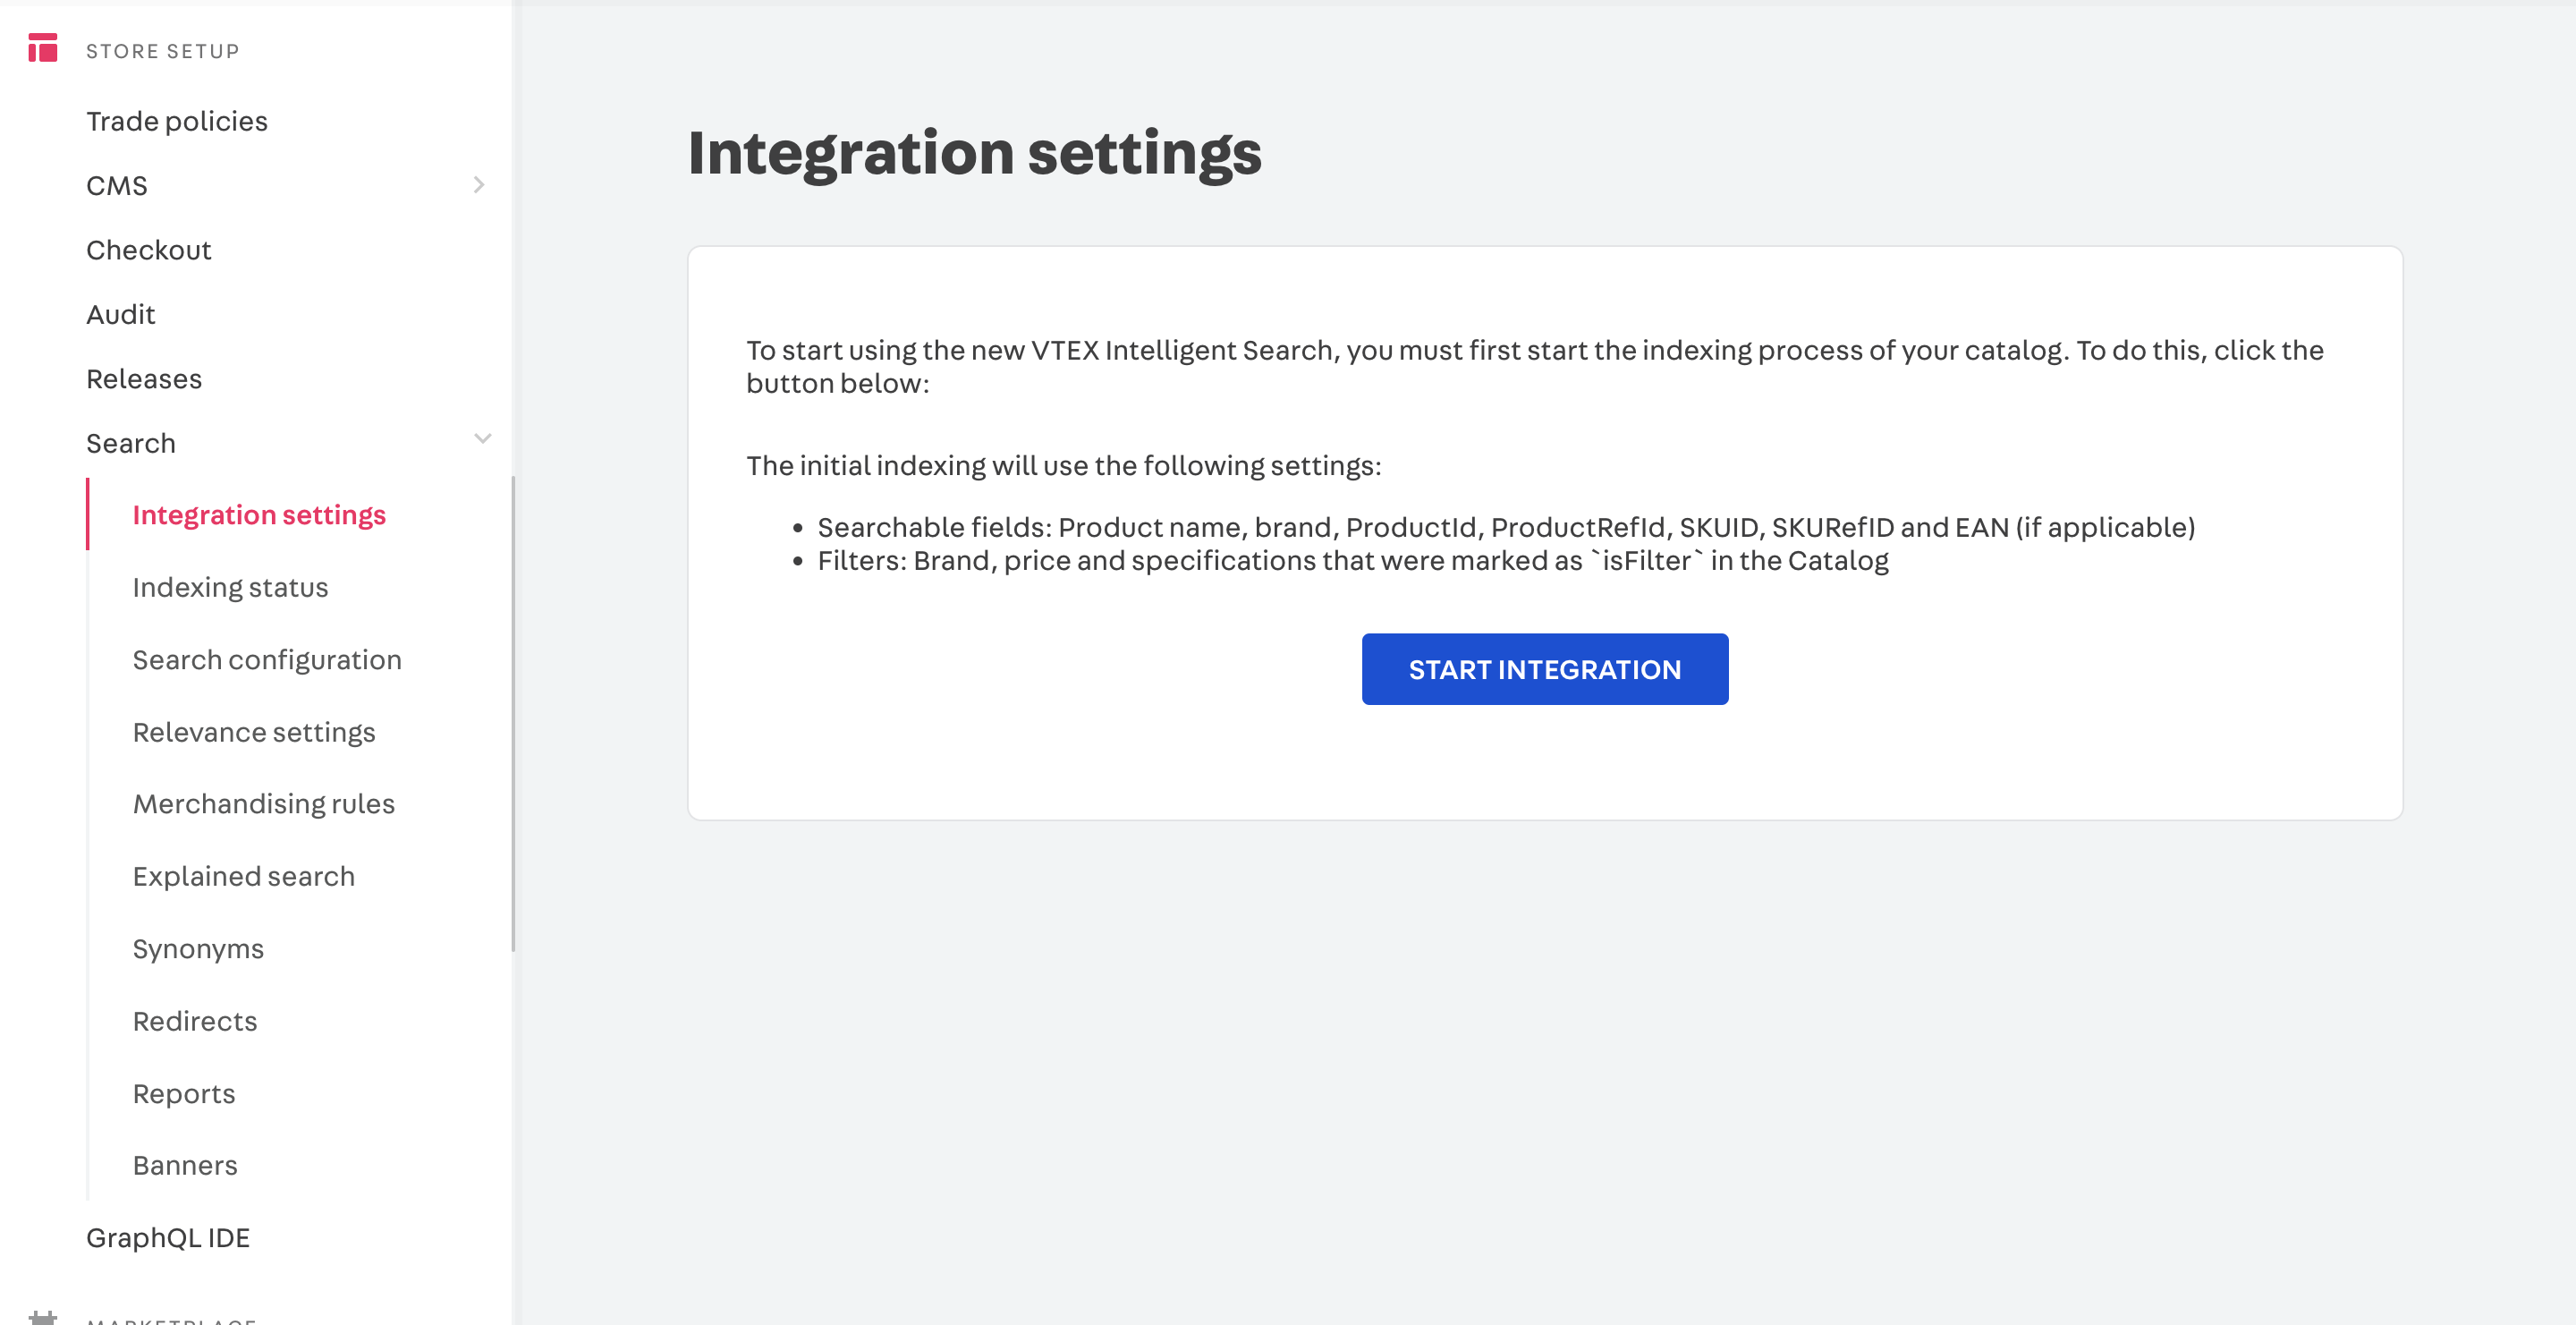
You must start the integration and wait until all the integration is completed successfully as shown in the screen below

And that's it, the setup is finished.
Now you can use your gift list
With this, you should be able to start using the app.
Components
The default pages with predefined URLs are already available to you, such as:
- store.guest - Guest page
- store.list - List Owner page
- store.list.settings - [WIP] Settings page
Below is a list of all the components in our app list
- Add To Cart Button
- Add To List Button
- Auth Condition
- Add New Item
- BreadCrumbs
- List Modal
- Gallery List Items
- Gifted Button
- Go Back To list
- List Info
- Product Modal
- Quantity Selector
- Search List
- Store Wallet List
- Share List
- User Lists
- Wrappers
- List Items Order By
Optional settings (recommended)
Trade Policy
To better control the functioning of the gift list, we strongly recommend to create a new trade policy. There are 3 main reasons why trade policy helps you to manage gift lists:
- Stock control: There are two different moments of purchase on gift flow. The first occurs when guests realize a purchase related to the list. The second occurs when the list owner realizes a purchase, using the credits received by the guests on the first purchase. Because of this flow, two items can be removed for the same gift, generating an imbalance in stock control. Attentive to this problem, we suggest one stock to be used only for gift list purchases. For this matter, is mandatory an exclusive trade policy for linking stock with the store catalog;
- Specific assortment: You could want to define a specific assortment of items to be added on clients' lists. For this purpose, you will need a separate trade policy;
- Different prices: Another common situation is to define a specific price table for items sold by gift list. A new trade policy helps you to enable this particular price table.
To create a new trade policy, please fill out this form. If you want more information about commercial policies, visit the help page.
Ready-made Theme
It is also possible to use a ready-made theme with these components, or even use this theme and then change it to better meet your needs. If you want to use the mentioned theme, you can access in this link or even install it directly using the command
_10 vtex install vtex.list-theme@3.x
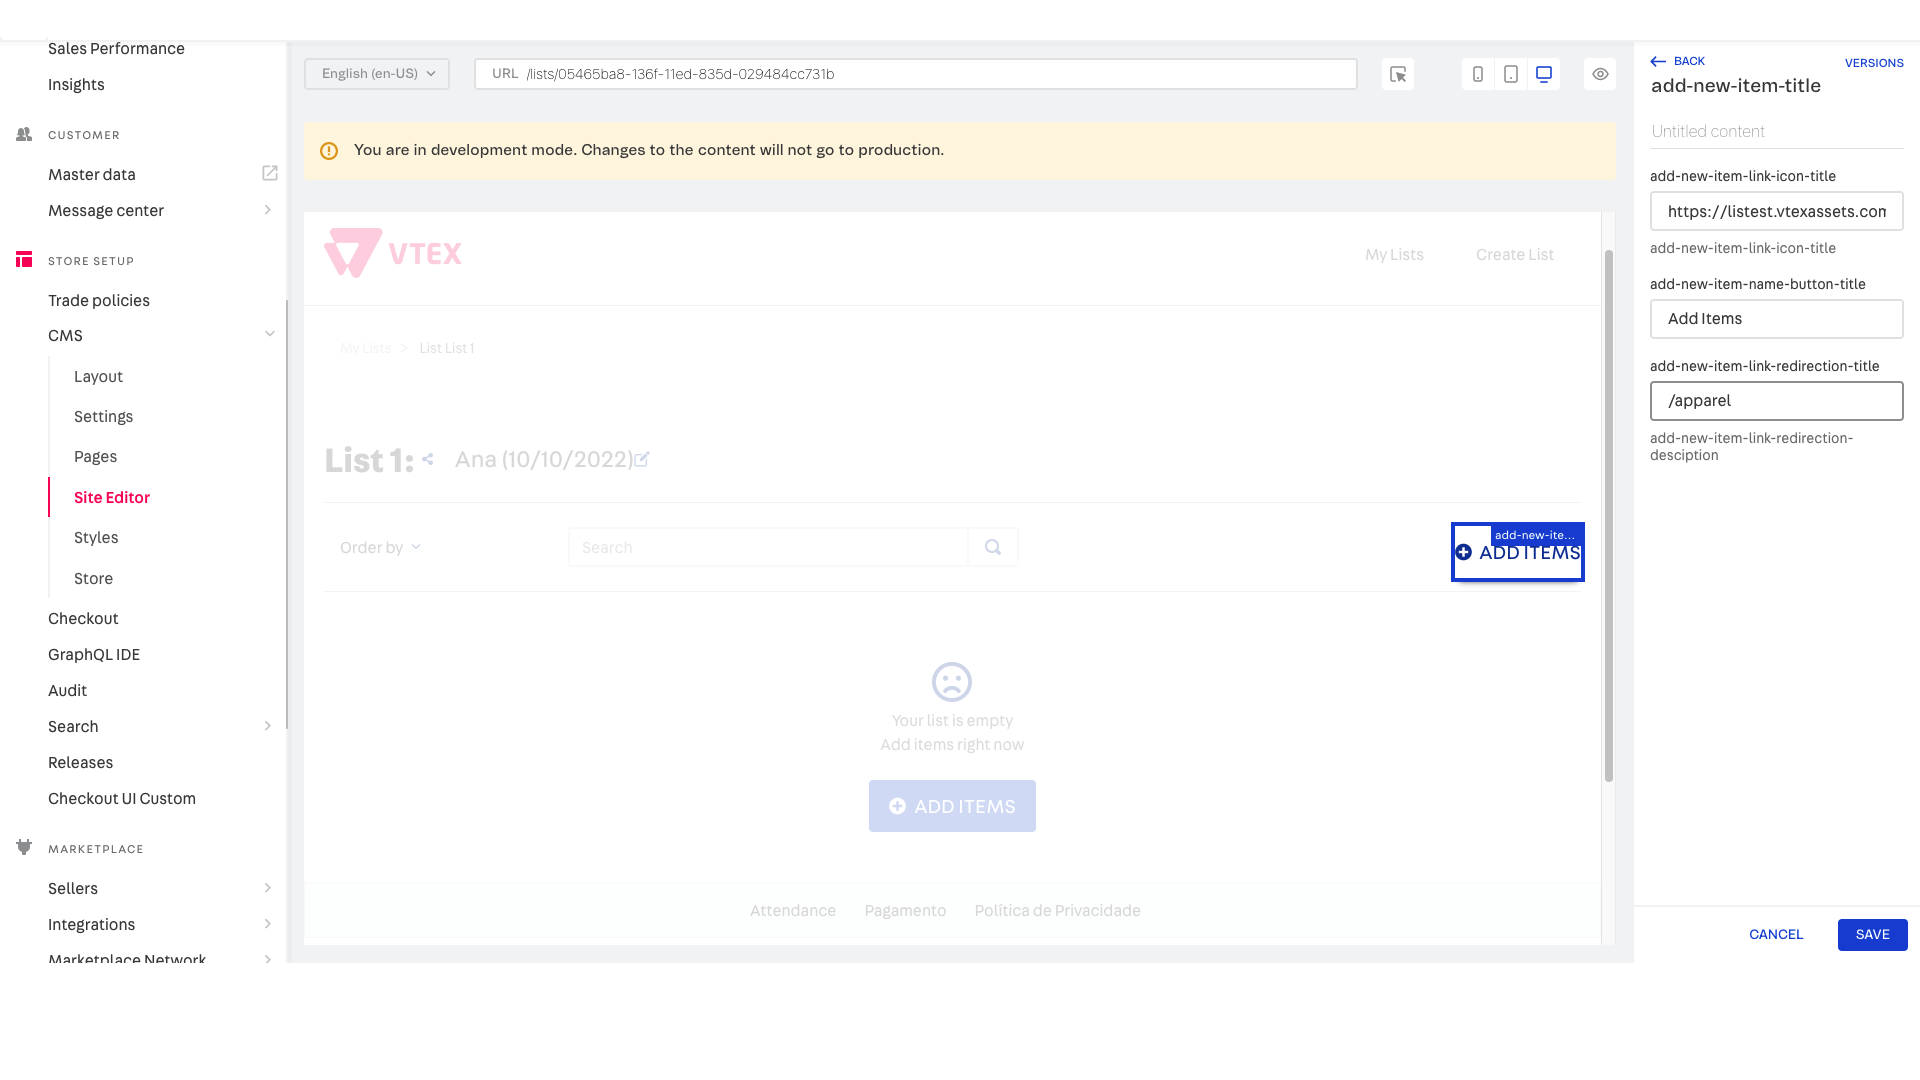
It is worth remembering that after the theme is created, it will be necessary to enter the Site Editor in the Admin to add which category the list owner will be redirected to when adding a product to your list, as can be seen below
Checkout
We recommend using the checkout created by us for the gift list, as it will allow some personalized features to be added, such as the possibility of sending personalized emails from a guest to the person to be gifted. To use it, just install it with
_10 vtex install vtex.list-checkout@0.x
If you continue with this alternative, you will also need to install checkout-ui-custom if you want to edit the previous checkout. The step by step of how to use this application is in the following documentation
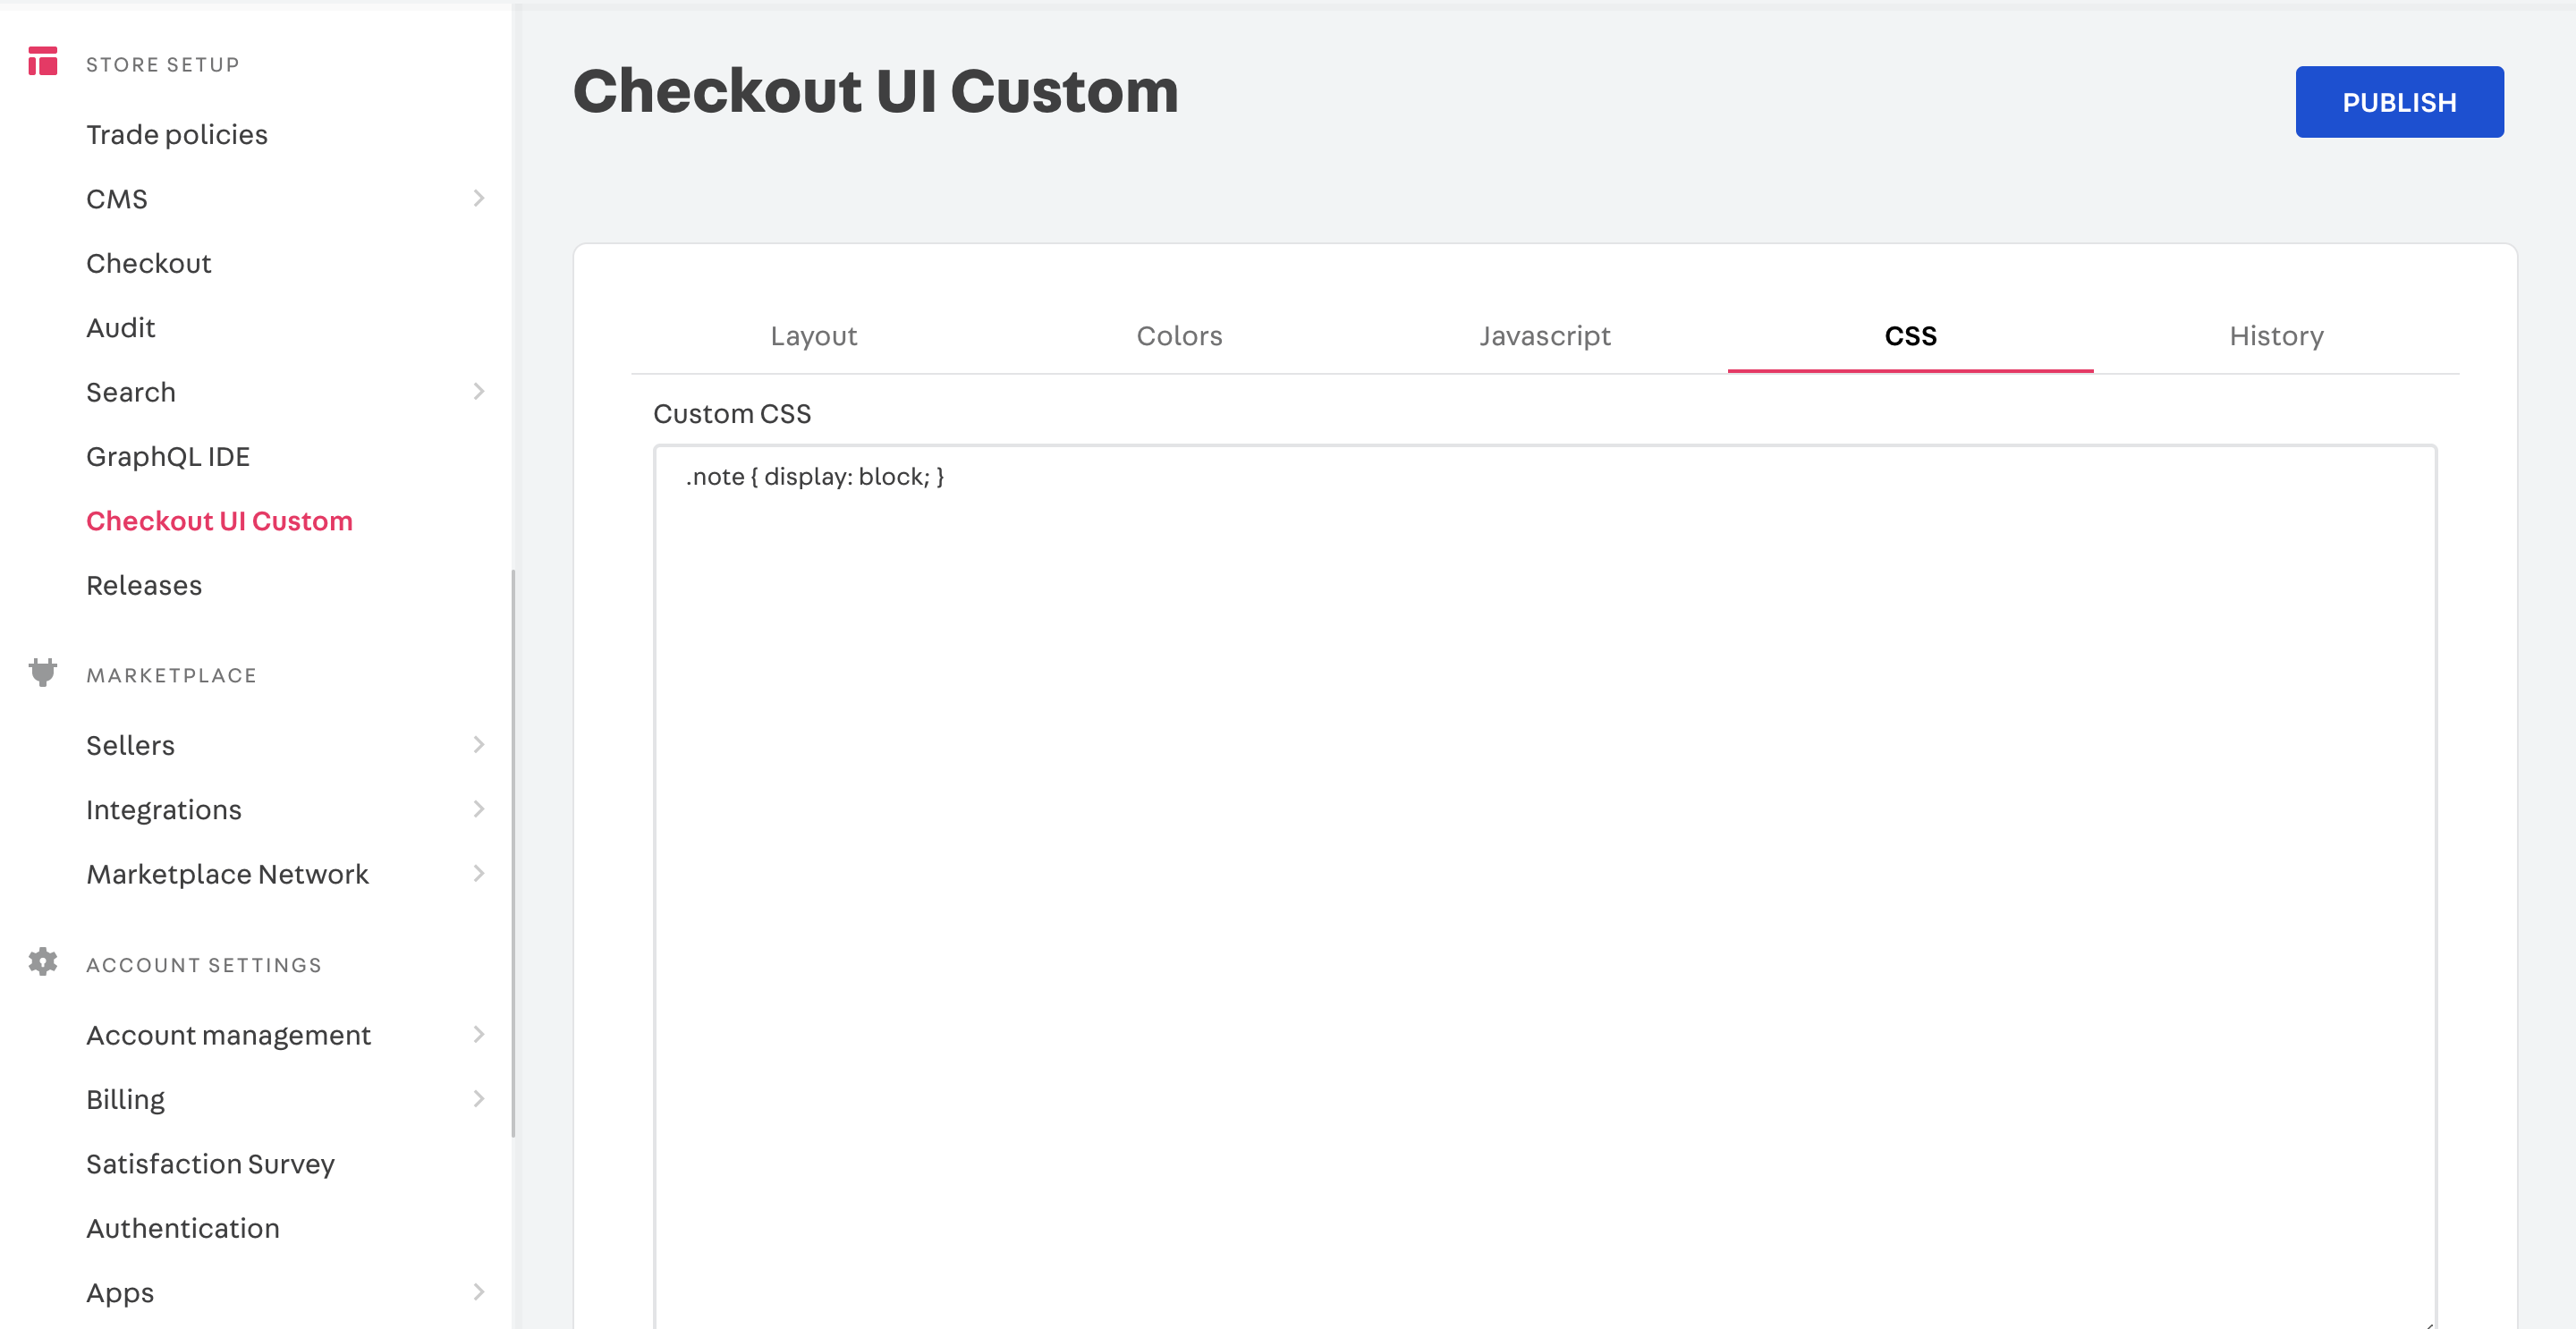
With the checkout apps installed, you can enable the message field. To do this, just access the checkout-ui-custom interface via admin and upload the following snippet in the css tab and publish the changes:
.note { display: block; }
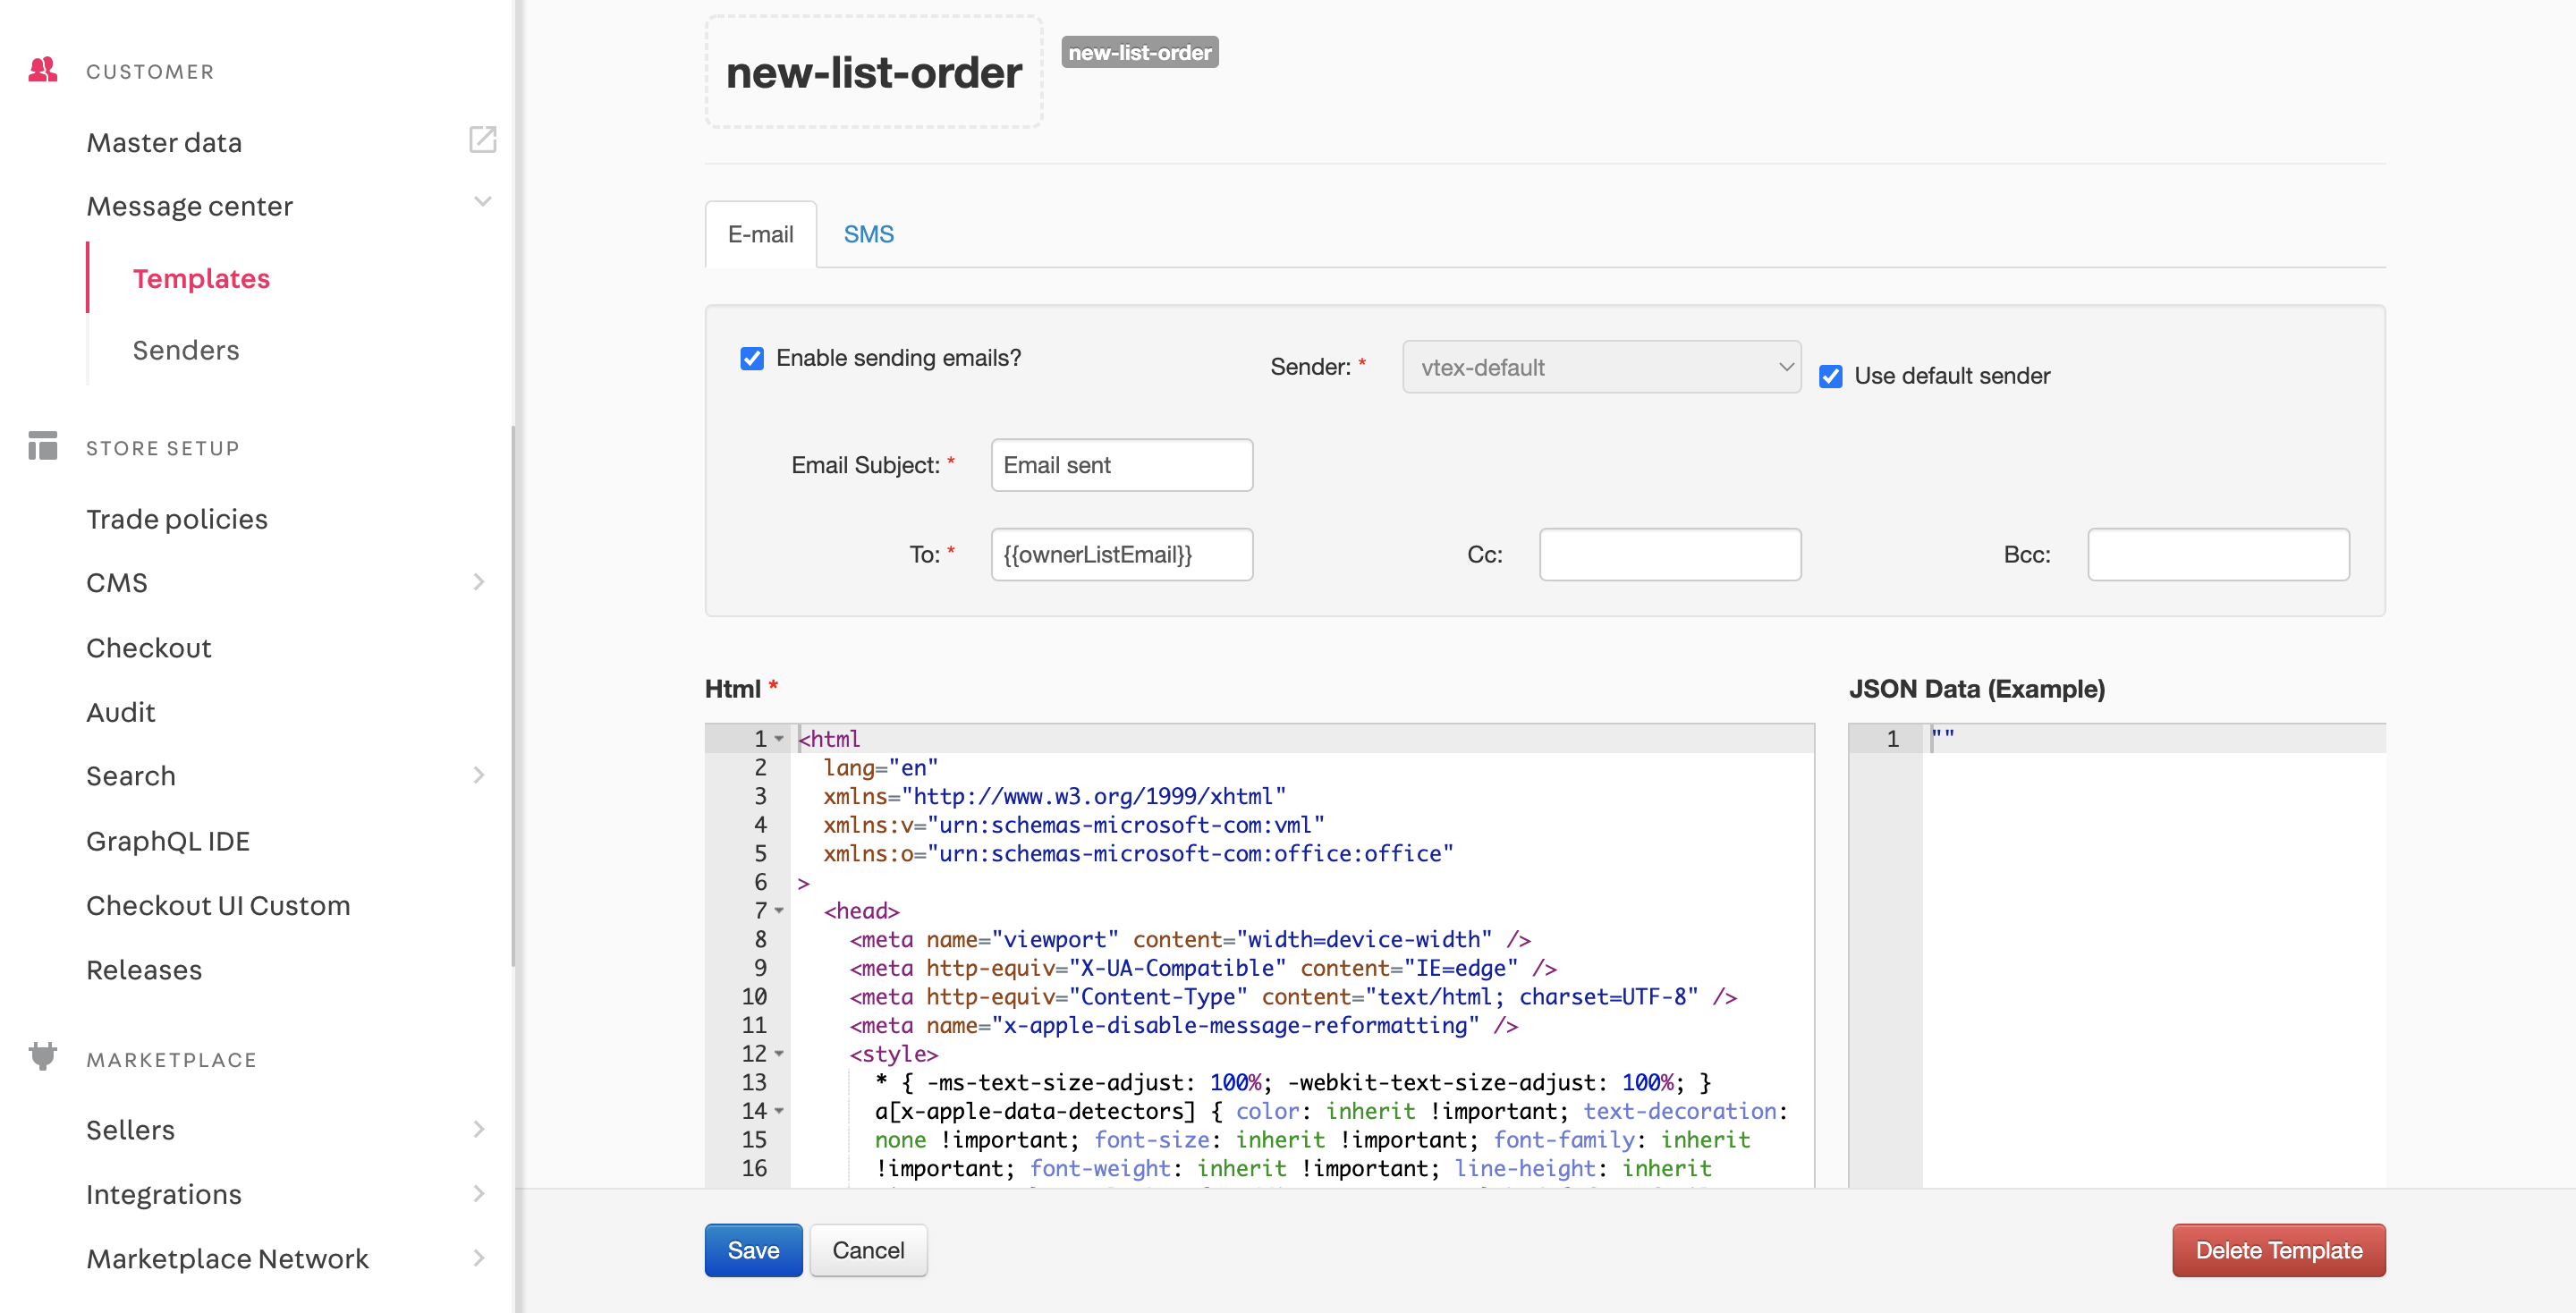
Email for gift purchase
If you want to send the emails that are triggered with the checkout above, you must create a new template in the admin, in the Message Center -> Templates area. The name of the template must be new-list-order and the recipient {{ownerListEmail}}.
Optional downloadable template.
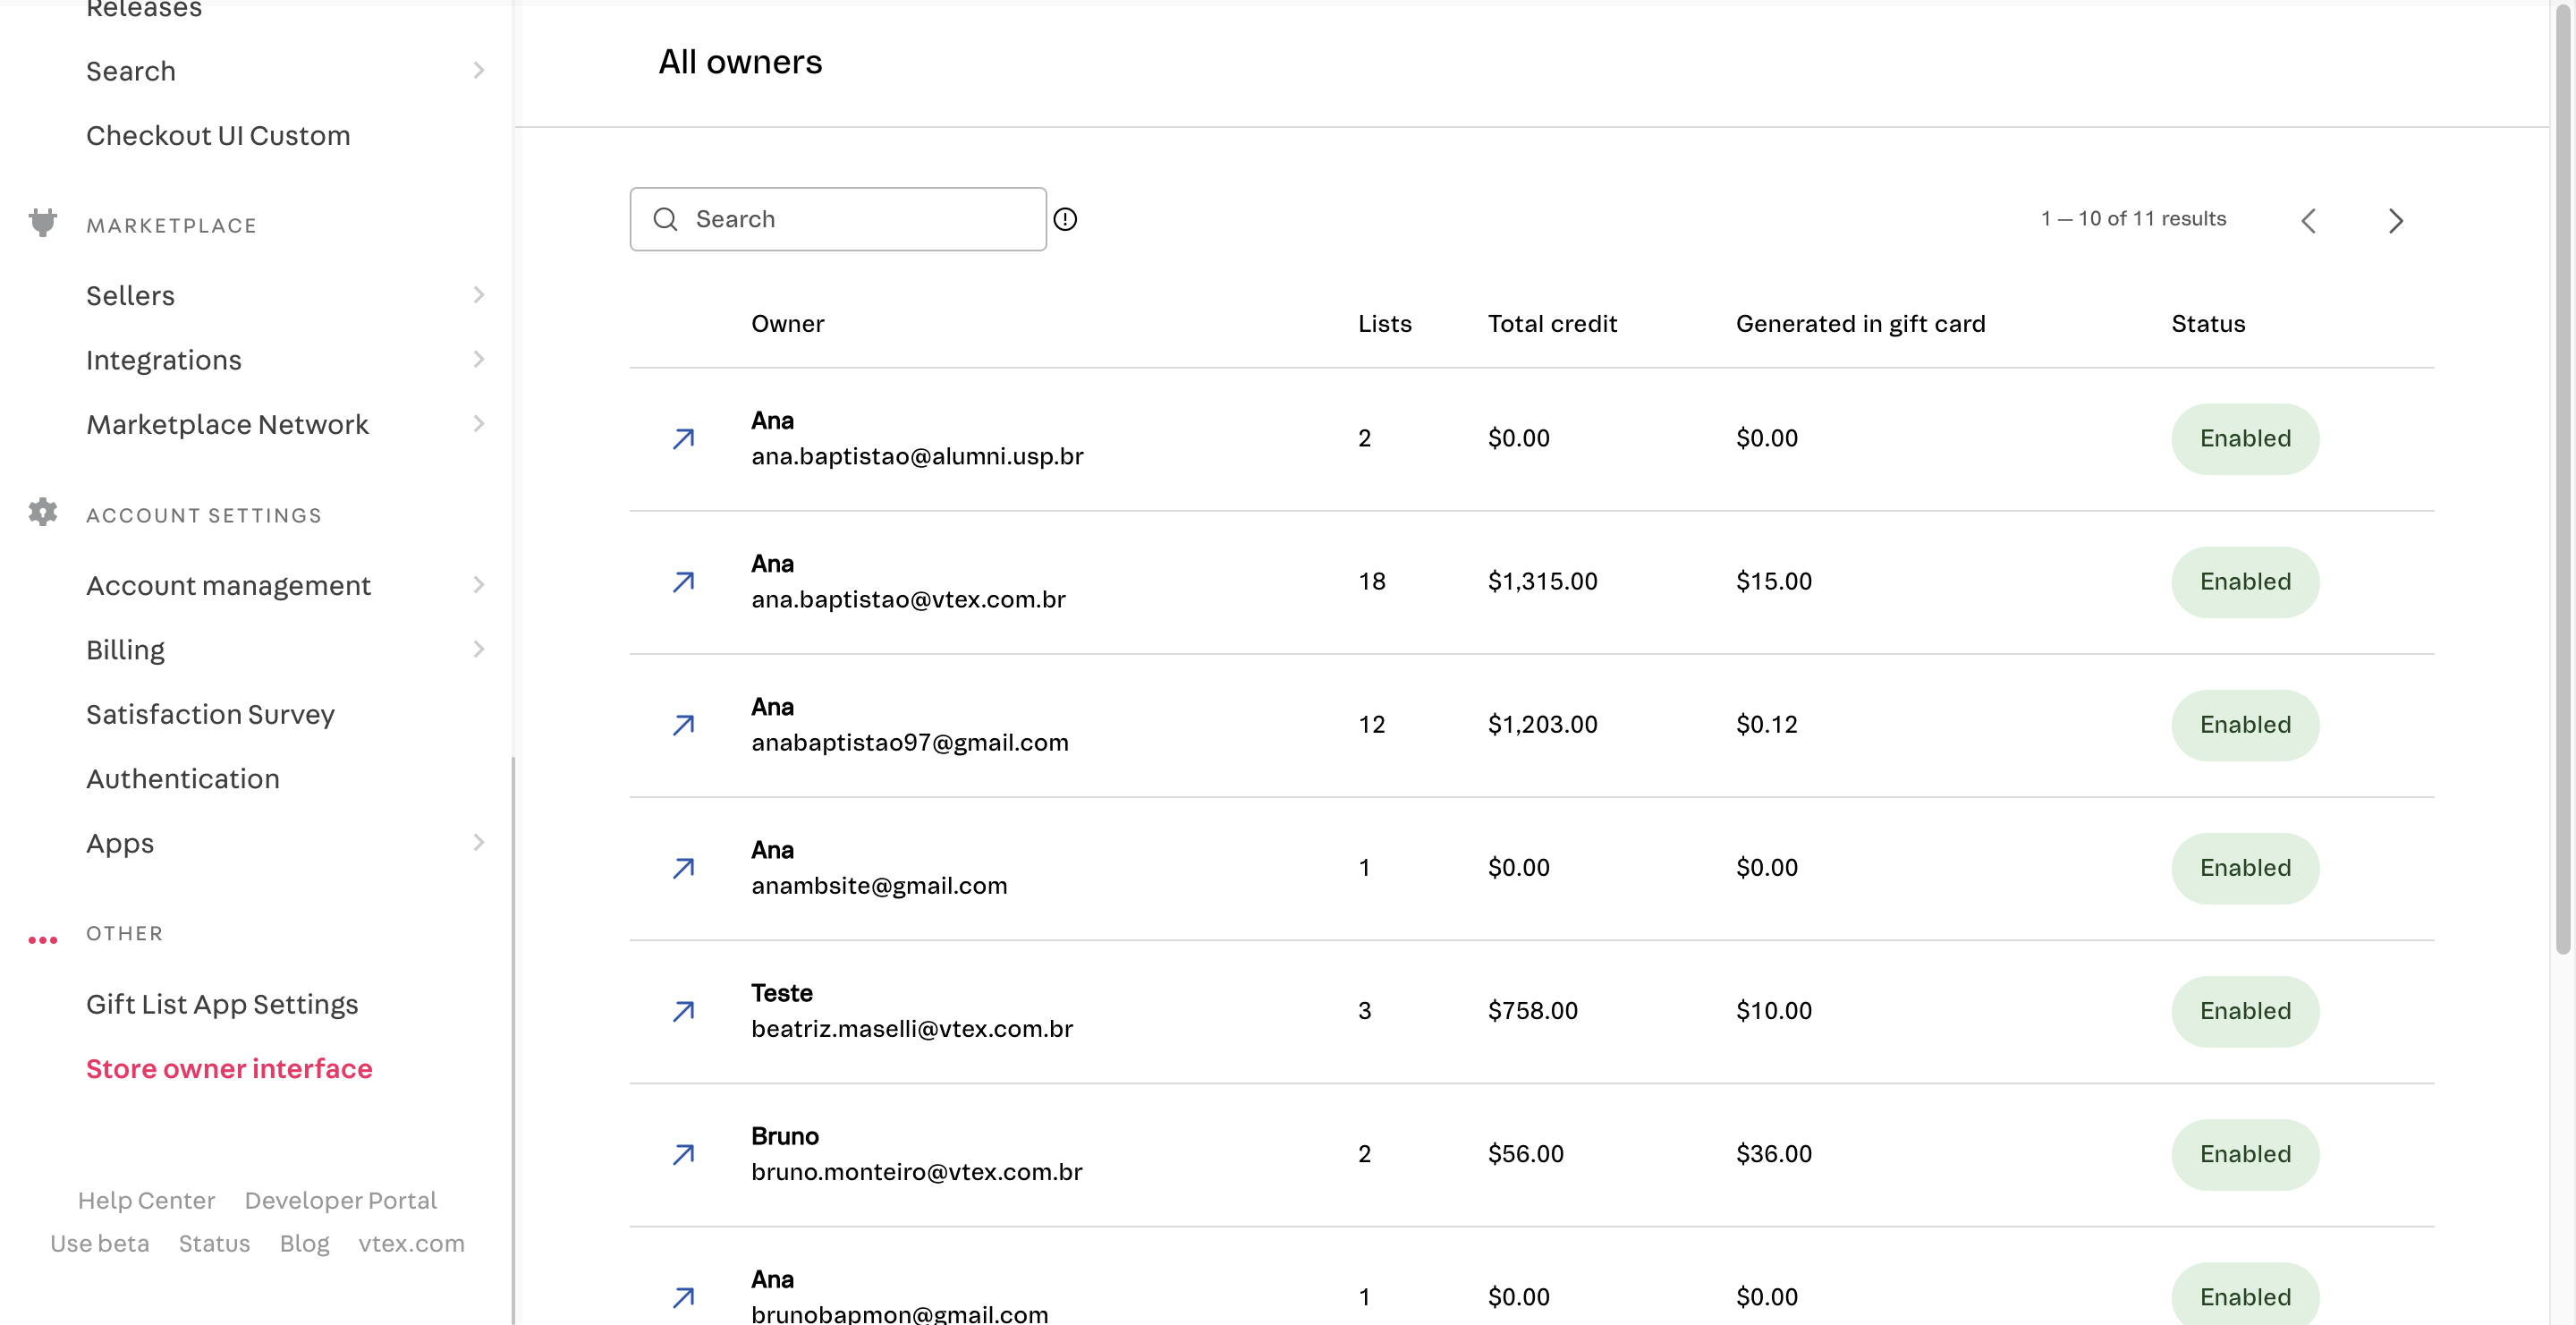
Interface for shopkeeper
There is also an interface available for the shopkeeper to be able to follow the metrics obtained by the list application. To access, you must enter the admin and there access the Merchant Interface menu. In this interface, we will have on the first screen all the users that contain a gift list, with their respective amounts of lists, the value they have already earned in gifts, the value converted into gift vouchers and whether or not there is already an active list at the moment, respectively. You can also search for emails.
If you want to have more information about a specific user, just click on the arrow next to the user's name, which will redirect you to a second screen where information will be obtained from each list of this user, with the value gained in the list, the date of the event and if the event has already occurred or not. There is also a totalizer that contains information such as the amount of the list, the amount invoiced to the total of them and the converted amount. It is worth adding that if a search is performed or a filter is used, the list values and purchased value will be updated according to the search. The search can be done by list title and the available filters are the status of the lists and the date of creation of the list. Finally, if you want to see the list in question, you can click on the button and you will be redirected to the list in question in the guest view.

Migration Process
A common implementation demand is the necessity of migration for the native list feature (for more information, we recommend this article), for this new list app. You can have all the necessary information on this article.