Setting up the zoom
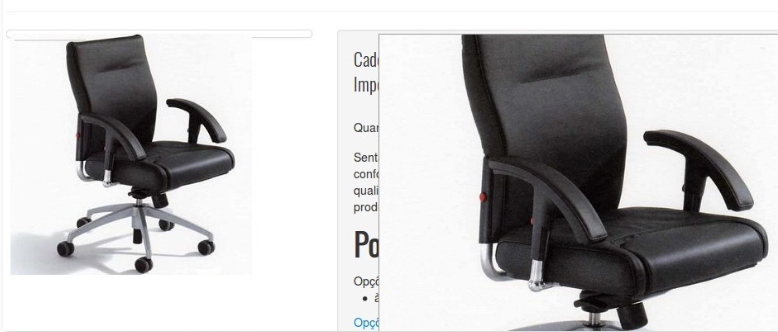
A tool very commonly used in online stores is the zoom.
It allows the customer to see a detailed image by passing the mouse over a photo of the product. Let us see how to set up and implement this function.
Setting up the CSS
The first thing to do is to set up the CSS of the page to be opened with an approximate image of the product at the moment the user passes the mouse over the photos of the product. To do this, save a file with the CSS of the page and upload it to your store’s server.
Below we reproduce an excerpt of CSS that you can use as a starting point for this purpose. Copy and paste it into a text editor and save it as “zoom.css”, for example.
_10.zoomPad{position:relative;float:left;z-index:99;cursor:crosshair} .zoomPreload{-moz-opacity:.8;opacity:.8;filter:alpha(opacity=80);color:#333;font-size:12px;font-family:Tahoma;text-decoration:none;border:1px solid #CCC;background-color:#fff;padding:8px;text-align:center;background-image:url(/arquivos/ajax-loader.gif);background-repeat:no-repeat;background-position:center center;z-index:110;width:100%;height:100%;position:absolute;top:0;left:0;} .zoomPup{overflow:hidden;background-color:#FFF;-moz-opacity:.6;opacity:.6;filter:alpha(opacity=60);z-index:120;position:absolute;border:1px solid #CCC;z-index:101;cursor:crosshair} .zoomOverlay{position:absolute;left:0;top:0;background:#FFF;z-index:5000;width:100%;height:100%;display:none;z-index:101} .zoomWindow{position:absolute; left:445px !important; top:40px; background:#FFF; z-index:6000; height:auto; z-index:10000; z-index:110;} .zoomWrapper{position:relative;border:1px solid #999;z-index:110; width:531px !important; height:400px !important;} .zoomWrapperTitle{display:block;background:#999;color:#FFF;height:18px;line-height:18px;width:100%;overflow:hidden;text-align:center;font-size:10px;position:absolute;top:0;left:0;z-index:120;-moz-opacity:.6;opacity:.6;filter:alpha(opacity=60)} .zoomWrapperImage{display:block;position:relative;overflow:hidden;z-index:110; height:400px !important;} .zoomWrapperImage img{border:0;display:block;position:absolute;z-index:101} .zoomIframe{z-index:-1;filter:alpha(opacity=0);-moz-opacity:.8;opacity:.8;position:absolute;display:block}
Next we are going to send the saved CSS file to the server. To do this, click on CMS > Access Layout > Click on CMS folder > Access Files Manager > Access .css > in the window that opens on the right, click on Add.
Then find the CSS file you saved and send it to the server, clicking on Localizar ("Find") and then on Salvar arquivo ("Save File")

Your file will then be listed in the window, as shown above.
Activate the zoom in the page template
Once you have done the above, you have to insert a control to activate the zoom on the product page template. This process also takes place in the CMS, but this time you have to locate the product page template, which should be in the CMS folder > HTML Templates. When you have located the template, you must enter the reference for the .css file we have just uploaded.
For this, you must include a tag such as <link href="/files/zoom.css" rel="stylesheet" type="text/css"> in the head template, as we would do with any other .css file.
Now all you have to do is insert zoom="on" in the product tag, like this:
<vtex.cmc:ProductImage zoom="on">
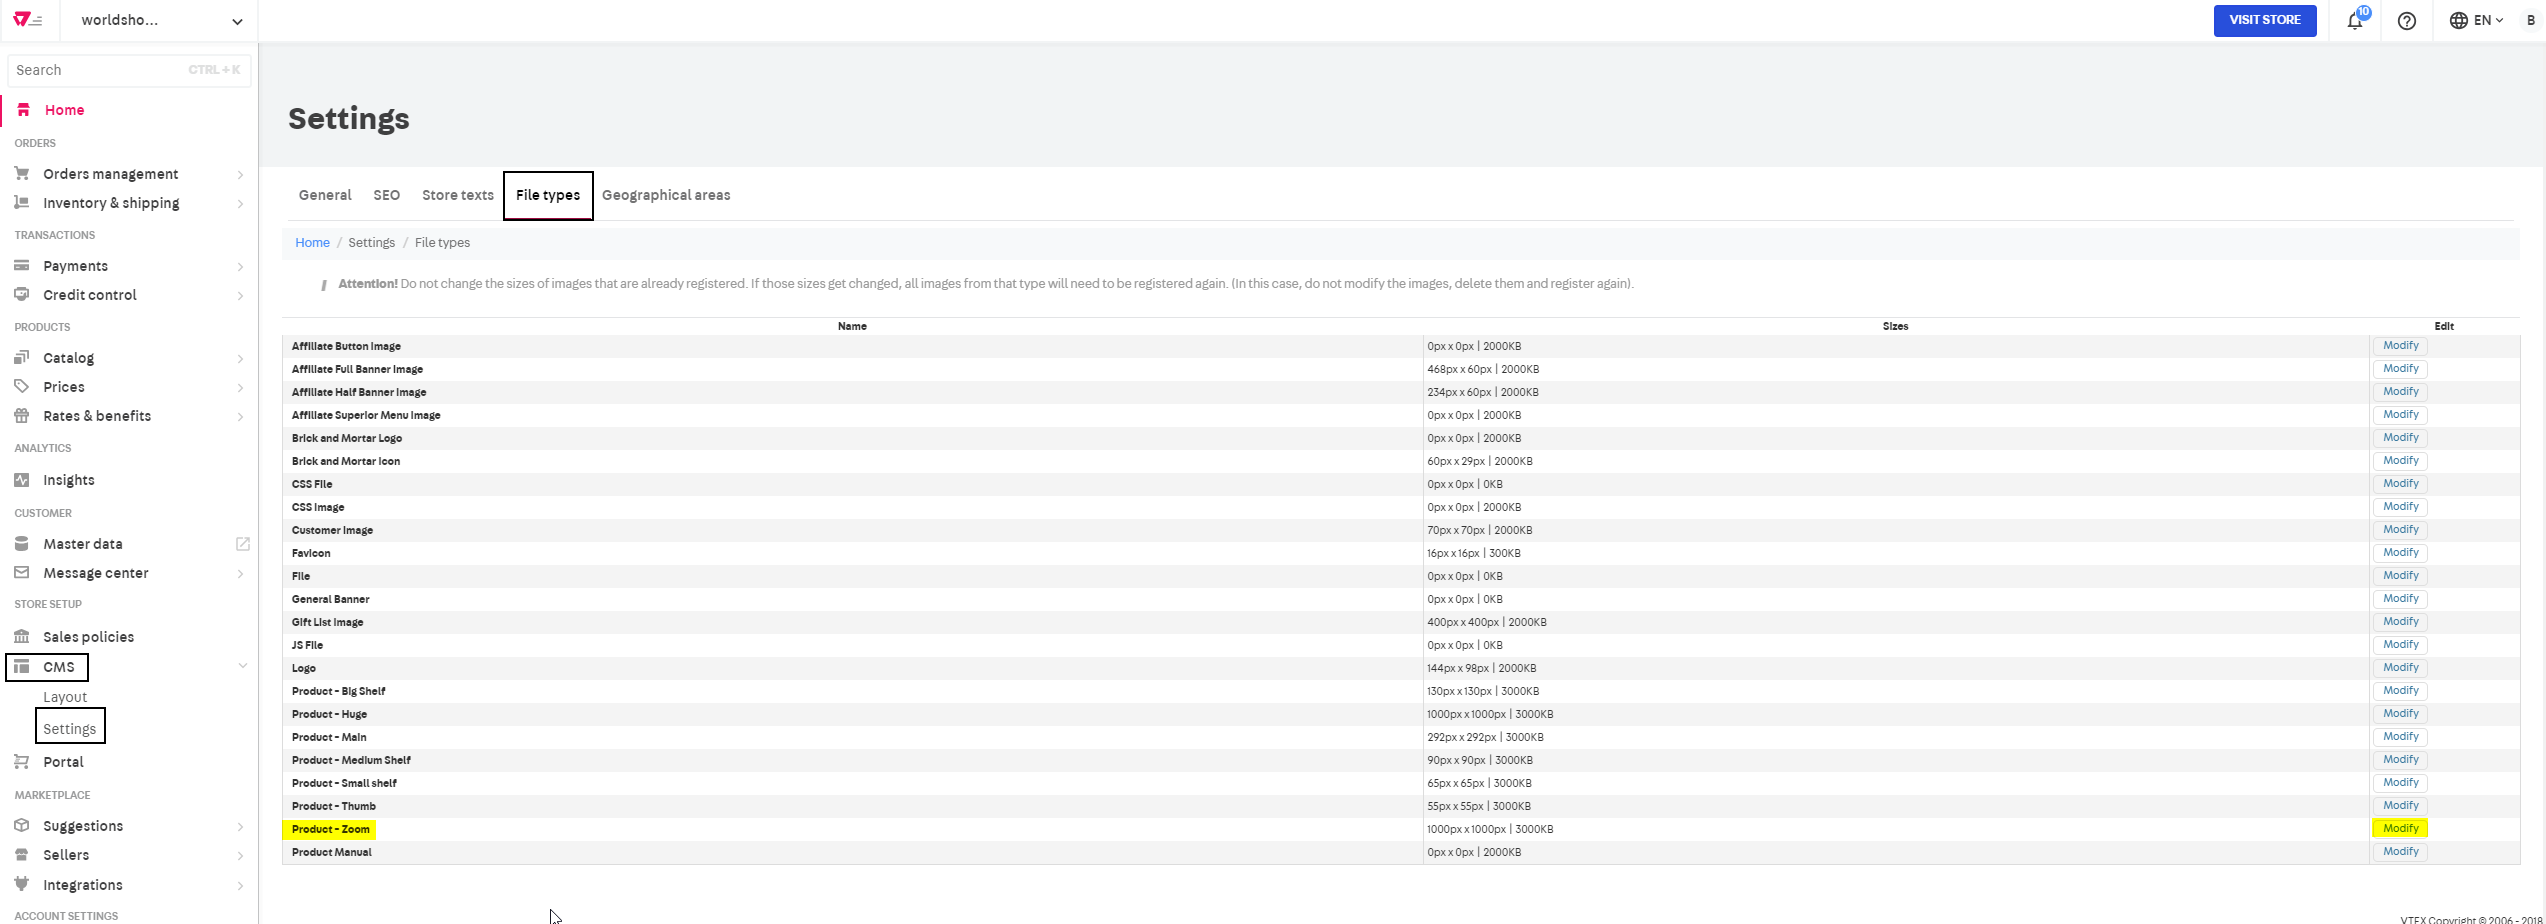
Working conditions
You also have to set up the standard size for the zoom image. You can do this in CMS module > Settings > File Types. By default, this type of zoom image is set up with 1000×1000 pixels.