Using the Markers prop to customize a block's message
When styling storefront components, CSS Handles and Block Classes are helpful for general styles. However, to customize specific text messages within blocks, you can use the markers prop. This prop lets you add unique identifiers to parts of a block’s message, making it easier to apply targeted styles.
Follow the steps below to use the markers prop for customizing block messages.
Before you begin
Check if the block you want to customize supports the markers prop. This information can usually be found in the block’s documentation.
Instructions
-
Open the terminal and use the VTEX IO CLI to log in to your VTEX account.
-
Change to a development workspace.
-
Open your Store Theme using your preferred code editor and locate the block where you want to use the
markersprop. -
In the block's configuration, add the
markersprop with a unique value (e.g.,discount). For example:_10"product-price-savings#summary": {_10"props": {_10"markers": [_10"discount"_10],_10}_10}, -
Save your changes and link the app to your workspace.
-
Open the Admin of your workspace at (
{workspaceName}--{accountName}.myvtex.com/admin). -
Go to the Site Editor and select the block to which you addeed the
markersprop. -
In the Site Editor, wrap the message variable you want to customize with the
markersvalue. For example, to style the discount percentage in a product price block, you can wrap it with the markers tag like this:<discount>-{savingsPercentage}</discount>. This allows you to target and style just the portion of text inside the discount tag with CSS.
To find out which message parts you can customize, refer to the block’s documentation. It lists all message variables, like
{savingsPercentage}in this example. You can use these variables to identify and wrap the specific text you want to style. -
Save the changes. This assigns a unique identifier to the wrapped text, allowing you to later customize its style with CSS.
-
Access your site in the development workspace at
{workspaceName}--{accountName}.myvtex.comand inspect the HTML element associated with the edited block’s message.In this example, note the message's HTML element is wrapped in a new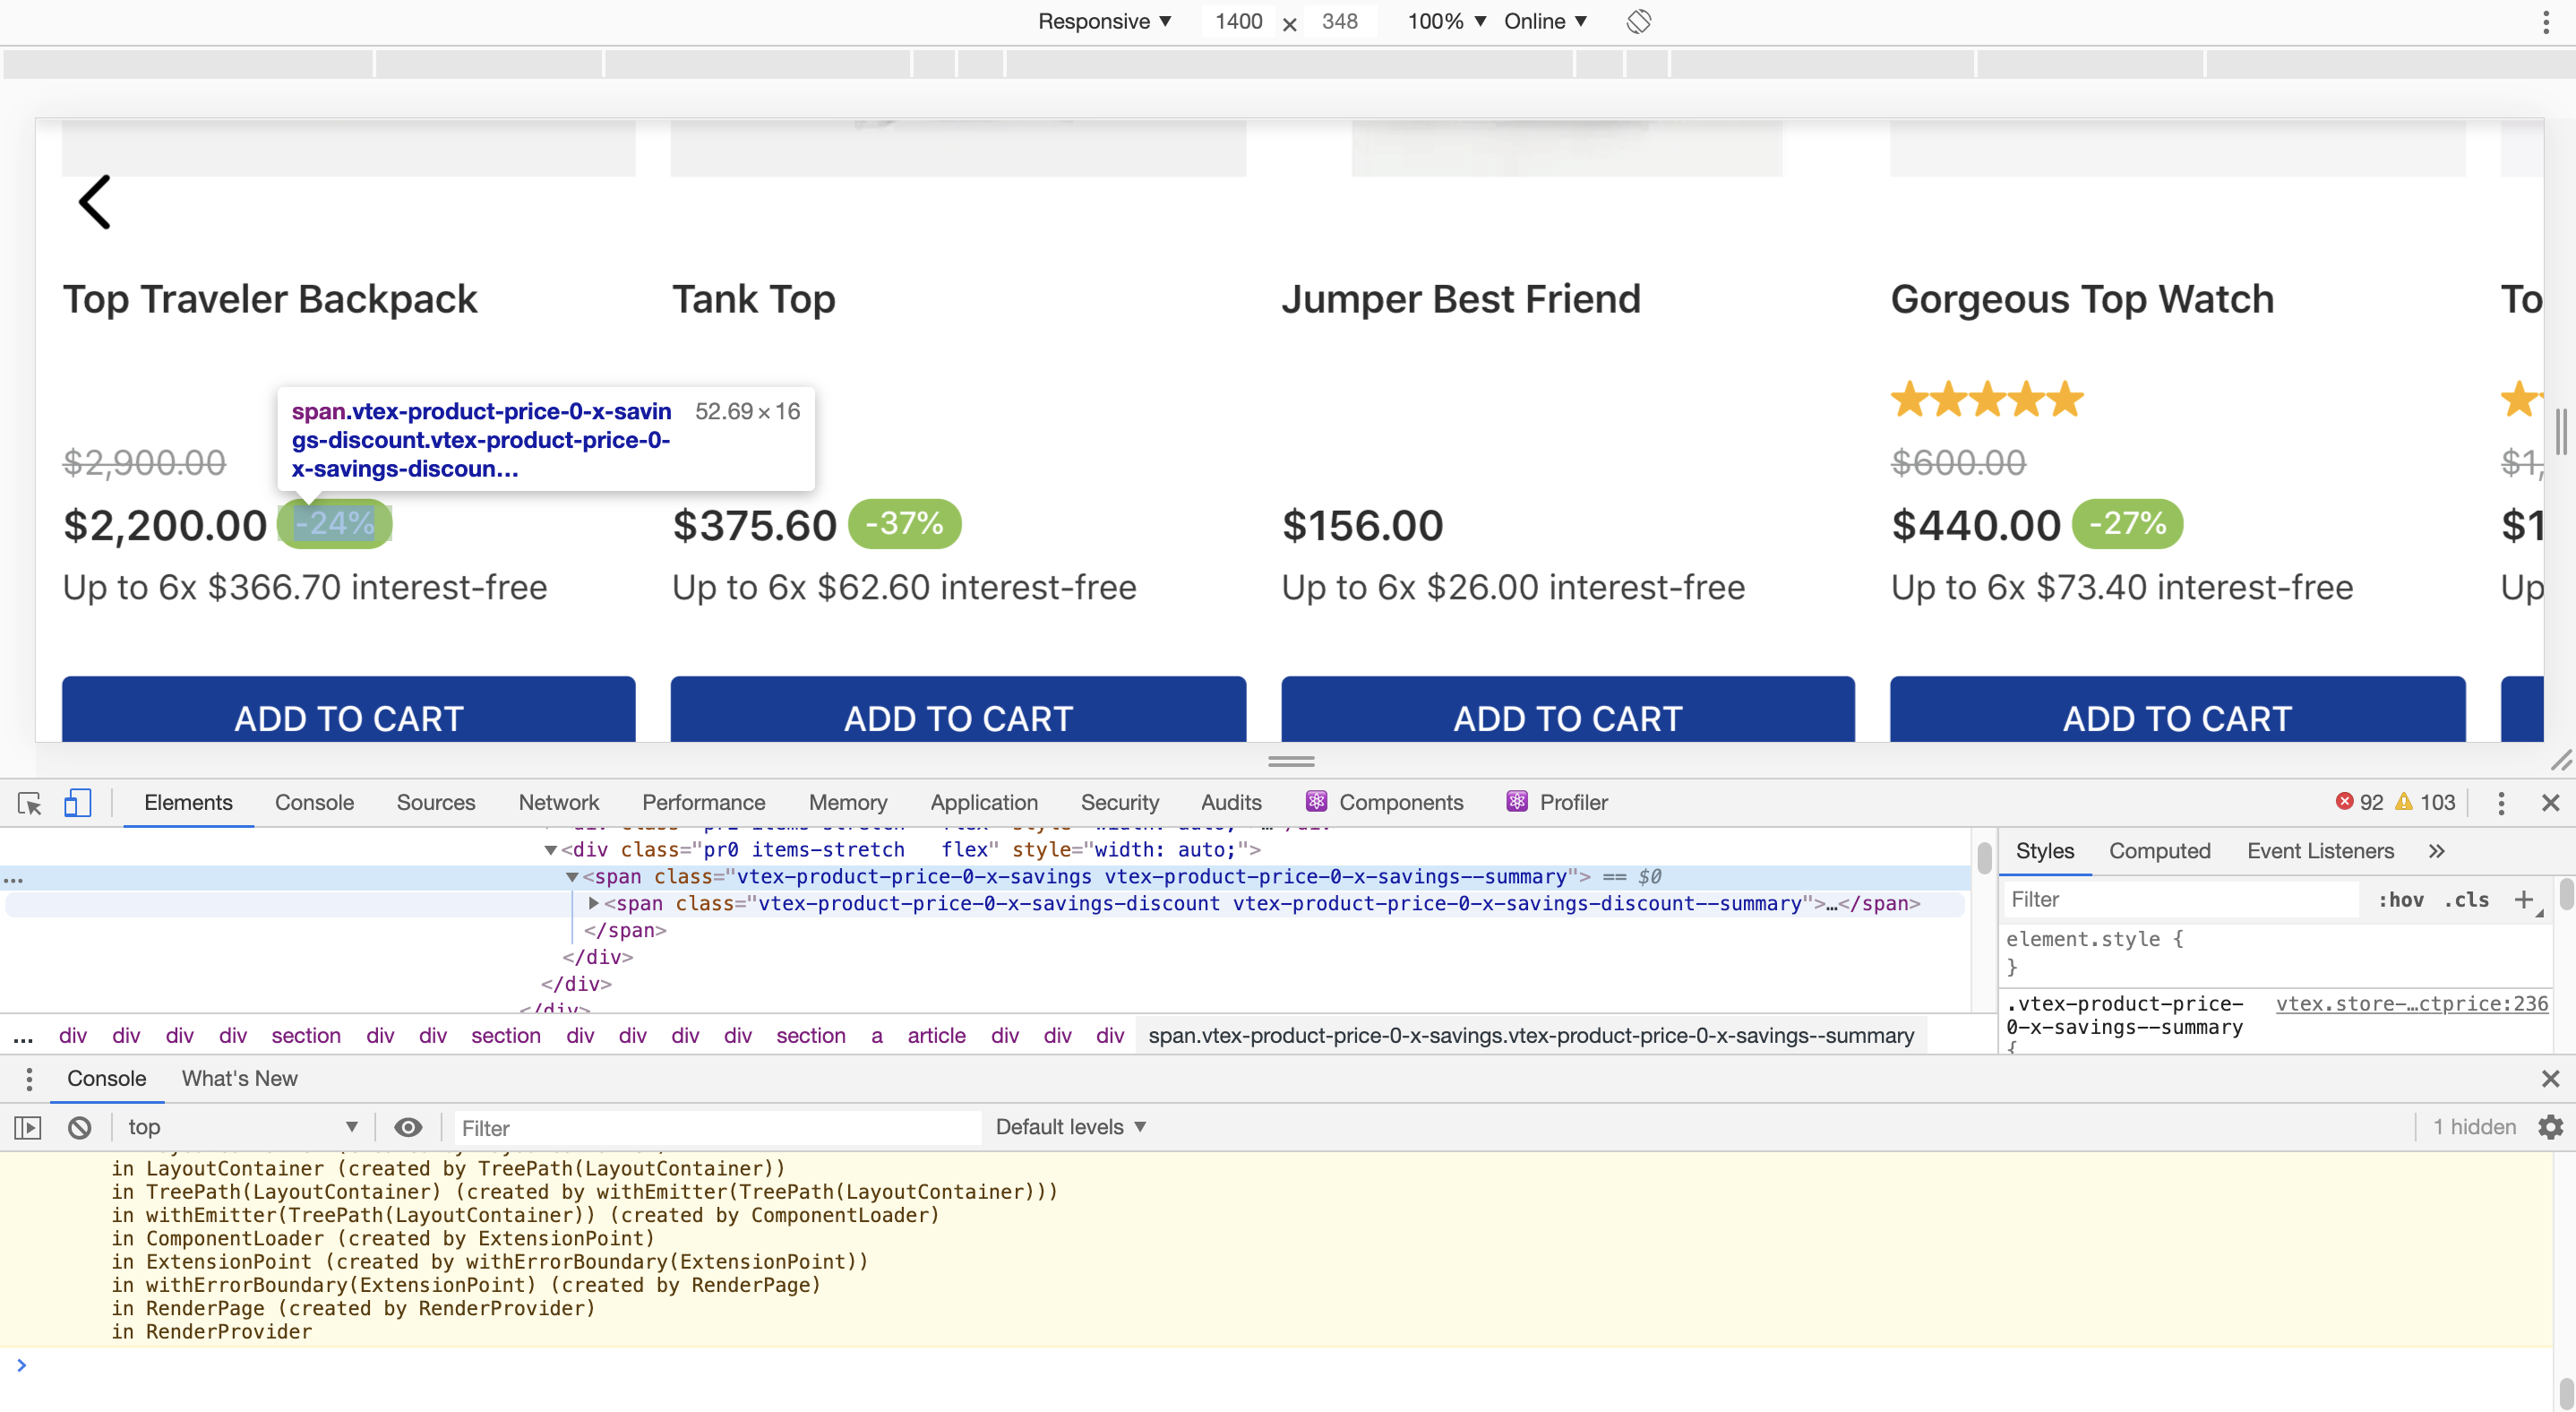
spanwith a unique selector:<span class="vtex-product-price-1-x-savings-discount">. -
Use CSS Handles to apply your styles to the new class.
-
Once you are satisfied with the changes to your Store Theme, make your theme content publicly available.