Building a Shelf
The Shelf component is a product list that helps you to build your own shop window and work on your store's visual merchandising.
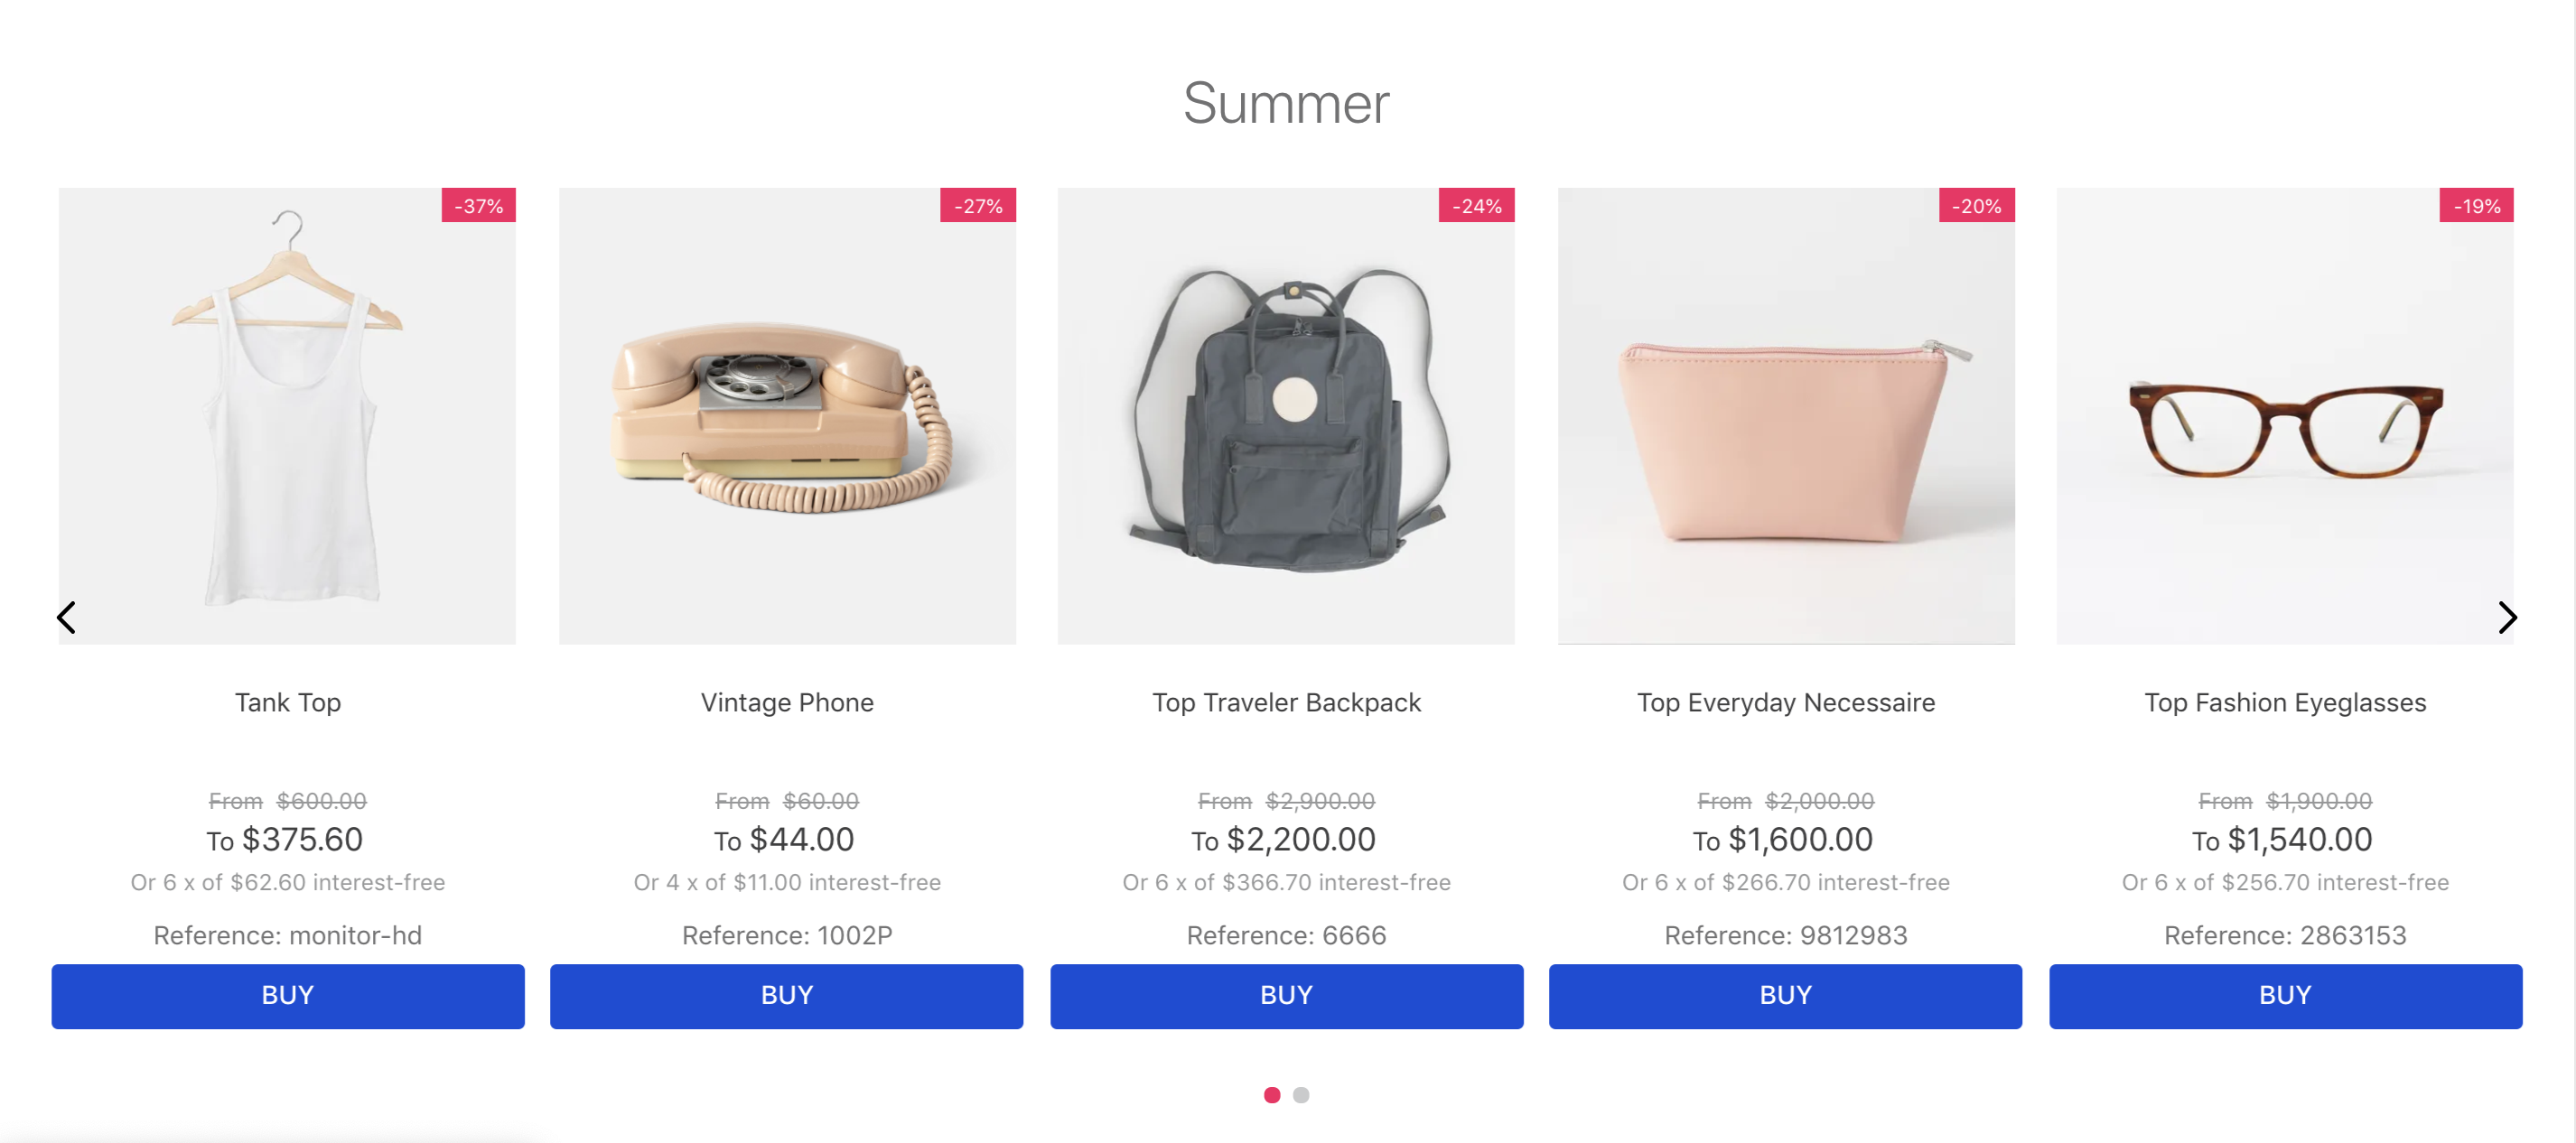
To create a product list, you can configure the Shelf component to use the Product Summary List, the Product Summary Shelf, and the Slider Layout blocks.
Refer to the Product Summary and Slider-Layout documentation to explore the available props for configuring their behavior. Use this information to adjust the Shelf behavior accordingly.
Check out the instructions below for how it can be done.
Instructions
- Add the
product-summaryand theslider-layoutapps to your theme's dependencies in themanifest.jsonfile:
_10 "dependencies": {_10 "vtex.product-summary": "2.x",_10 "vtex.slider-layout": "0.x"_10 }
- Add the
list-context.product-listinto yourstore.hometheme template and add in its blocks list theproduct-summary.shelfblock. Also, add as its children theslider-layoutblock. For example:
_16{_16 "product-summary.shelf#demo1": {_16 "children": [_16 "stack-layout#prodsum",_16 "product-summary-name",_16 "product-rating-inline",_16 "product-summary-space",_16 "product-summary-price",_16 "product-summary-buy-button"_16 ]_16 },_16 "list-context.product-list#demo1": {_16 "blocks": ["product-summary.shelf#demo1"],_16 "children": ["slider-layout#demo-products"]_16 }_16}
- Declare the
product-summary.shelfblock and add the desired blocks as children, as shown in the example below. If you have any questions about structuring the block, check its documentation.
_18{_18 "list-context.product-list#demo1": {_18 "blocks": ["product-summary.shelf#demo1"],_18 "children": ["slider-layout#demo-products"]_18_18 },_18_18+ "product-summary.shelf#demo1": {_18+ "children": [_18+ "product-summary-name",_18+ "product-summary-description",_18+ "product-summary-image",_18+ "product-summary-price",_18+ "product-summary-sku-selector",_18+ "product-summary-buy-button"_18+ ]_18+ }_18}
- Declare the
slider-layoutblock, adding as desired child blocks and props. If you have any questions about structuring the block, check its documentation.
_32{_32 "list-context.product-list#demo1": {_32 "blocks": ["product-summary.shelf#demo1"],_32 "children": ["slider-layout#demo-products"]_32_32 },_32_32 "product-summary.shelf#demo1": {_32 "children": [_32 "product-summary-name",_32 "product-summary-description",_32 "product-summary-image",_32 "product-summary-price",_32 "product-summary-sku-selector",_32 "product-summary-buy-button"_32 ]_32 },_32_32+ "slider-layout#demo-products": {_32+ "props": {_32+ "itemsPerPage": {_32+ "desktop": 1,_32+ "tablet": 1,_32+ "phone": 1_32+ },_32+ "infinite": true,_32+ "showNavigationArrows": "desktopOnly",_32+ "blockClass": "carousel"_32+ },_32+ "children": ["rich-text#1", "rich-text#2", "rich-text#3"]_32+ },_32}
After the last step, you now have a functioning Shelf for your store.