Implementing Shopping Assistant in FastStore
In this guide, you'll learn how to implement Shopping Assistant in a FastStore project.
Shopping Assistant is a conversational assistant embedded in the storefront that helps buyers with product and post-purchase related questions without leaving the store experience.
This brings a more guided buying journey for buyers: they can get answers in context while browsing, experience less friction during product discovery, and receive support in the same interface where they are making purchase decisions. For merchants, this creates an opportunity to offer a more assistive and responsive storefront experience that can improve self-service during the buying journey.
FastStore already includes support for the Shopping Assistant integration through a dedicated
ShoppingAssistant section in the CMS and a third-party script that loads the VTEX CX Platform experience.Before you begin
Shopping Assistant is available for FastStore projects running
v3.98.0 or higher. If your project is not up to date, follow the instructions in Updating the '@faststore/cli' package version.Instructions
Step 1 - Sync the ShoppingAssistant section with CMS
Stores using CMS
-
Open your FastStore project in a code editor.
-
Open a terminal and log in to your VTEX account by running
vtex login {accountName}.Change{accountName}to your store account, for example,vtex login mystore. -
Generate and upload the CMS schema by running the following commands:If needed, install the VTEX Content plugin by running vtex plugins install @vtex/cli-plugin-content._10_10vtex content generate-schema cms/faststore/components cms/faststore/pages -o cms/faststore/schema.json && vtex content upload-schema cms/faststore/schema.json
Stores using Headless CMS (legacy)
-
Open your FastStore project in a code editor.
-
Open a terminal and log in to your VTEX account by running
vtex login {accountName}.Change{accountName}to your store account, for example,vtex login mystore. -
Run the following command to add and sync the
ShoppingAssistantsection to your project._10yarn cms-sync
Step 2 - Follow the Shopping Assistant setup flow in VTEX CX Platform
To set up the Shopping Assistant flow, you must onboard your account in VTEX CX Platform. To complete onboarding, follow these instructions:
-
Open the VTEX Admin and go to Storefront > Agentic CX > Dashboard.
-
On the Dashboard page, click the Scale Support and Efficiency card.
-
Choose a store URL to connect the store data.
-
Click
Confirmto begin onboarding.
-
Once the AI team is ready, click
Activate in Storeto complete the onboarding process.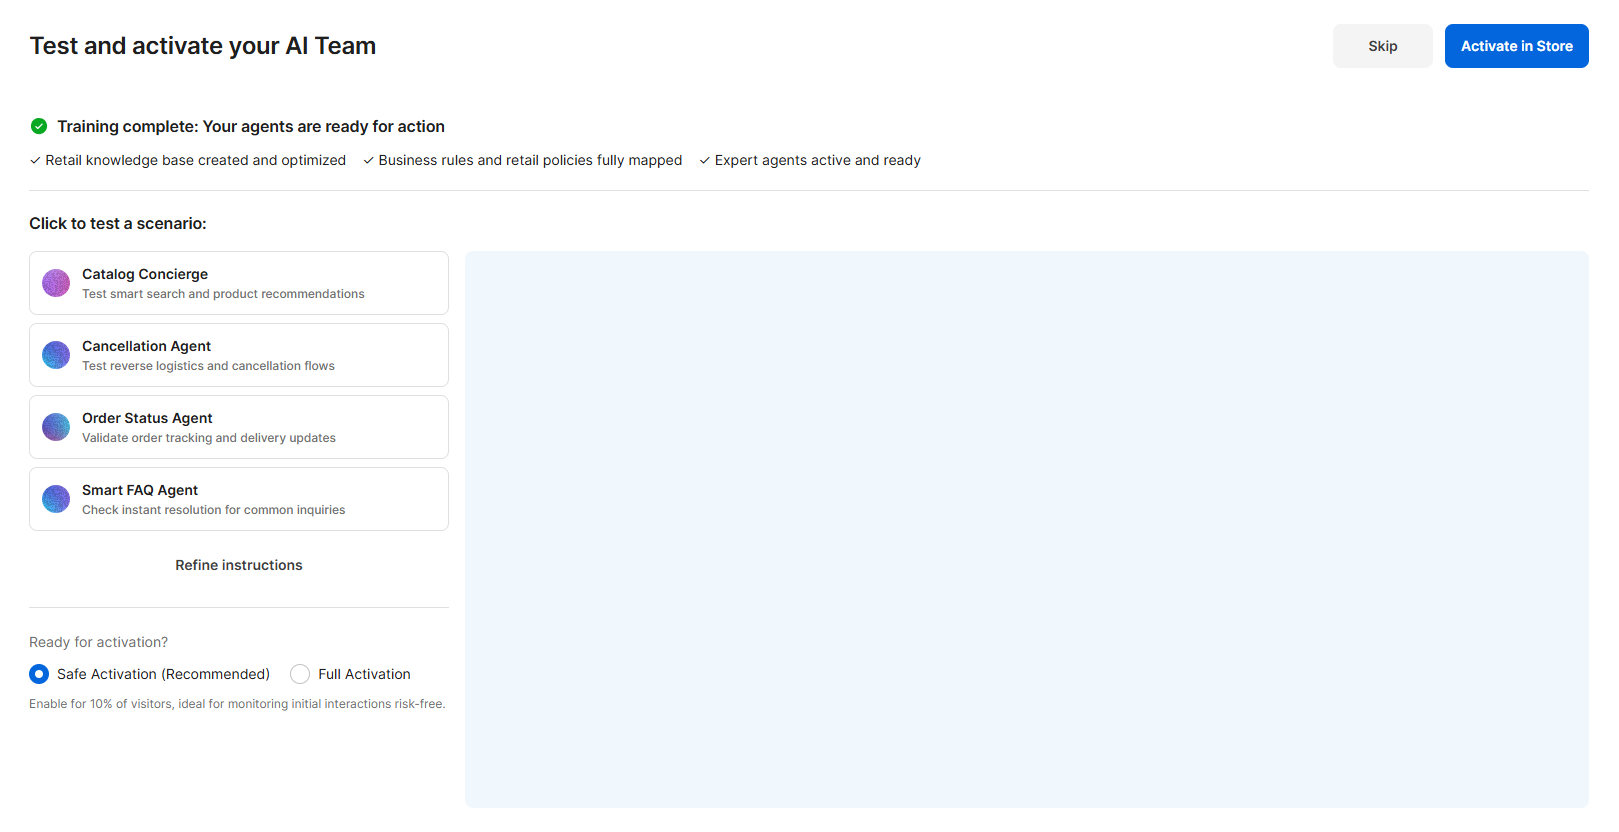
Step 3 - Enable the section in the CMS interface
The
Shopping Assistant section is available on all store pages. It should be added to the Global Sections Content Type.Stores using CMS
- Open the VTEX Admin and go to Storefront > Content > All content.
- Open the Global Sections Content Type.
- Click
+and add theShopping Assistantsection. - Click
Save.

Stores using Headless CMS (legacy)
- Open the VTEX Admin and go to Storefront > Headless CMS.
- Open the Global Sections Content Type.
- Click
+and add theShopping Assistantsection. - Click
Save.