Checkout UI Custom
The Checkout UI Custom app is responsible for customizing your store's Checkout UI through the admin's interface.
Configuration
- Using your terminal and the VTEX IO CLI, log into the desired VTEX account.
- Run
vtex install vtex.checkout-ui-customon the account you're working on. - Access your VTEX account's admin.
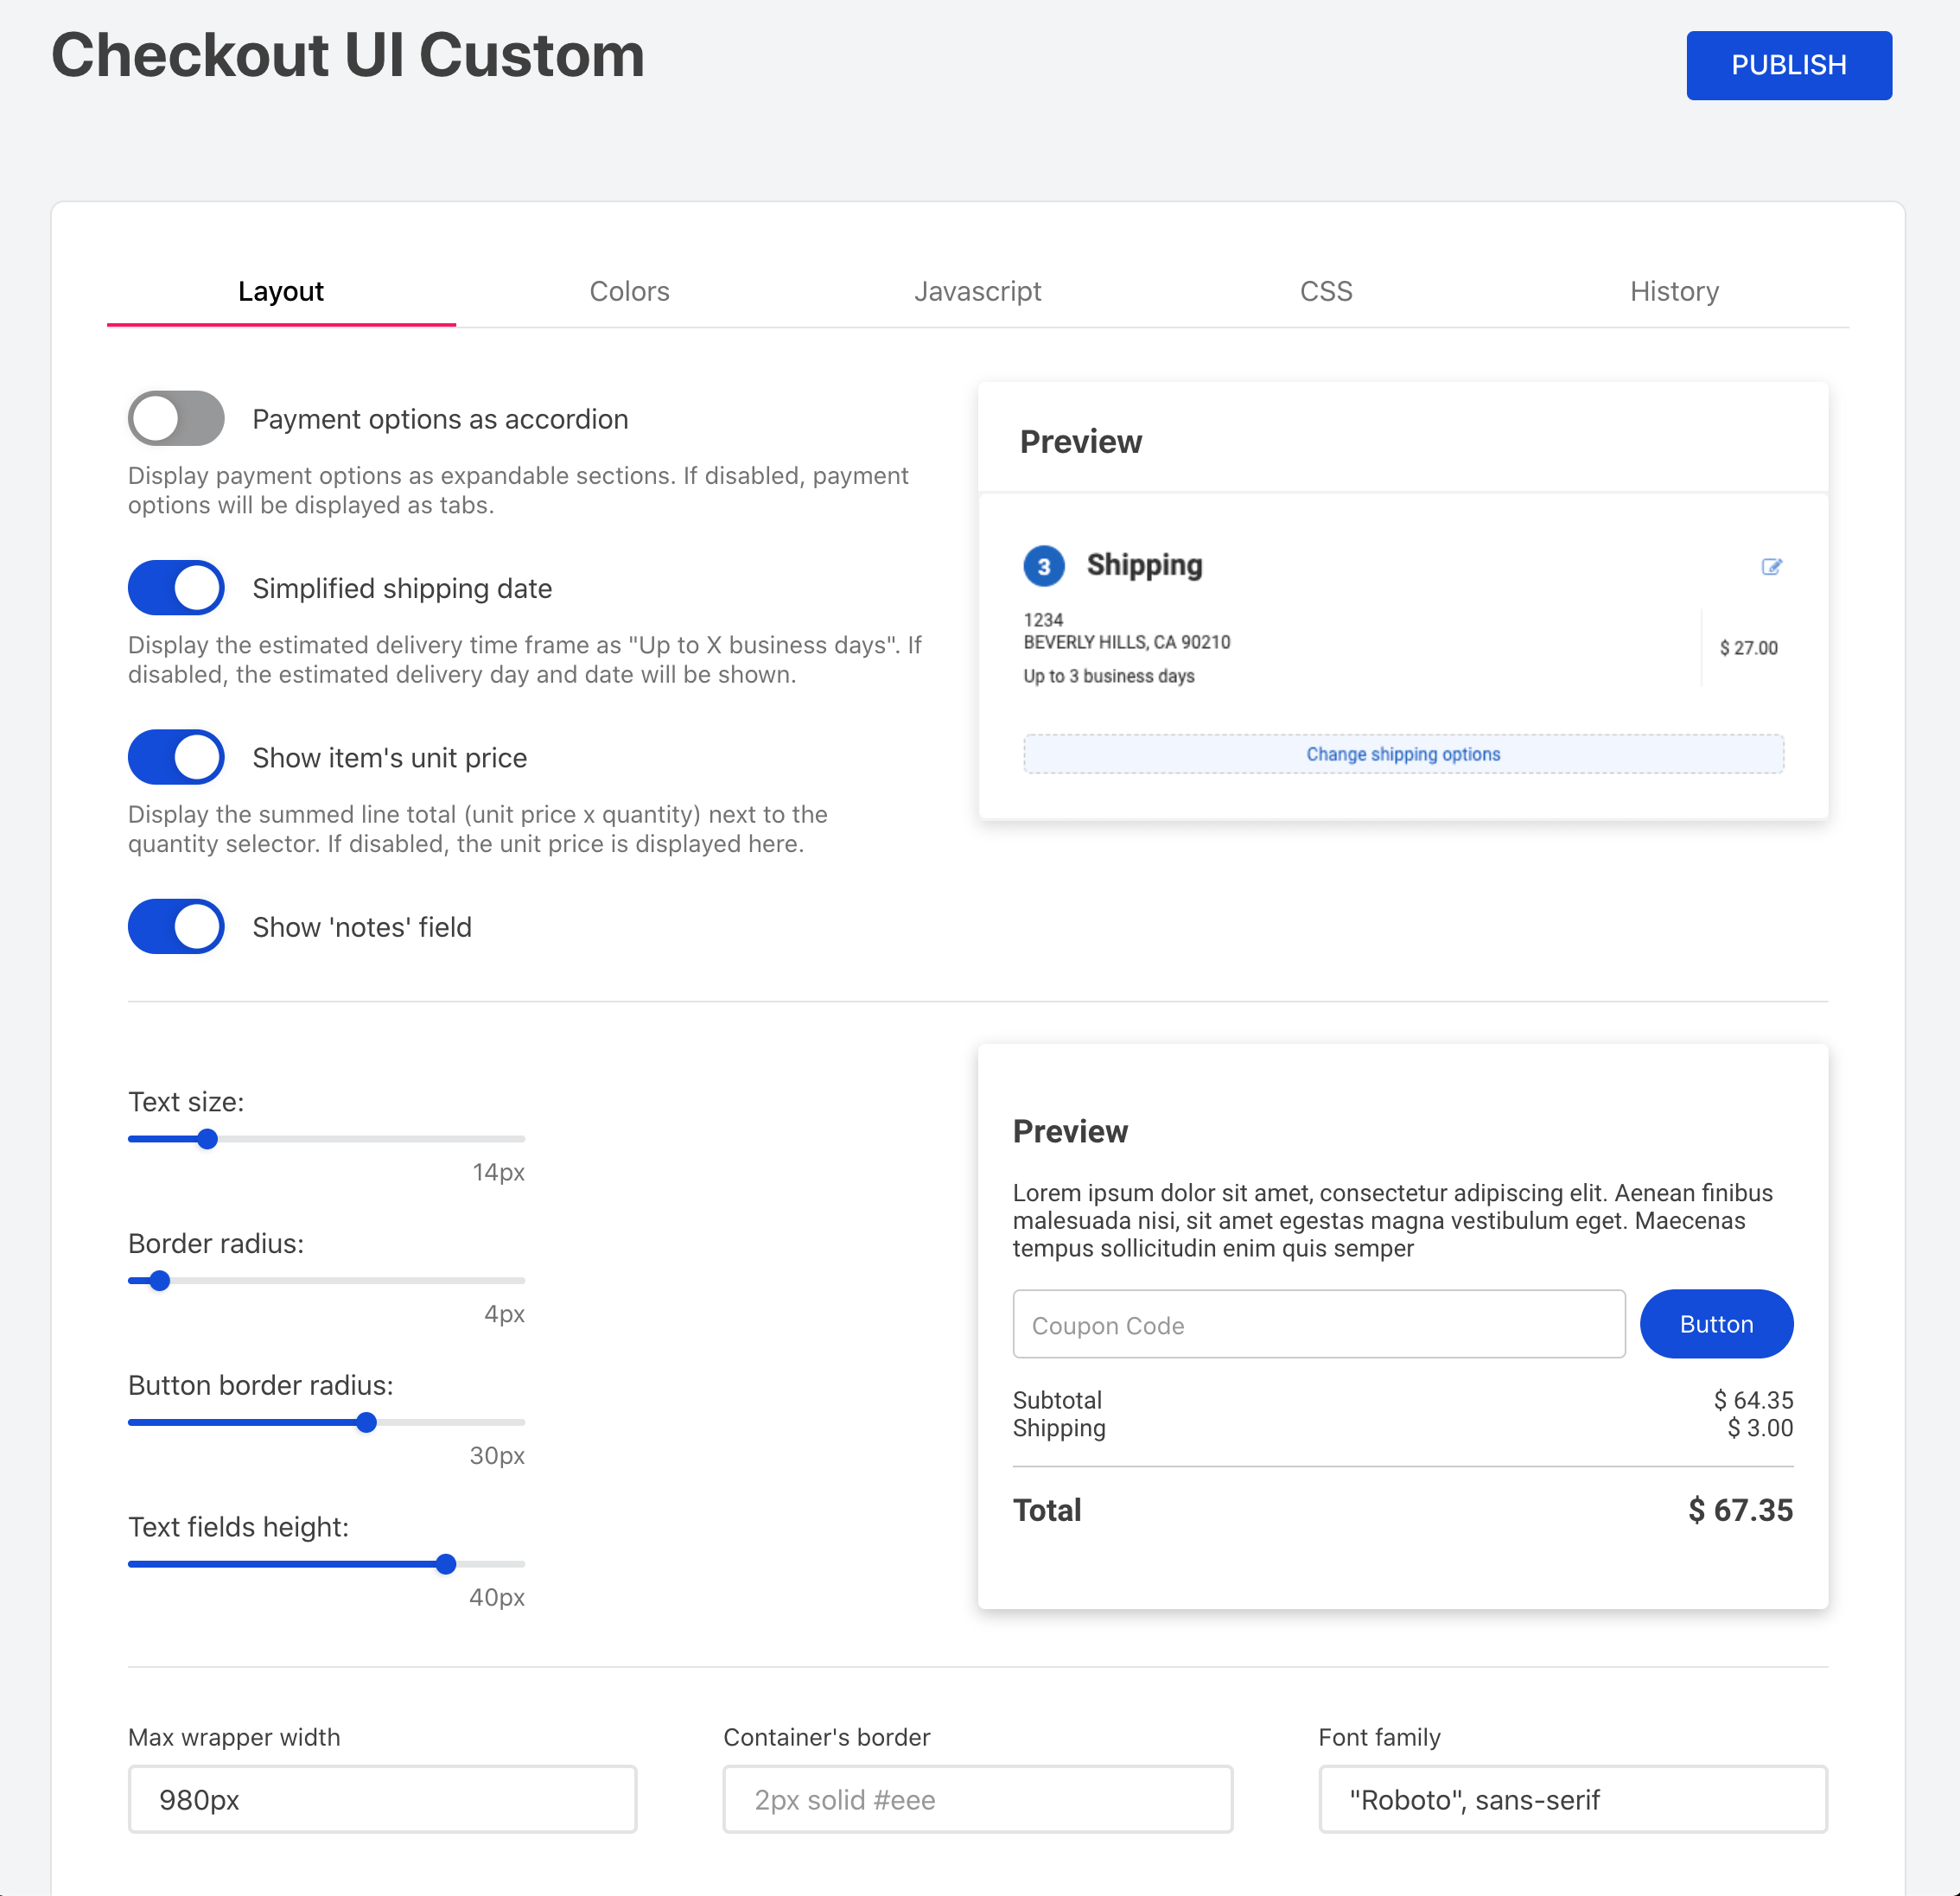
- Access Store Setup and then Checkout UI Custom.
- Make the desired changes using the interface and click on
Publish.
:informationsource: _Once the app is installed in your account, the checkout6-custom.js and checkout6-custom.css files will be replaced by the ones generated by this app.
Modus Operandi
If you access your VTEX account's admin using a Development workspace and publish your changes, the configurations performed using the app will only be applied into the workspace you are working in and not in your store Checkout.
However, notice the following: you should not perform any changes in your account's Master workspace to make your Checkout UI configurations publicly available. Instead, you should use a Development workspace and the History tab displayed on the admin app.
The History tab enables you to load app change history and, therefore, helps your checkout UI coding by reusing configurations performed in previous workspaces.
Let's assume you were working in a Development workspace called testredcolor, and now want your changes to be public. According to how workspaces work in the platform, your changes first need to be applied in a Production workspace that, in turn, will be promoted to Master later.
For this purpose, you can access the History tab using the desired Production workspace, load your last changes from testredcolor and then click on Publish, copying your configurations to the Production workspace you are currently working in.
The Header and Footer HTMLs are still configured using the admin's Portal (
/admin/portal/#/sites). In order to properly use the Checkout UI Custom app, it is strongly recommended to use the HTMLs stated below:
- Header HTML:
_16<header class="main-header">_16 <div class="container">_16 <div class="header-link">_16 <a href="/" title="add more products" class="buy-more-link link"_16 >Continue shopping</a_16 >_16 <a_16 href="/checkout/#/cart"_16 title="back to cart"_16 class="back-cart-link link"_16 >Back to Cart</a_16 >_16 </div>_16 <a href="/" title="Go to homepage" class="logo">{logo.image}</a>_16 </div>_16</header>
If you want to insert other contents, make sure of include the class .v-custom-mhide to hide it on mobile resolutions. For example:
_10<header class="main-header"> ... </header>_10<div class="promobar v-custom-mhide> ... </div>
- Footer HTML:
_10<footer class="main-footer">_10 <div class="container">_10 <a class="credits-vtex" href="http://www.vtex.com/" target="_blank"_10 ><img src="http://brand.vtex.com/static/media/VTEX_pink_RGB.751a9fb5.svg"_10 /></a>_10 </div>_10</footer>
If you are yet using the classic CMS
You can create a workspace and install the app by there. While using the app, you will need apply your changes and copy/paste the content of the files to your portal.
For VTEX Developers
When developing a new version of Checkout UI Custom, take care to compile the checkout files prior to opening a PR and/or publishing a new version of the app. This can be done by running yarn app in your CLI, inside the app's /checkout-ui-custom/ subfolder.