Contributing
VTEX IO is an open-source project. Contributions of all kinds are welcome, including feature requests, bug reports, and updates to our codebase and documentation.
Codebase
VTEX IO native apps are fully stored in the VTEX Apps Organization on GitHub.
That means you can contribute to our codebase by looking for the desired app on the VTEX Apps Organization and then opening an issue or creating a Pull Request.
When looking for an app on the VTEX Apps Organization, keep in mind that the name of VTEX IO apps are kebab case. That means they are comprised of lowercase letters separated by hyphens. Therefore, if, for example, you want to contribute to the Product Summary app you must look for
product-summaryon the VTEX Apps Organization.
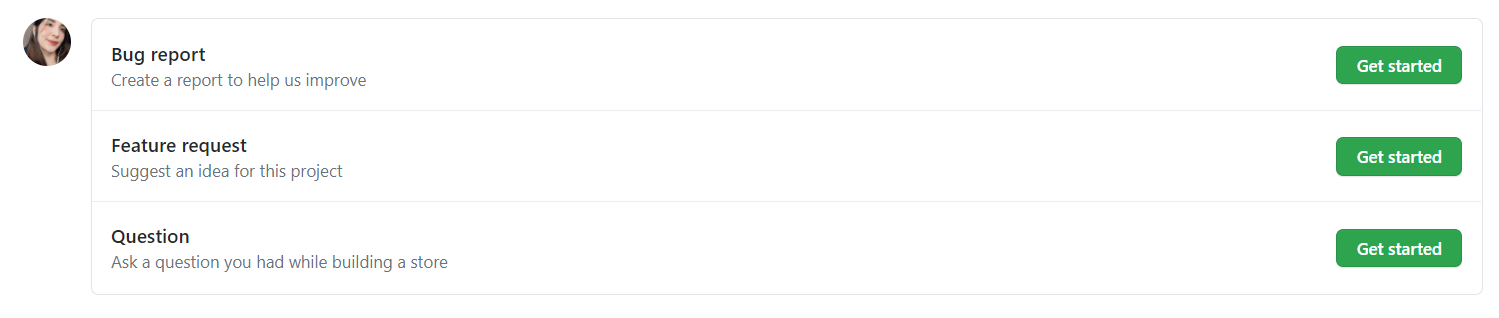
Opening an issue
There are three main situations you should opt for opening an issue:
- Report a bug you can’t solve by yourself.
- Request a new feature or suggest an idea.
- Ask questions you had during development.
Once you open an issue, our team will evaluate your contribution as soon as possible.
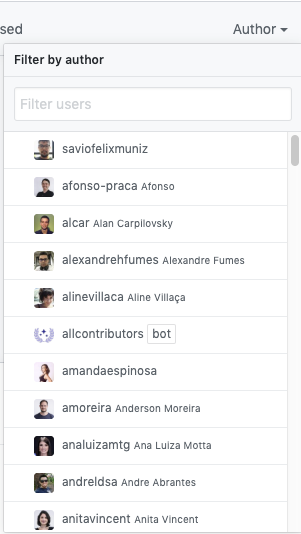
Filtering issues
We use GitHub tags to classify issues between Questions, Bugs or Enhancements. This way, you can filter issues by specifying a label and author.
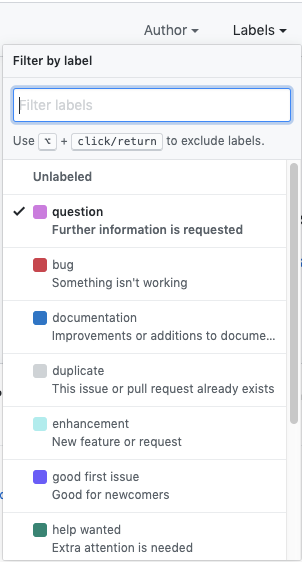
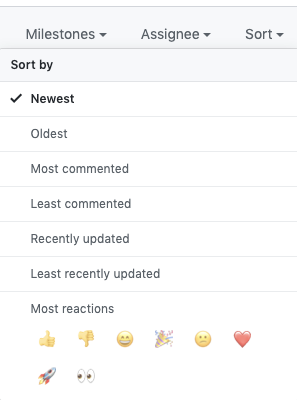
You can also change the sort criteria for the issues. For example, you can look for the most and least commented issues, the ones with most 👍 and most recently updated.
Creating a Pull Request
We recommend creating a Pull Request for trivial fixes or if you have already started working on a specific solution.
To create a Pull Request, take the following steps:
- Fork the desired repository and create a local clone of it.
- Create a branch from
master, respecting the following name pattern:<type>/<description>, wheredescriptionmust provide a brief description of what is being developed andtypemust be one of the following:
feature- new feature or behavior.fix- bug fix.update- dependecy update.chore- technical adjustments.
_10git checkout master_10git checkout -b feature/nice-new-thing
- Commit changes to your new branch.
_10git commit -m "Add nice new thing"
- Test your changes.
- Create a Pull Request. Make sure to include screenshots and a comprehensive description of the changes performed.
Once you open a Pull Request, our team will evaluate your contribution as soon as possible.
Documentation
There are three main ways to contribute to VTEX IO documentation:
- Giving feedback - start a discussion regarding a specific document and leave quick suggestions.
- Creating a Pull Request - work directly on a solution for improving a specific document and create a Pull Request.
- Writing new documentation - keep up with our best practices and write the documentation of your custom app.
Giving feedback
Fill out our 📣 Feedback form and leave your suggestions on how we can improve a specific document.
Responses to the form are automatically added to our internal backlog and assigned to the team concerned. If you ask for a follow-up, we will let you know once we have addressed your feedback.
Creating a Pull Request
All guides, references, and tutorials from the VTEX IO Developer Documentation is fetched from the io-documentation repository.
In its turn, the documentation of VTEX IO apps are fetched directly from its corresponding GitHub repository.
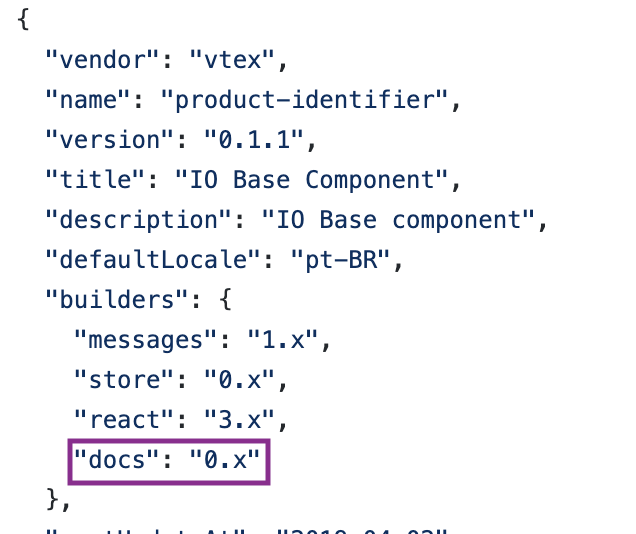
App documentation is fetched only from apps using the Docs builder.
Therefore, you can create a Pull Request with your fixes directly on the io-documentation repository or on the repository of the corresponding app you want to contribute (e.g., product-summary)
Writing new documentation
To make the documentation of your custom app public on the Developer Portal, you must take the following steps:
- Create a
docs/folder in the app’s root. - Update the app's
manifest.jsonfile to declarevtex.docsas one of the app's builders.
-
Inside the
docs/folder create aREADME.mdfile.When writing the documentation of your app, make sure to follow our documentation templates.
-
Contact us to make your documentation visible.
In order to not have to keep track of two
README.mdfiles (one in the project’s root and another it thedocs/folder), you can delete the former and only keep the latter. GitHub will read the one from thedocs/folder and render it on the landing page.
Documentation templates
React app README template
_115📢 Use this project, [contribute](https://github.com/{OrganizationName}/{AppName}) to it or open issues to help evolve it using [Store Discussion](https://github.com/vtex-apps/store-discussion)._115_115# APP NAME_115_115_115_115_115[](https://raw.githubusercontent.com/vtexdocs/dev-portal-content/main/docs/vtex-io/Hello/#contributors-)_115_115_115_115_115Under the app's name, you should explain the topic, giving a **brief description** of its **functionality** in a store when installed._115_115Next, **add media** (either an image of a GIF) with the rendered components, so that users can better understand how the app works in practice._115_115_115_115## Configuration_115_115In this section, you first must **add the primary instructions** that will allow users to use the app's blocks in their store, such as:_115_1151. Adding the app as a theme dependency in the `manifest.json` file;_1152. Declaring the app's main block in a given theme template or inside another block from the theme._115_115Remember to add a table with all blocks exported by the app and their descriptions. You can verify an example of it on the [Search Result documentation](https://developers.vtex.com/docs/guides/vtex-search-result/)._115_115Next, add the **props table** containing your block's props._115_115If the app exports more than one block, create several tables - one for each block. For example:_115_115### `block-1` props_115_115| Prop name | Type | Description | Default value |_115| --------- | -------- | ----------- | ------------- |_115| `XXXXX` | `XXXXXX` | XXXXXXXX | `XXXXXX` |_115_115### `block-2` props_115_115| Prop name | Type | Description | Default value |_115| --------- | -------- | ----------- | ------------- |_115| `XXXXX` | `XXXXXX` | XXXXXXXX | `XXXXXX` |_115_115Prop types are:_115_115- `string`_115- `enum`_115- `number`_115- `boolean`_115- `object`_115- `array`_115_115When documenting a prop whose type is `object` or `array` another prop table will be needed. You can create it following the example below:_115_115- `propName` object:_115_115| Prop name | Type | Description | Default value |_115| --------- | -------- | ----------- | ------------- |_115| `XXXXX` | `XXXXXX` | XXXXXXXX | `XXXXXX` |_115_115Remember to also use this Configuration section to **showcase any necessary disclaimer** related to the app and its blocks, such as the different behavior it may display during its configuration._115_115## App behavior _(not mandatory)__115_115There are scenarios in which an app can behave differently in a store, according to how it was added to the catalog, for example. It's crucial to go through these **behavioral changes** in this section, allowing users to fully understand the **practical application** of the app in their store._115_115If you feel compelled to give further details about the app, such as it's **relationship with the VTEX admin**, don't hesitate to use this section._115_115## Customization_115_115The first thing that should be present in this section is the sentence below, showing users the recipe pertaining to CSS customization in apps:_115_115`In order to apply CSS customizations in this and other blocks, follow the instructions given in the recipe on [Using CSS Handles for store customization](https://developers.vtex.com/docs/guides/vtex-io-documentation-using-css-handles-for-store-customization).`_115_115Thereafter, you should add a single column table with the available CSS handles for the app, like the one below. Note that the Handles must be ordered alphabetically._115_115| CSS Handles |_115| ----------- |_115| `XXXXX` |_115| `XXXXX` |_115| `XXXXX` |_115| `XXXXX` |_115| `XXXXX` |_115_115If there are none, add the following sentence instead:_115_115`No CSS Handles are available yet for the app customization.`_115_115_115_115## Contributors ✨_115_115Thanks goes to these wonderful people:_115_115_115_115_115_115_115_115_115_115This project follows the [all-contributors](https://github.com/all-contributors/all-contributors) specification. Contributions of any kind are welcome!_115_115_115_115---_115_115Check out some documentation models that are already live:_115_115- [Breadcrumb](https://github.com/vtex-apps/breadcrumb)_115- [Image](https://vtex.io/docs/components/general/vtex.store-components/image)_115- [Condition Layout](https://developers.vtex.com/docs/guides/vtex-condition-layout/)_115- [Add To Cart Button](https://vtex.io/docs/components/content-blocks/vtex.add-to-cart-button@0.9.0/)_115- [Store Form](https://developers.vtex.com/docs/guides/vtex-store-form/)
Pixel app README template
_59📢 Use this project, [contribute](https://github.com/vtex-apps/CHANGEME) to it or open issues to help evolve it using [Store Discussion](https://github.com/vtex-apps/store-discussion)._59_59# APP NAME_59_59_59_59_59[](https://raw.githubusercontent.com/vtexdocs/dev-portal-content/main/docs/vtex-io/Hello/#contributors-)_59_59_59_59_59Under the app's name, you should explain the topic, giving a **brief description** of the **app's functionality** (what is it for?) in a store._59_59Next, you can **add media** (either an image of a GIF) if possible, so that users can better understand how the app works in practice._59_59_59_59## Configuration_59_59It is possible to install in your store either by using App Store or the VTEX IO CLI._59_59### Using VTEX App Store_59_591. Access the **Apps** section in your account's admin page and look for the Icommkt box;_592. Then, click on the **Install** button;_593. You'll see a warning message about needing to enter the necessary configurations. Scroll down and type in your **NAME OF A SETTINGS FIELD** in the `NAME OF THE APP` field._594. Click on **Save**._59_59### Using VTEX IO CLI_59_591. [Install](https://developers.vtex.com/docs/guides/vtex-io-documentation-installing-an-app/) the `vtex.icommkt@0.x` app. You can confirm that the app has now been installed by running `vtex ls` again._592. Access the **Apps** section in your account's admin page and look for the NAME OF THE APP box. Once you find it, click on the box._593. Fill in the `NAME OF THE APP` field with your **NAME OF THE SETTINGS FIELD**._594. Click on **Save**._59_59_59_59## App behavior _(not mandatory)__59_59There are scenarios in which an app can behave differently in a store, according to its configuration. It's crucial then to go through these **behavioral changes** in this section, allowing users to fully understand the **practical application** of the app in their store._59_59If you feel compelled to give further details, such as the app's **relationship with others**, don't hesitate to use this section._59_59_59_59## Contributors ✨_59_59Thanks goes to these wonderful people ([emoji key](https://allcontributors.org/docs/en/emoji-key)):_59_59_59_59_59_59_59_59_59_59This project follows the [all-contributors](https://github.com/all-contributors/all-contributors) specification. Contributions of any kind are welcome!