Setting up FastCheckout
This feature is only available for stores using B2B Buyer Portal, which is currently available to selected accounts.
After setting up your FastStore monorepo, you can create a Checkout extensions project. First, add the VTEX Checkout modules to your monorepo:
_10yarn add @vtex/checkout -D -W
_10npm add @vtex/checkout -D
Creating a project
After installation, create a Checkout project in your monorepo. To do this, you need the following information:
- The store account name for which you are creating extensions
- The module for which you want to initialize a project (in this case,
checkout) - The path where you want to initialize the project
Run the following commands in your terminal:
_10yarn fsp create
_10npx fsp create
In this example, use the account store-a and the path ./store-a/checkout. Fill in the prompts according to your project requirements:
_10> ? What's the account name? store-a_10> ? Which module do you want to initialize? checkout_10> ? What should be the path to initialize checkout? ./store-a/checkout
After running the command, the folder is created at the root of your monorepo based on the path you provided. The project has the following structure:
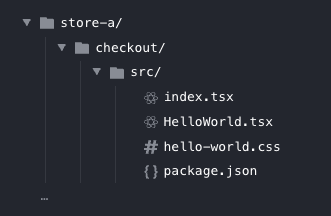
Updating or creating your monorepo configuration
FastStore is compatible with different monorepo tools, from simple workspace setups with npm or Yarn to more advanced tools such as Turborepo and Nx. You are responsible for managing your monorepo and workspace configuration.
Whenever you create a new project or change your workspace configuration, update the workspaces field in the root package.json.
For example, if you are using Yarn, your package.json should include:
_10{_10 "workspaces": [_10 "store-a/checkout"_10 ]_10}
After updating the configuration, run the install command again at the root of the monorepo:
_10yarn install
_10npm install
Connecting Checkout to Discovery
If Discovery is running locally, you can connect your local Checkout instance to it as part of your development environment. This lets you use the same Checkout instance that renders your extensions together with Discovery, so you can add products to the cart and validate the end-to-end flow locally.
To do this, update the checkoutUrl entry in the store’s discovery.config.js file (formerly faststore.config.js):
_10{_10 ..._10 storeUrl: "https://vtexfaststore.com",_10 secureSubdomain: "https://secure.vtexfaststore.com",_10 checkoutUrl: process.env.NODE_ENV === 'development'_10 ? "http://localhost:3000/checkout/cart"_10 : "https://secure.vtexfaststore.com/checkout/cart",_10 loginUrl: "https://secure.vtexfaststore.com/api/io/login",_10 ..._10}
This configuration points Discovery’s checkoutUrl to the Checkout instance running locally.
Port
3000is the default used by the FastStore CLI. This ensures that redirects to Checkout work correctly and also allows direct access throughhttp://localhost:3000/checkout/cart. If you are using a custom port with the--proxy-portflag, update this value accordingly.
Previewing extensions in development
After installing the dependencies, start your storefront development environment with the CLI:
_10yarn fsp dev store-a
_10npx fsp dev store-a
Checkout is available at the /checkout/cart path on the URL provided by the FastStore CLI. To access it, open your store’s homepage, add products to the cart, and proceed to the cart. You should see a screen similar to this:
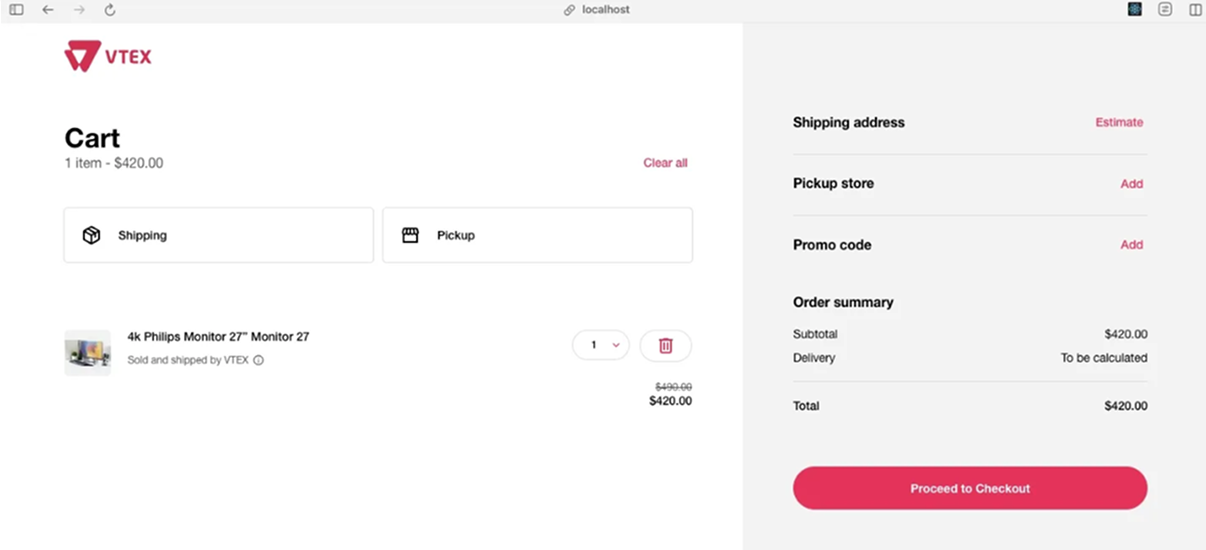
You can also access Checkout directly by using the local URL and port defined in faststore.json. To find it, check the port value in the store and project configuration that was added when you ran yarn fsp create:
_10{_10 "store-a": {_10 "checkout": {_10 "path": "./store-a/checkout",_10 "port": 3002_10 }_10 }_10}
Based on this configuration, you can access Checkout directly at http://localhost:3002/checkout/cart.